Microsoft Intune - idemeum agent installation
This guide describes how to deploy idemeum desktop agent to a fleet of Windows or MacOS workstations with Microsoft Intune.
— Nik Pot

Overview
Idemeum offers PowerShell script (for Windows) and bash script (for MacOS) that can be deployed with Intune in order to silently install idemeum agent.
Install Windows agent
Obtain PowerShell command
- Navigate to your idemeum tenant and access admin portal
- Access
Devices→Installation - Copy the command for
Windows
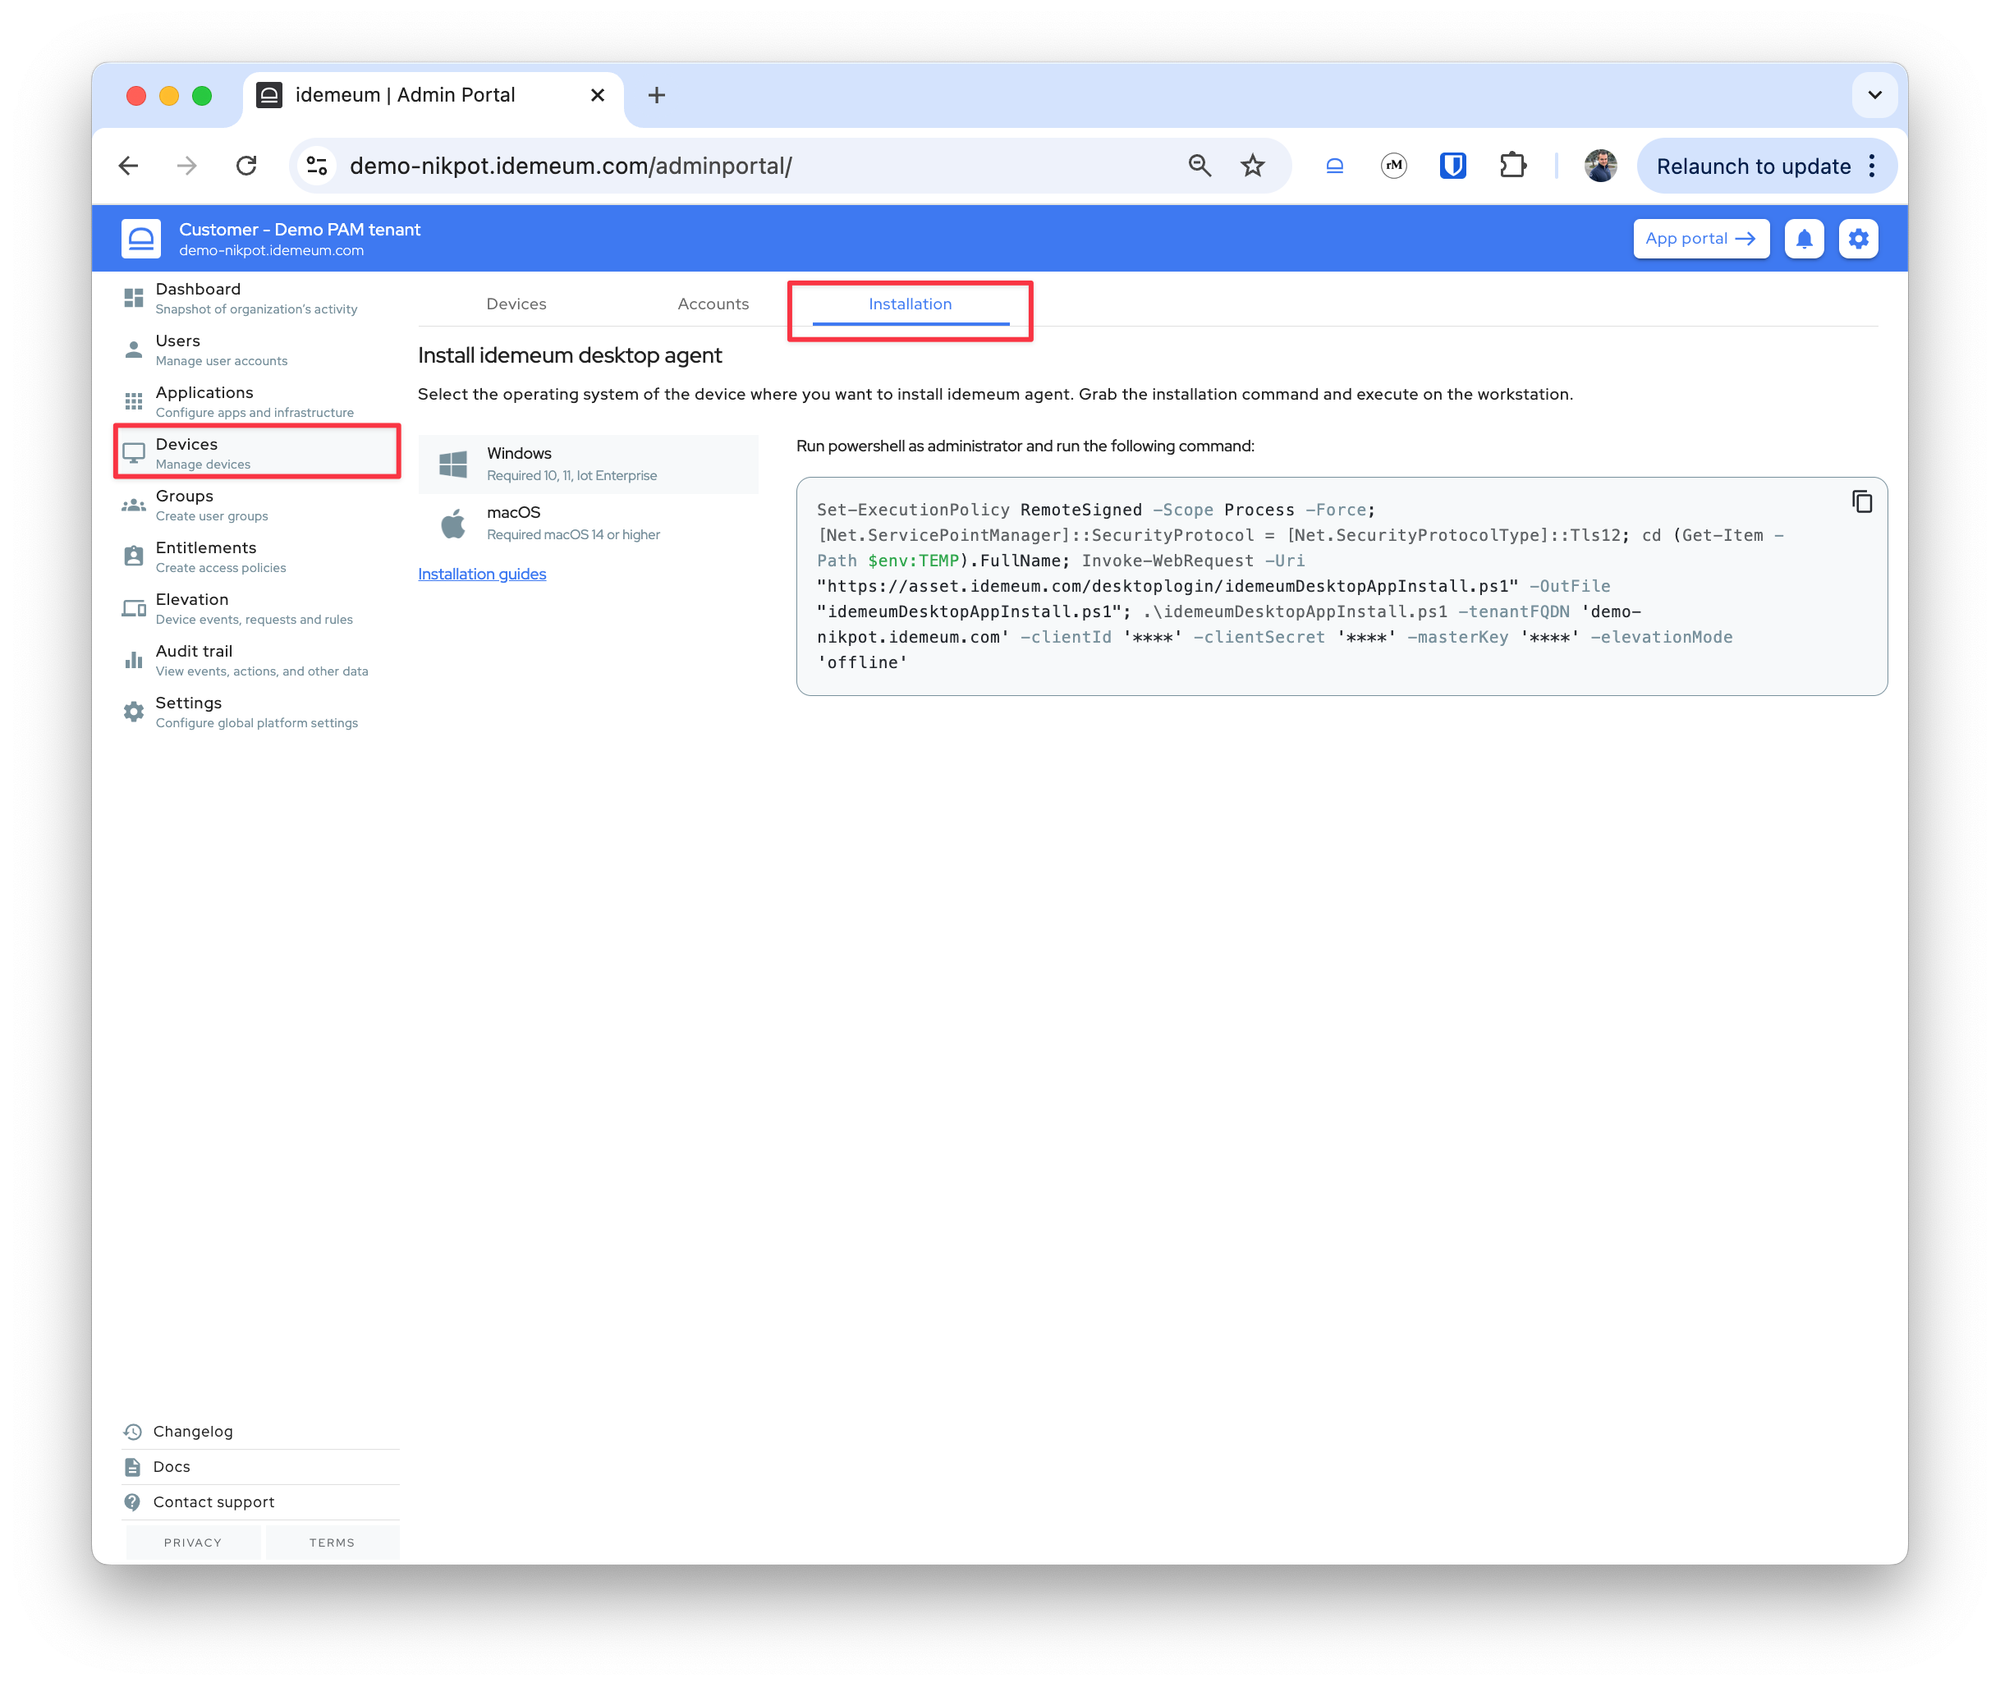
- Open the text editor, paste this command, and save as
ps1file so that it can be deployed with Intune
Install or update desktop client
- Access your Intune admin dashboard
- Navigate to
Devices→Windows→Scripts→Platform scriptsand then clickAdd - Give script a name
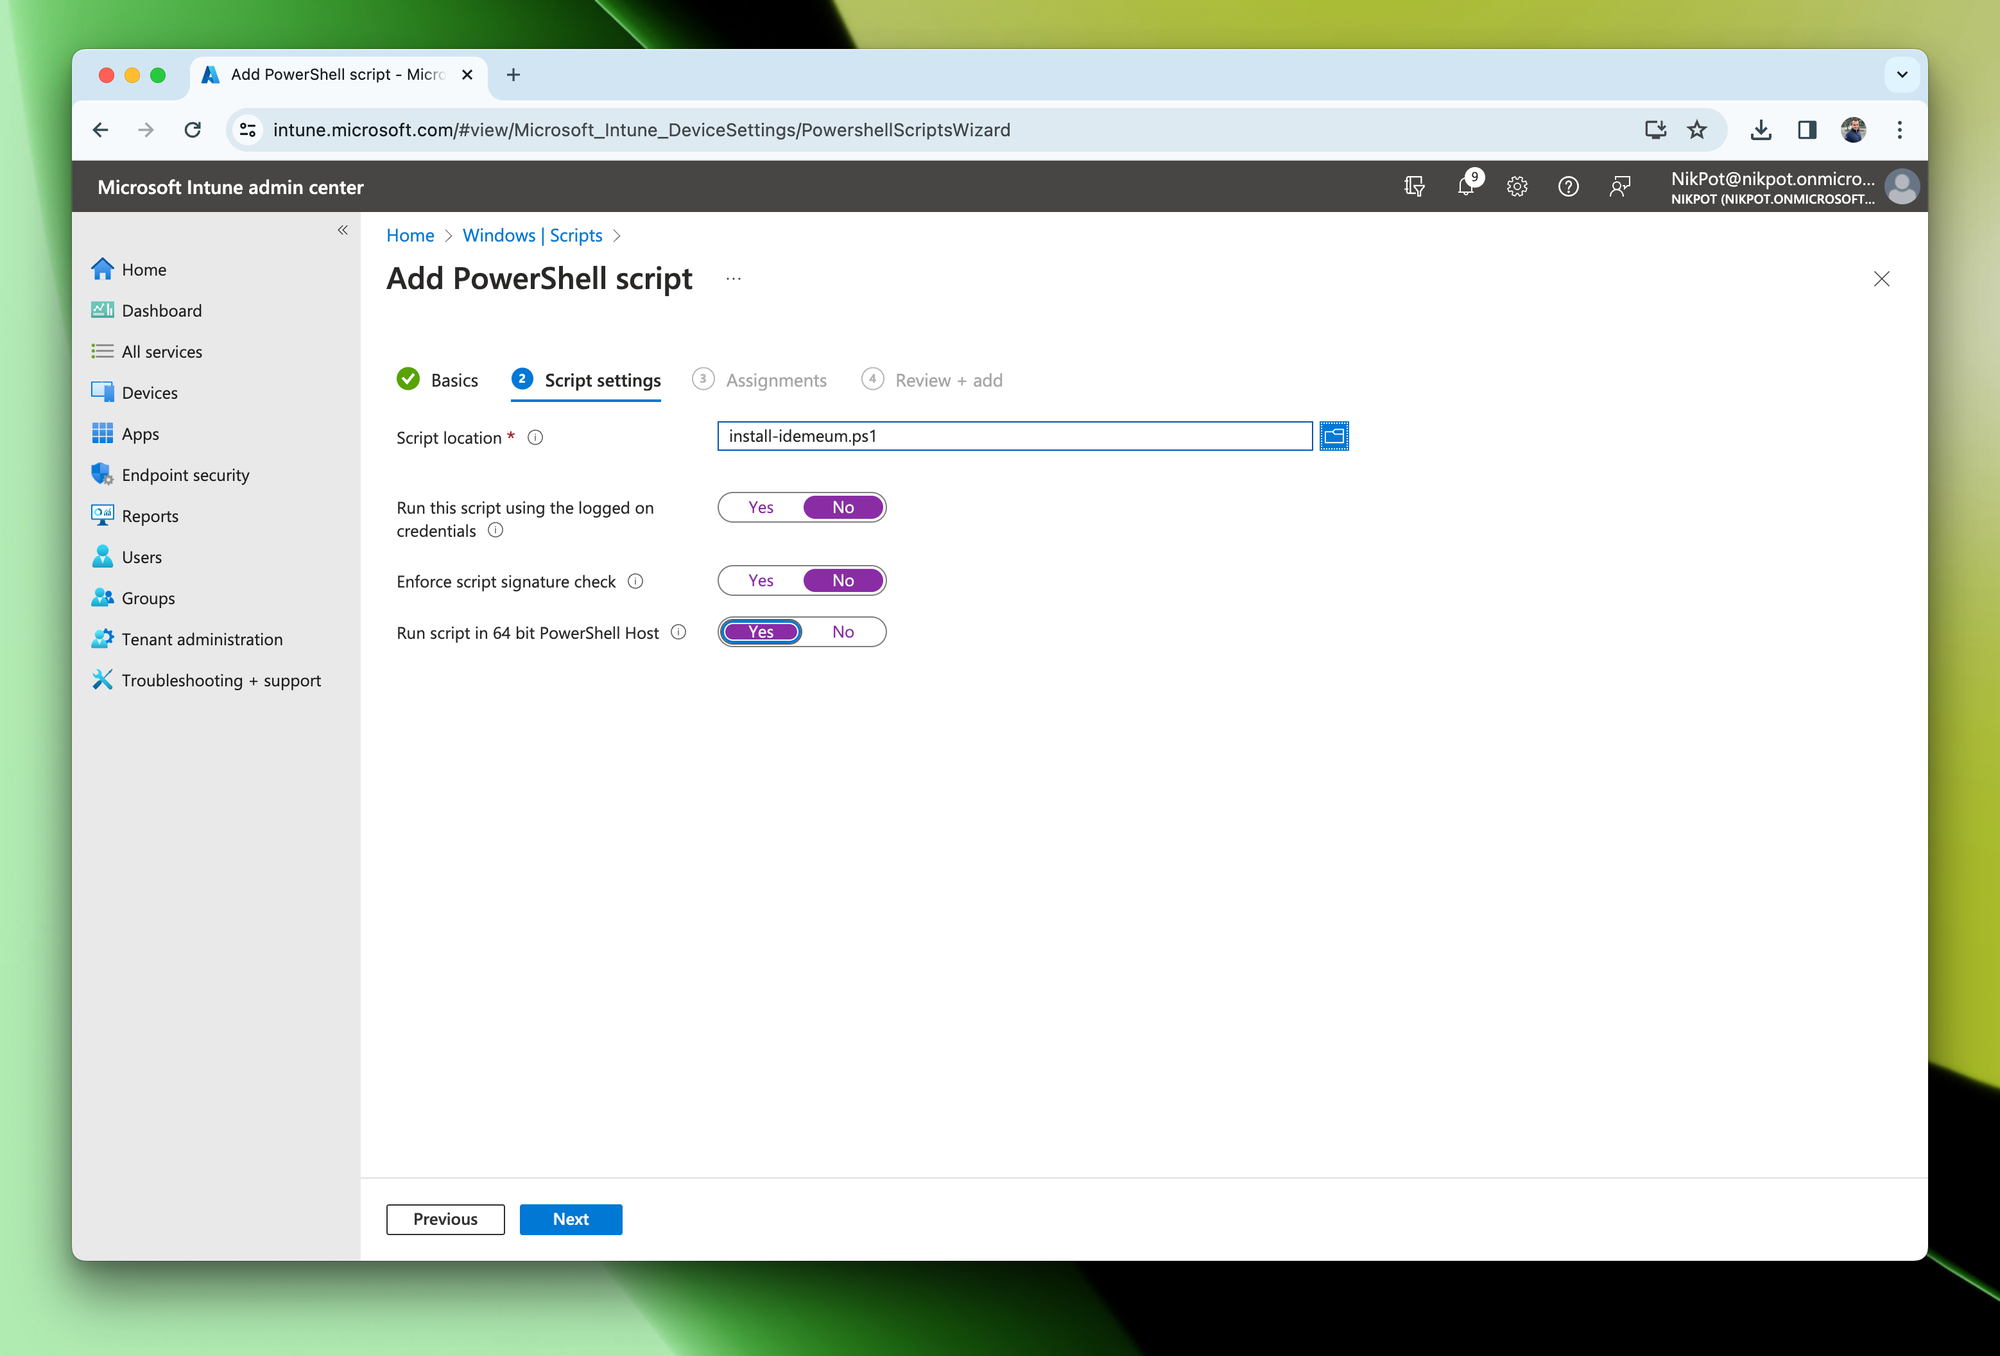
- Upload the installation script file that you created in the previous step
- Configure the settings as shown below
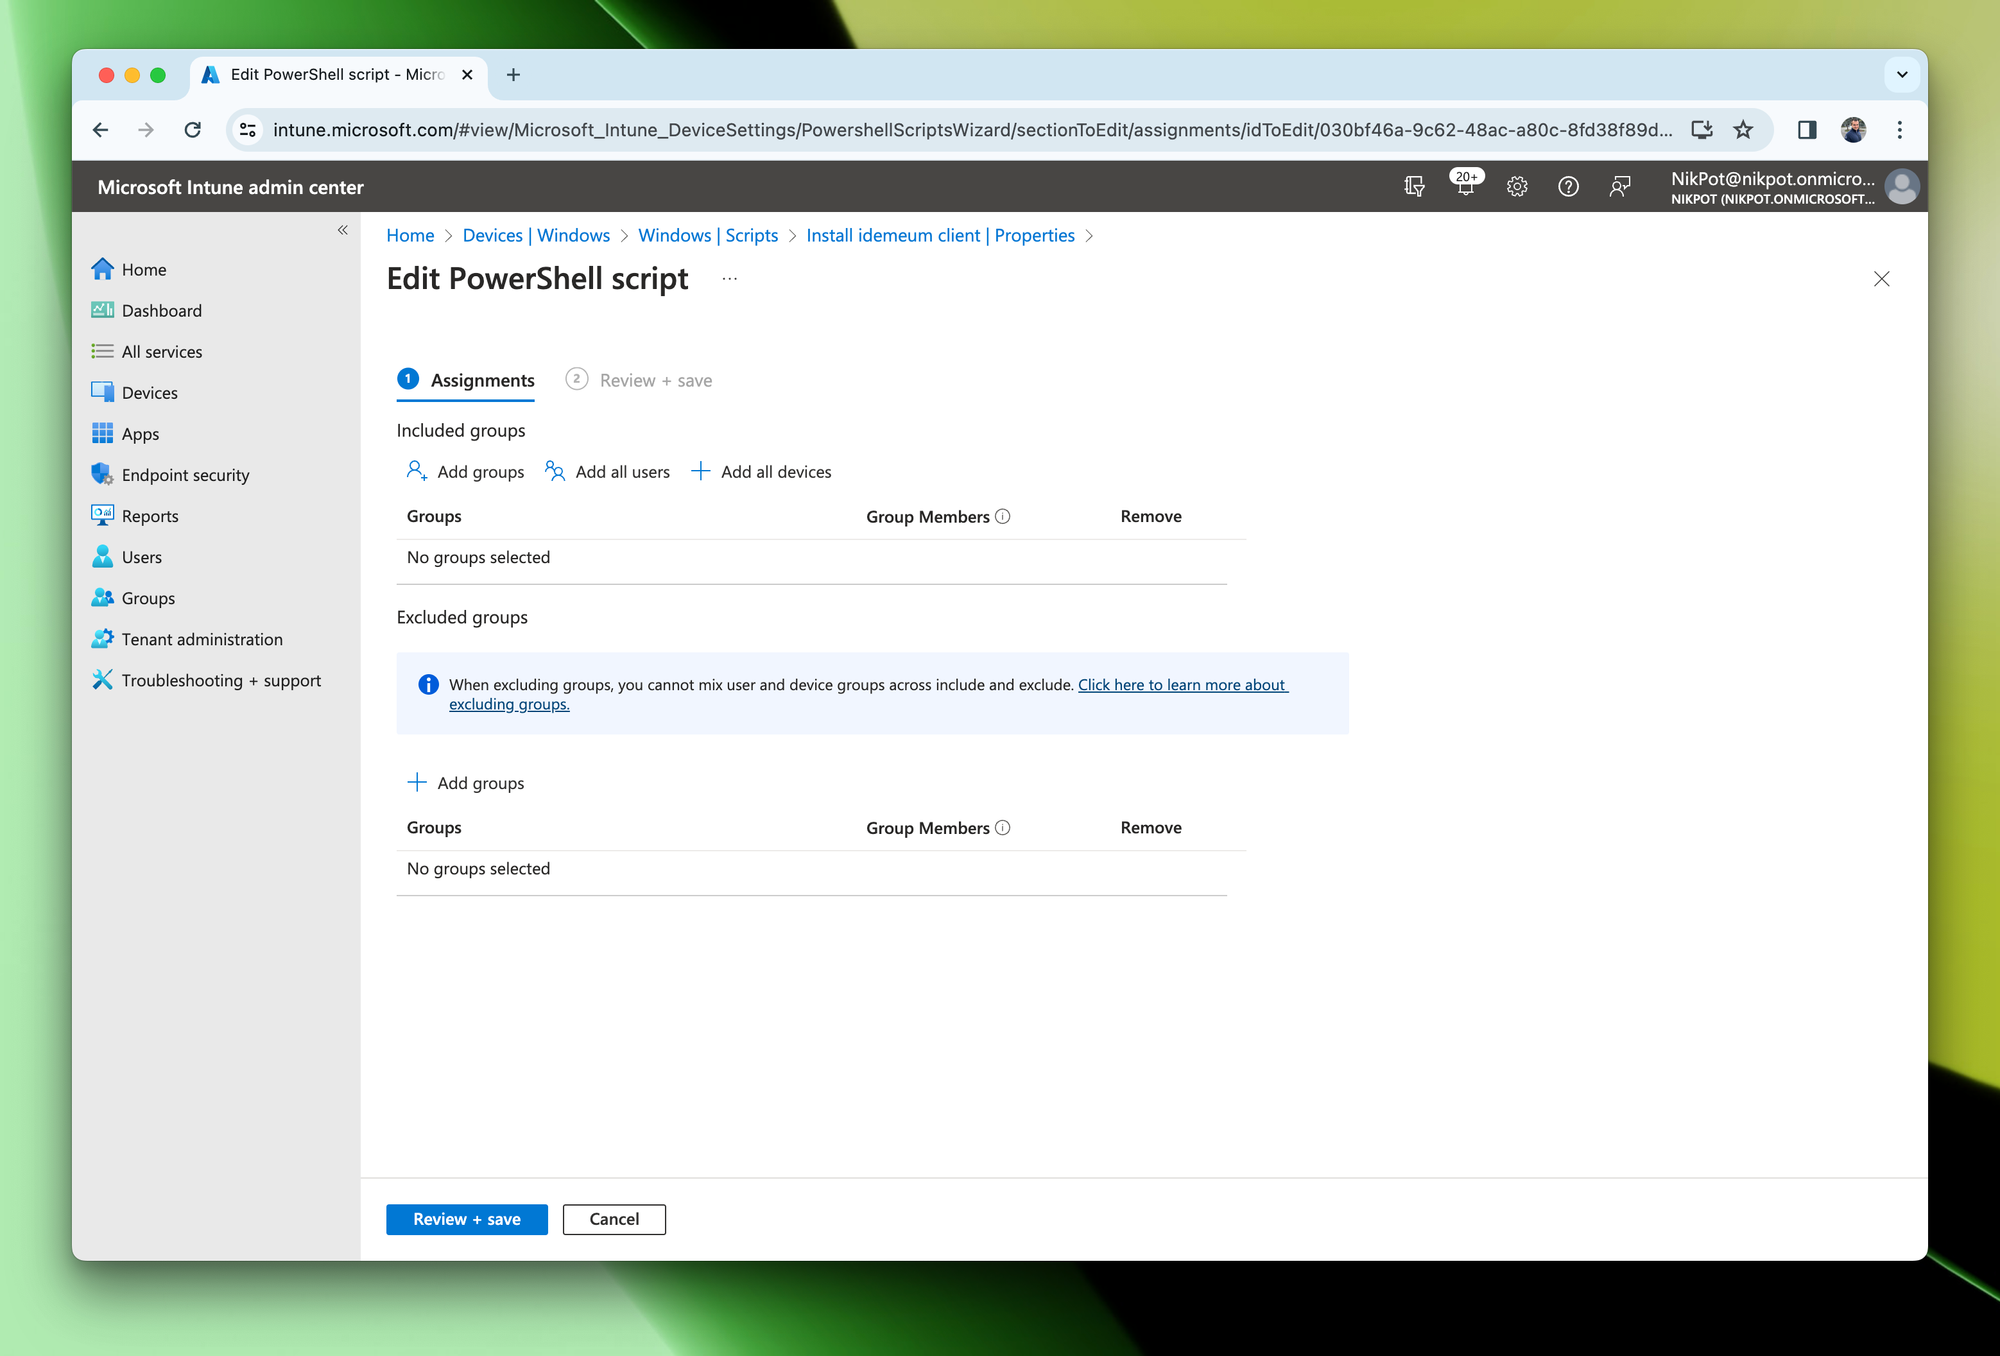
- For assignments add the workstations or groups to which you would like to deploy idemeum client
- Save the script configuration
Once complete you can manually trigger the deployment by navigating to Devices, choosing the workstation, and then triggering manual sync by clicking on Sync button. Or you can wait until the Intune agent will pick up the configuration and perform an installation within an hour.
Uninstall desktop client
- To uninstall idemeum client and updater please create the following PowerShell script and save it
Start-Process -FilePath "msiexec.exe" -ArgumentList "/x {93B9CC98-6004-411E-A8BF-88F7C3BC5541} /qn" -Wait
Start-Process -FilePath "msiexec.exe" -ArgumentList "/x {71216D26-573B-402B-A3F5-A7CB9F950CFF} /qn" -Wait
Restart-Computer -Force- You can create your own or download at the link below
- Create the script package similar to the one in the previous section and upload the uninstall script there
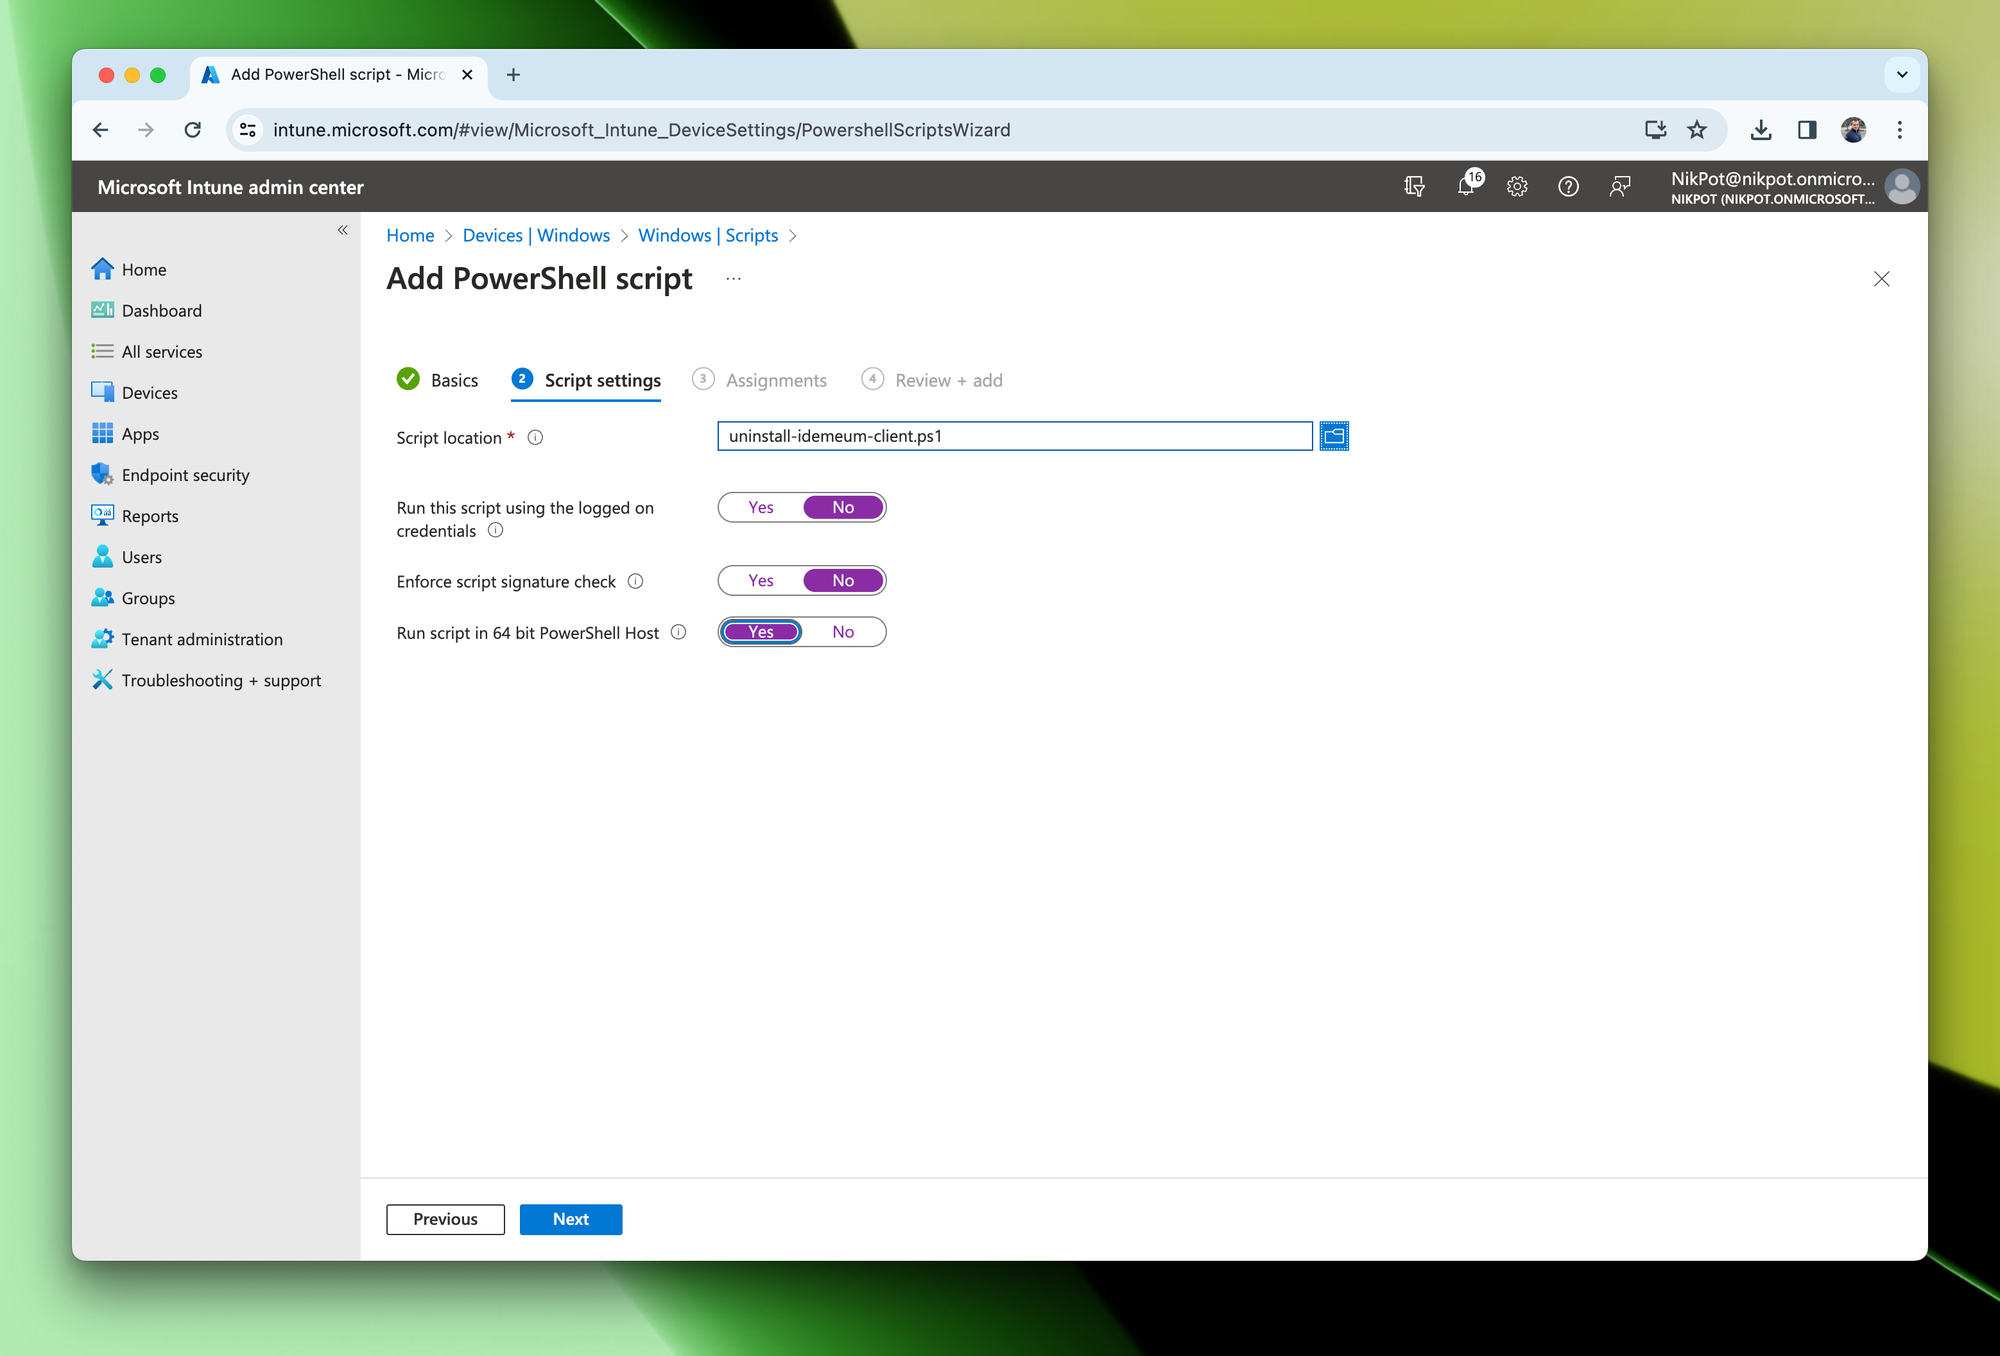
Now you can manually trigger the script deployment or wait until Intune agent will pick up the latest configuration.
Install MacOS agent
Deploy idemeum configuration profile
idemeum desktop client requires Accessibility and Full disk access when installed on MacOS workstation. We will use configuration profile to automatically enable this type of access for idemeum desktop client.
- Navigate to idemeum customer tenant admin portal
- Access
Devices→Installation→macOS - Click on
MacOS profile to enable the permissions
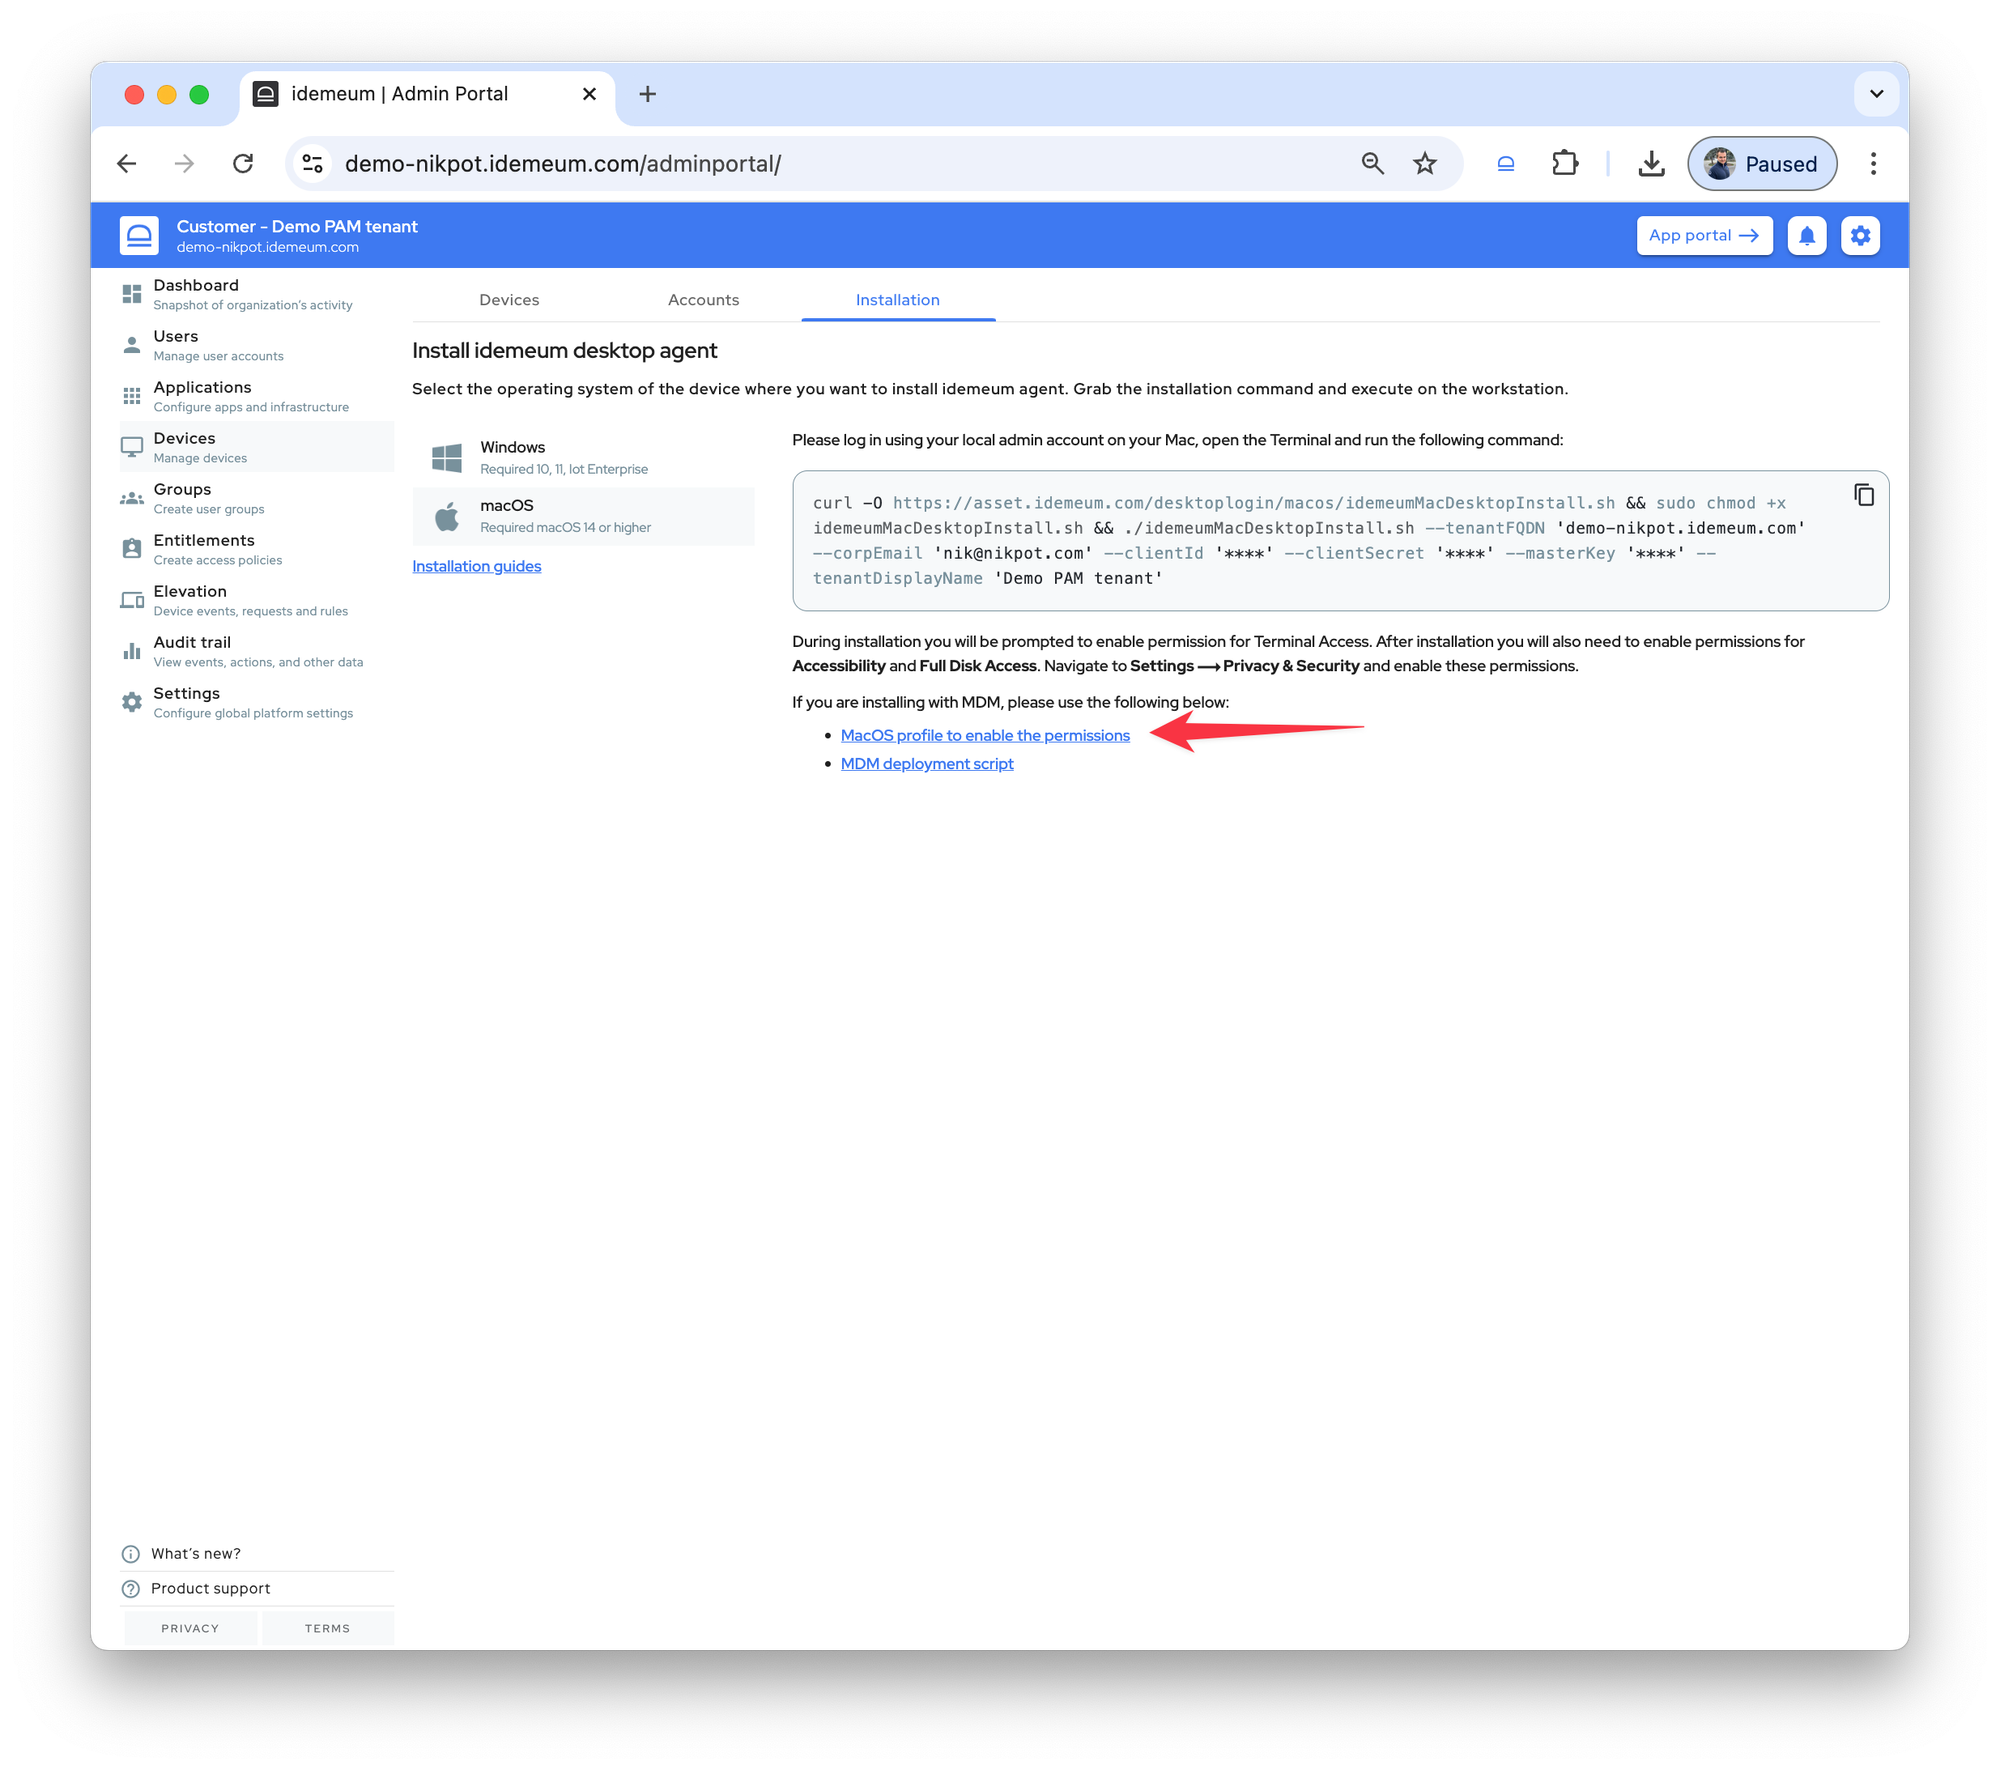
The profile will be download that you will need to deploy to MacOS workstations.
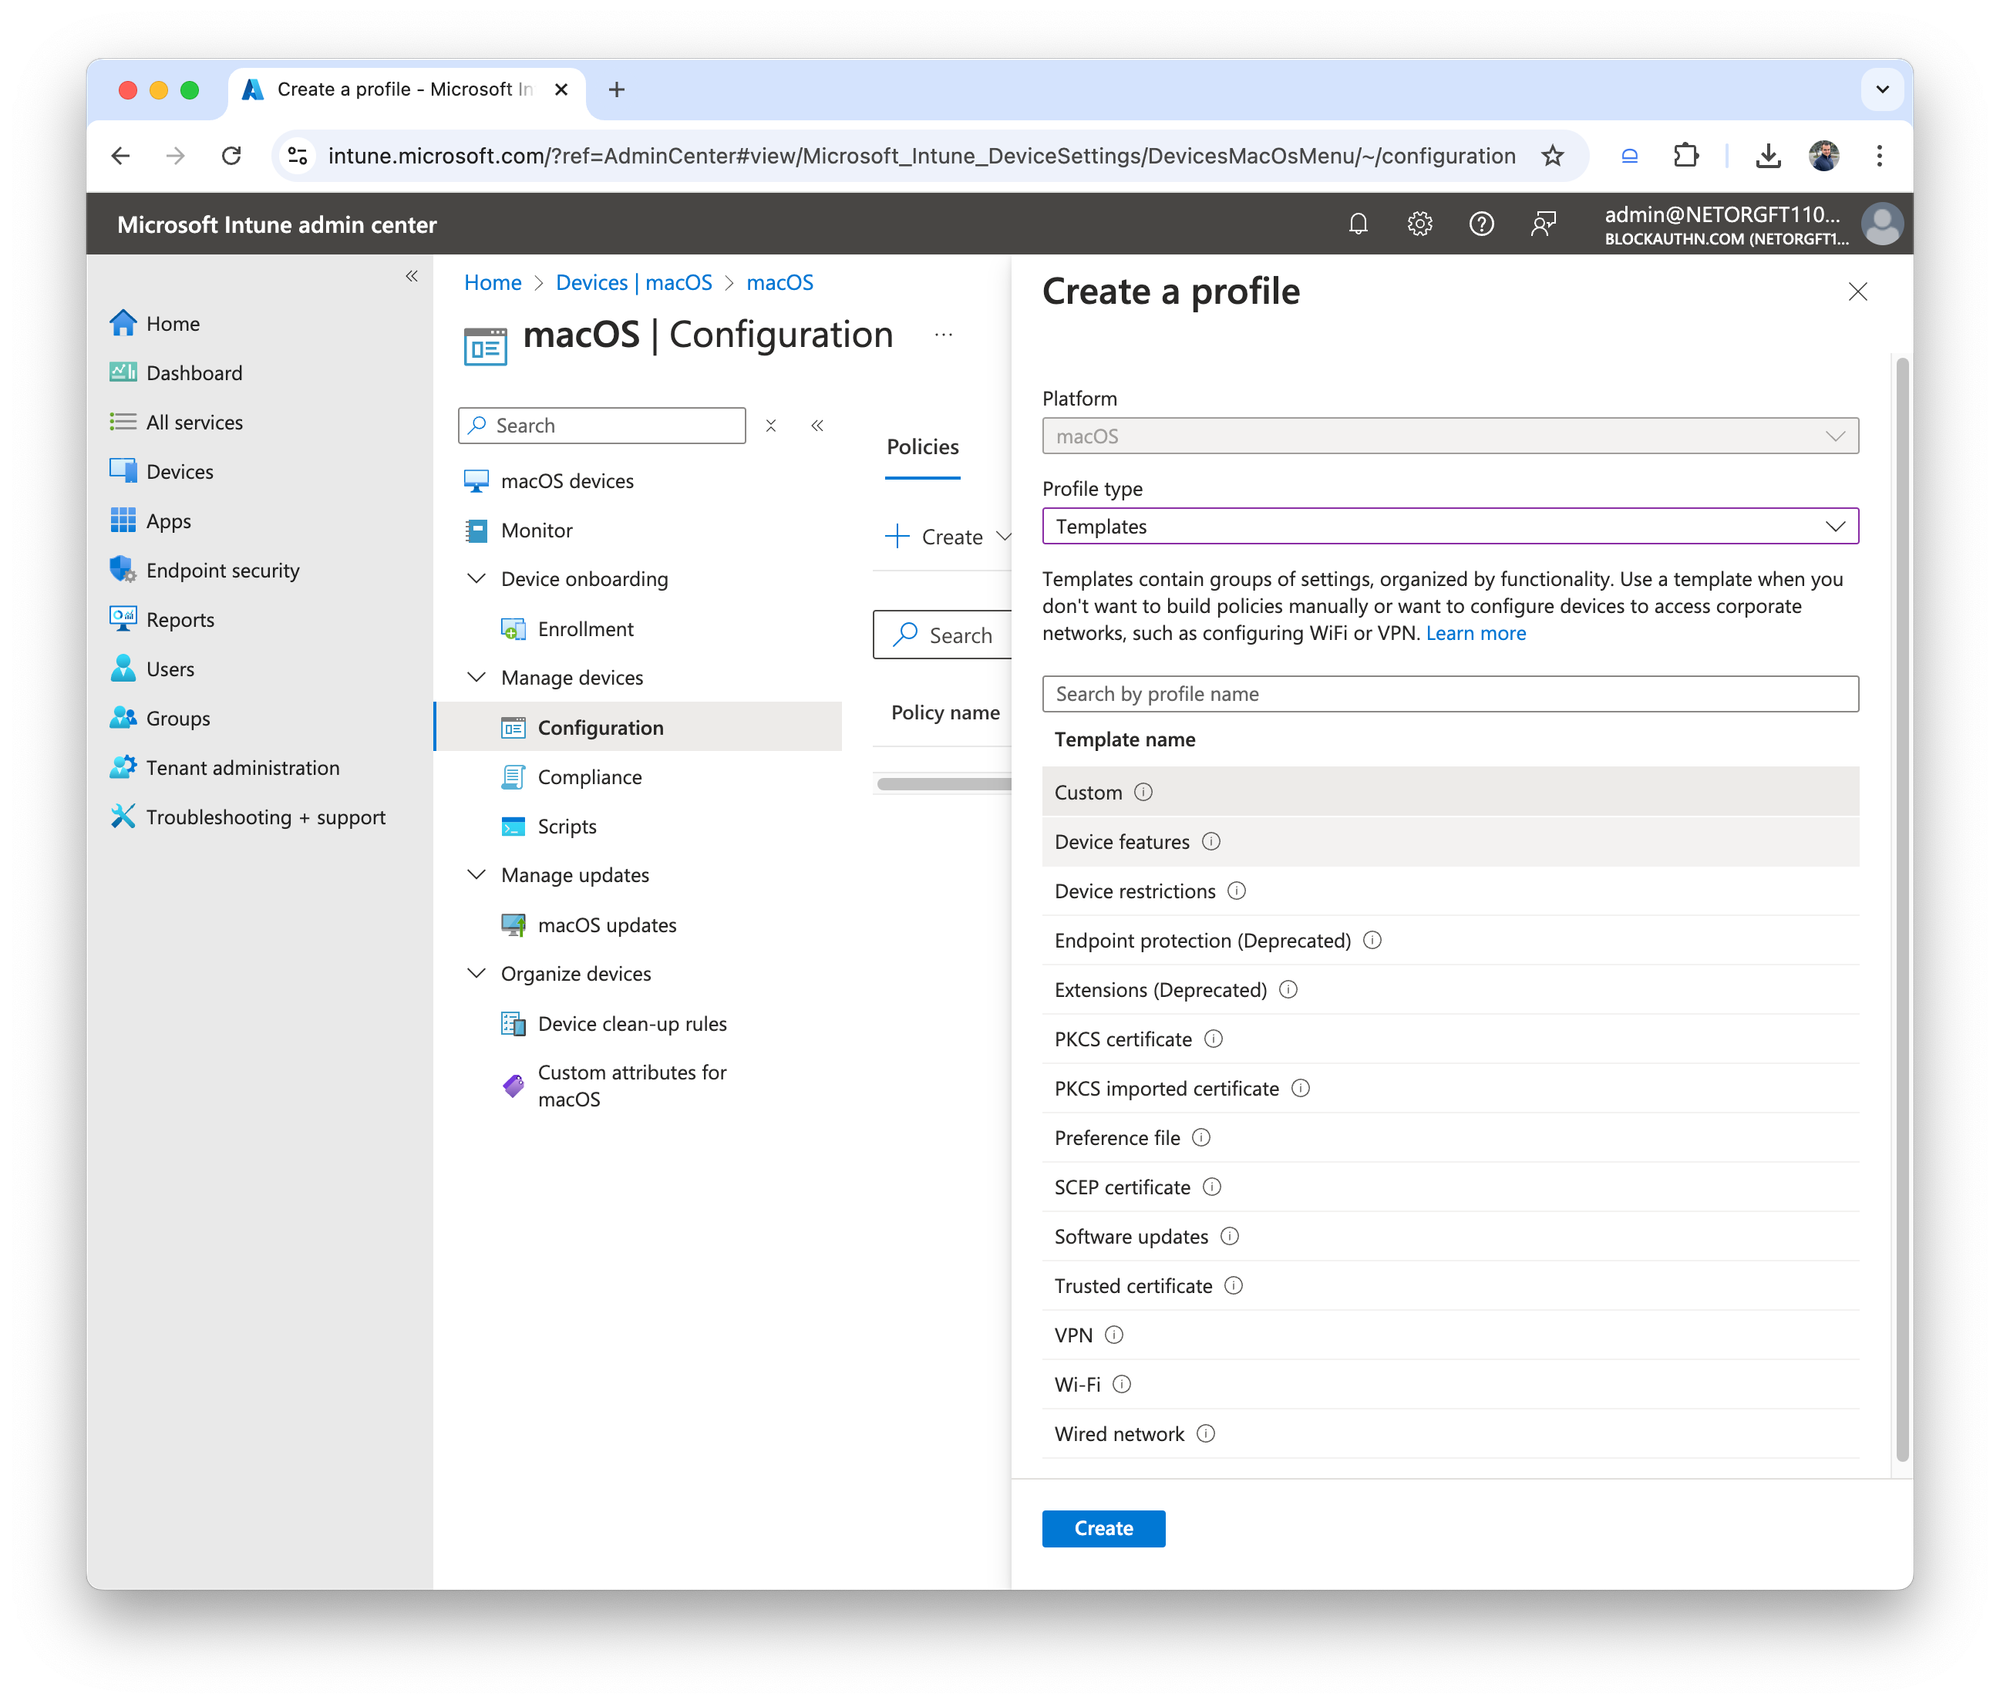
- In Intune admin dashboard navigate to
Devices→macOS→Configuration - Click
Create→New policy - Select
TemplatesforProfile type - Then choose
Custom
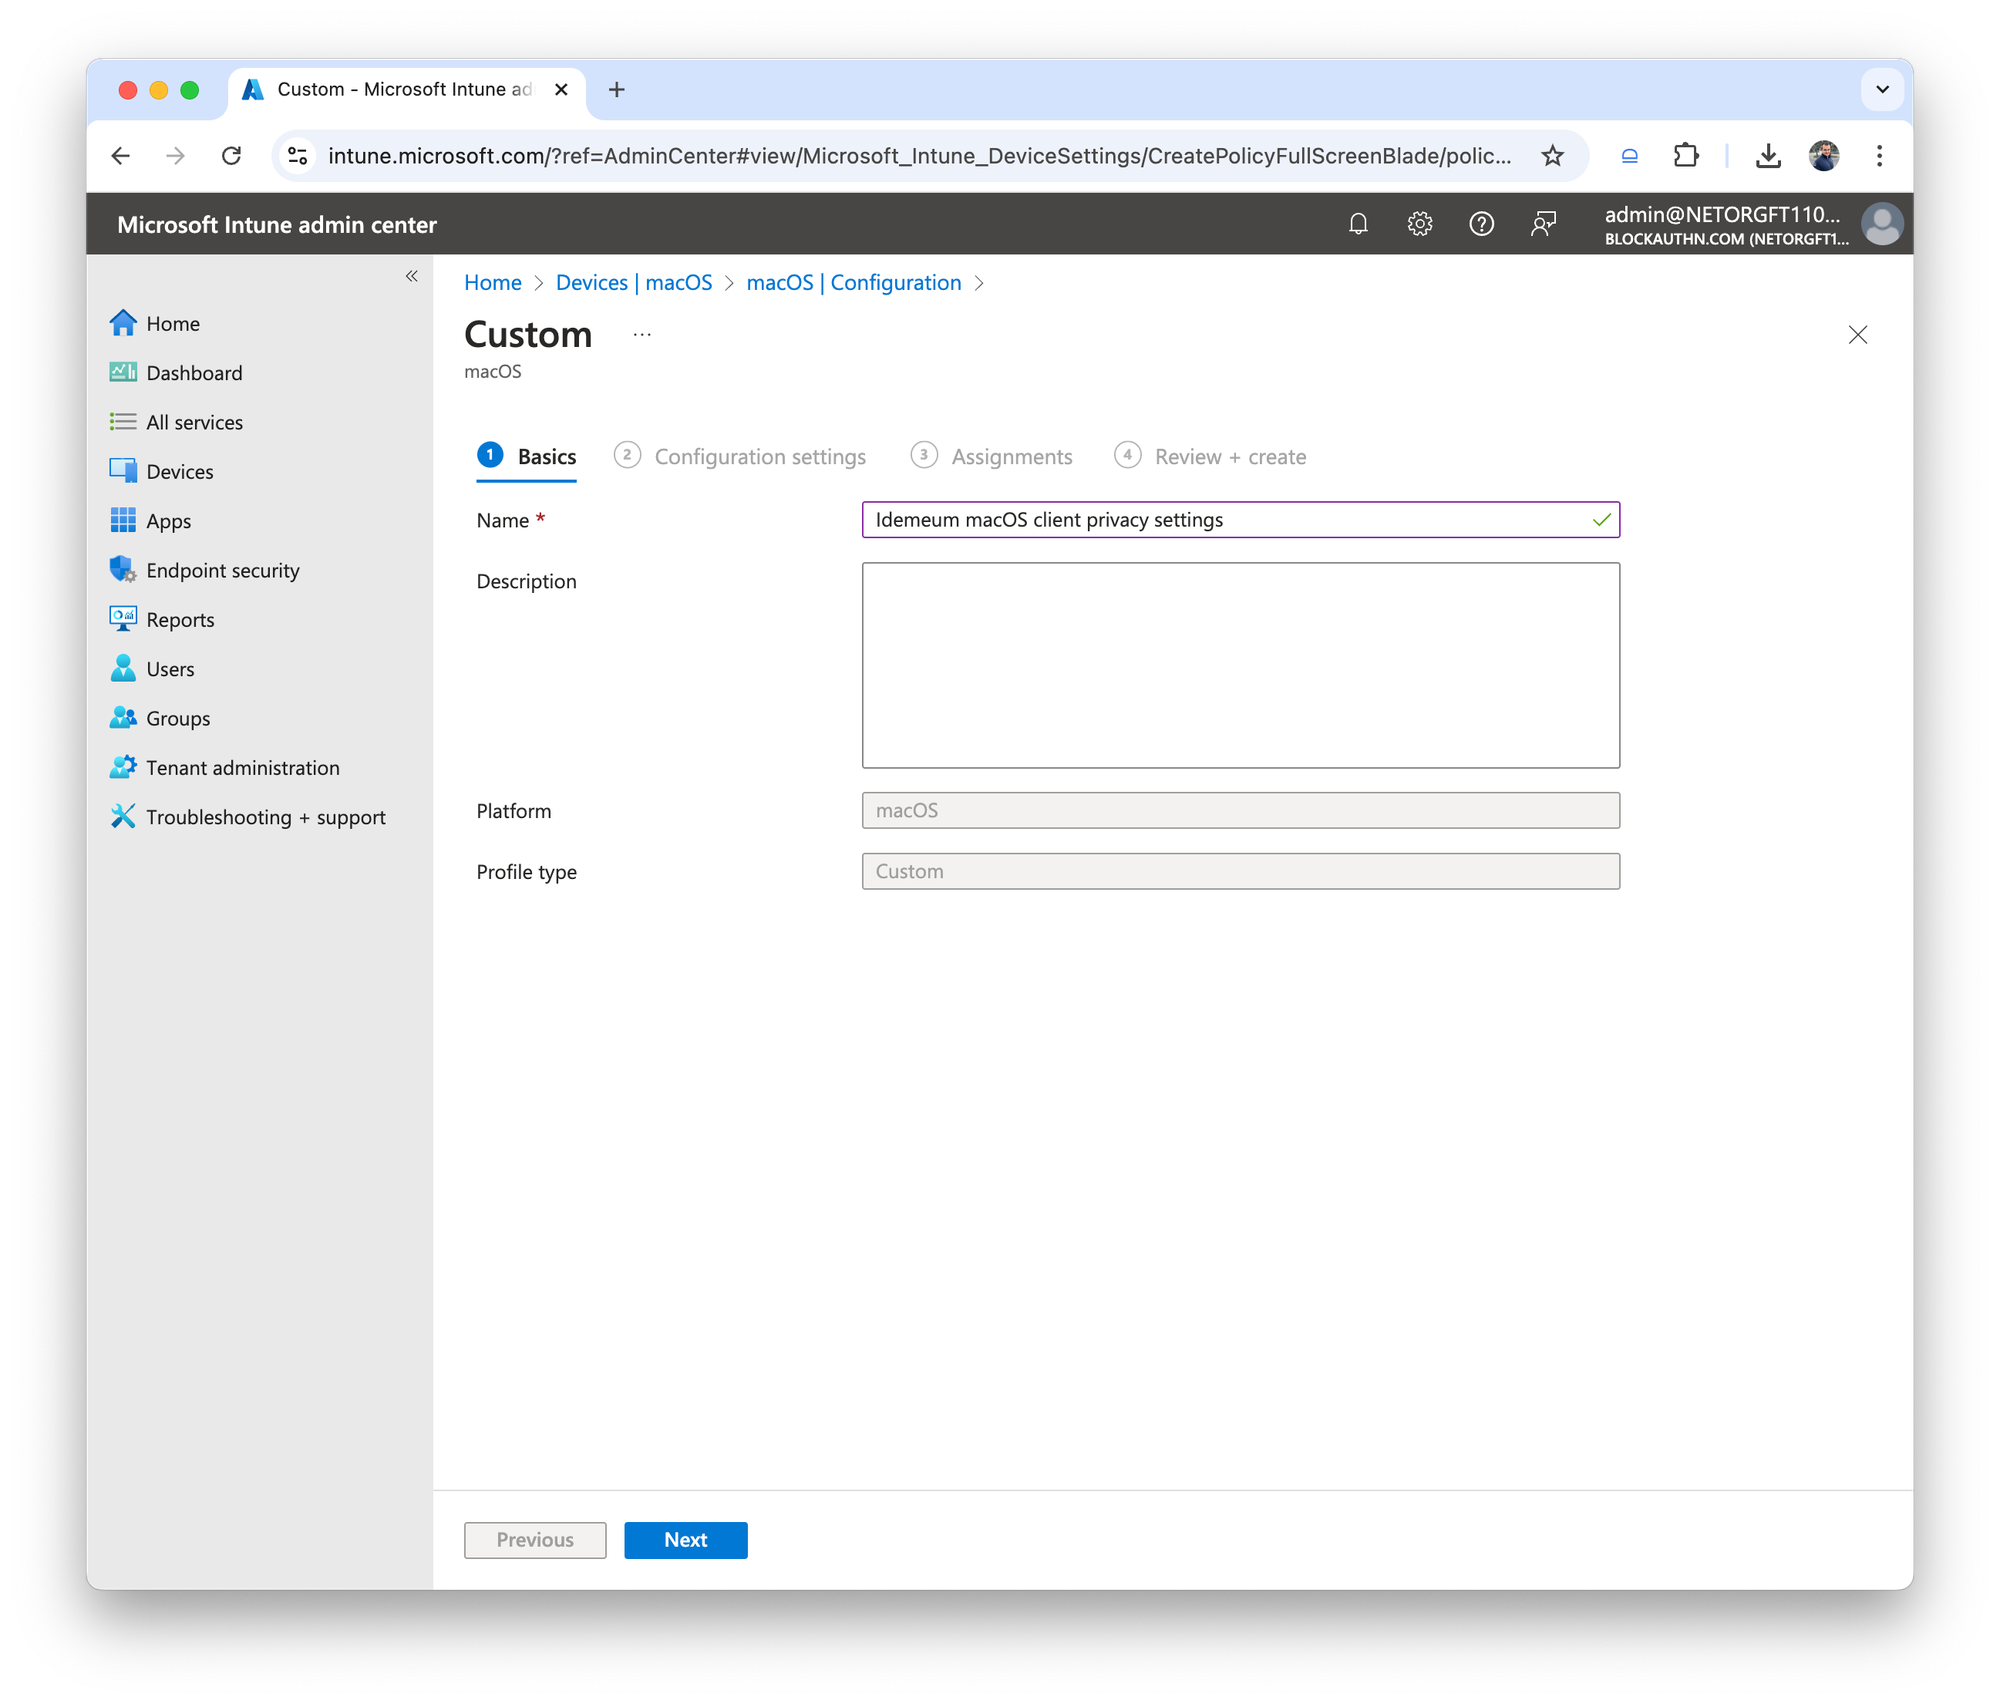
- Give profile a name
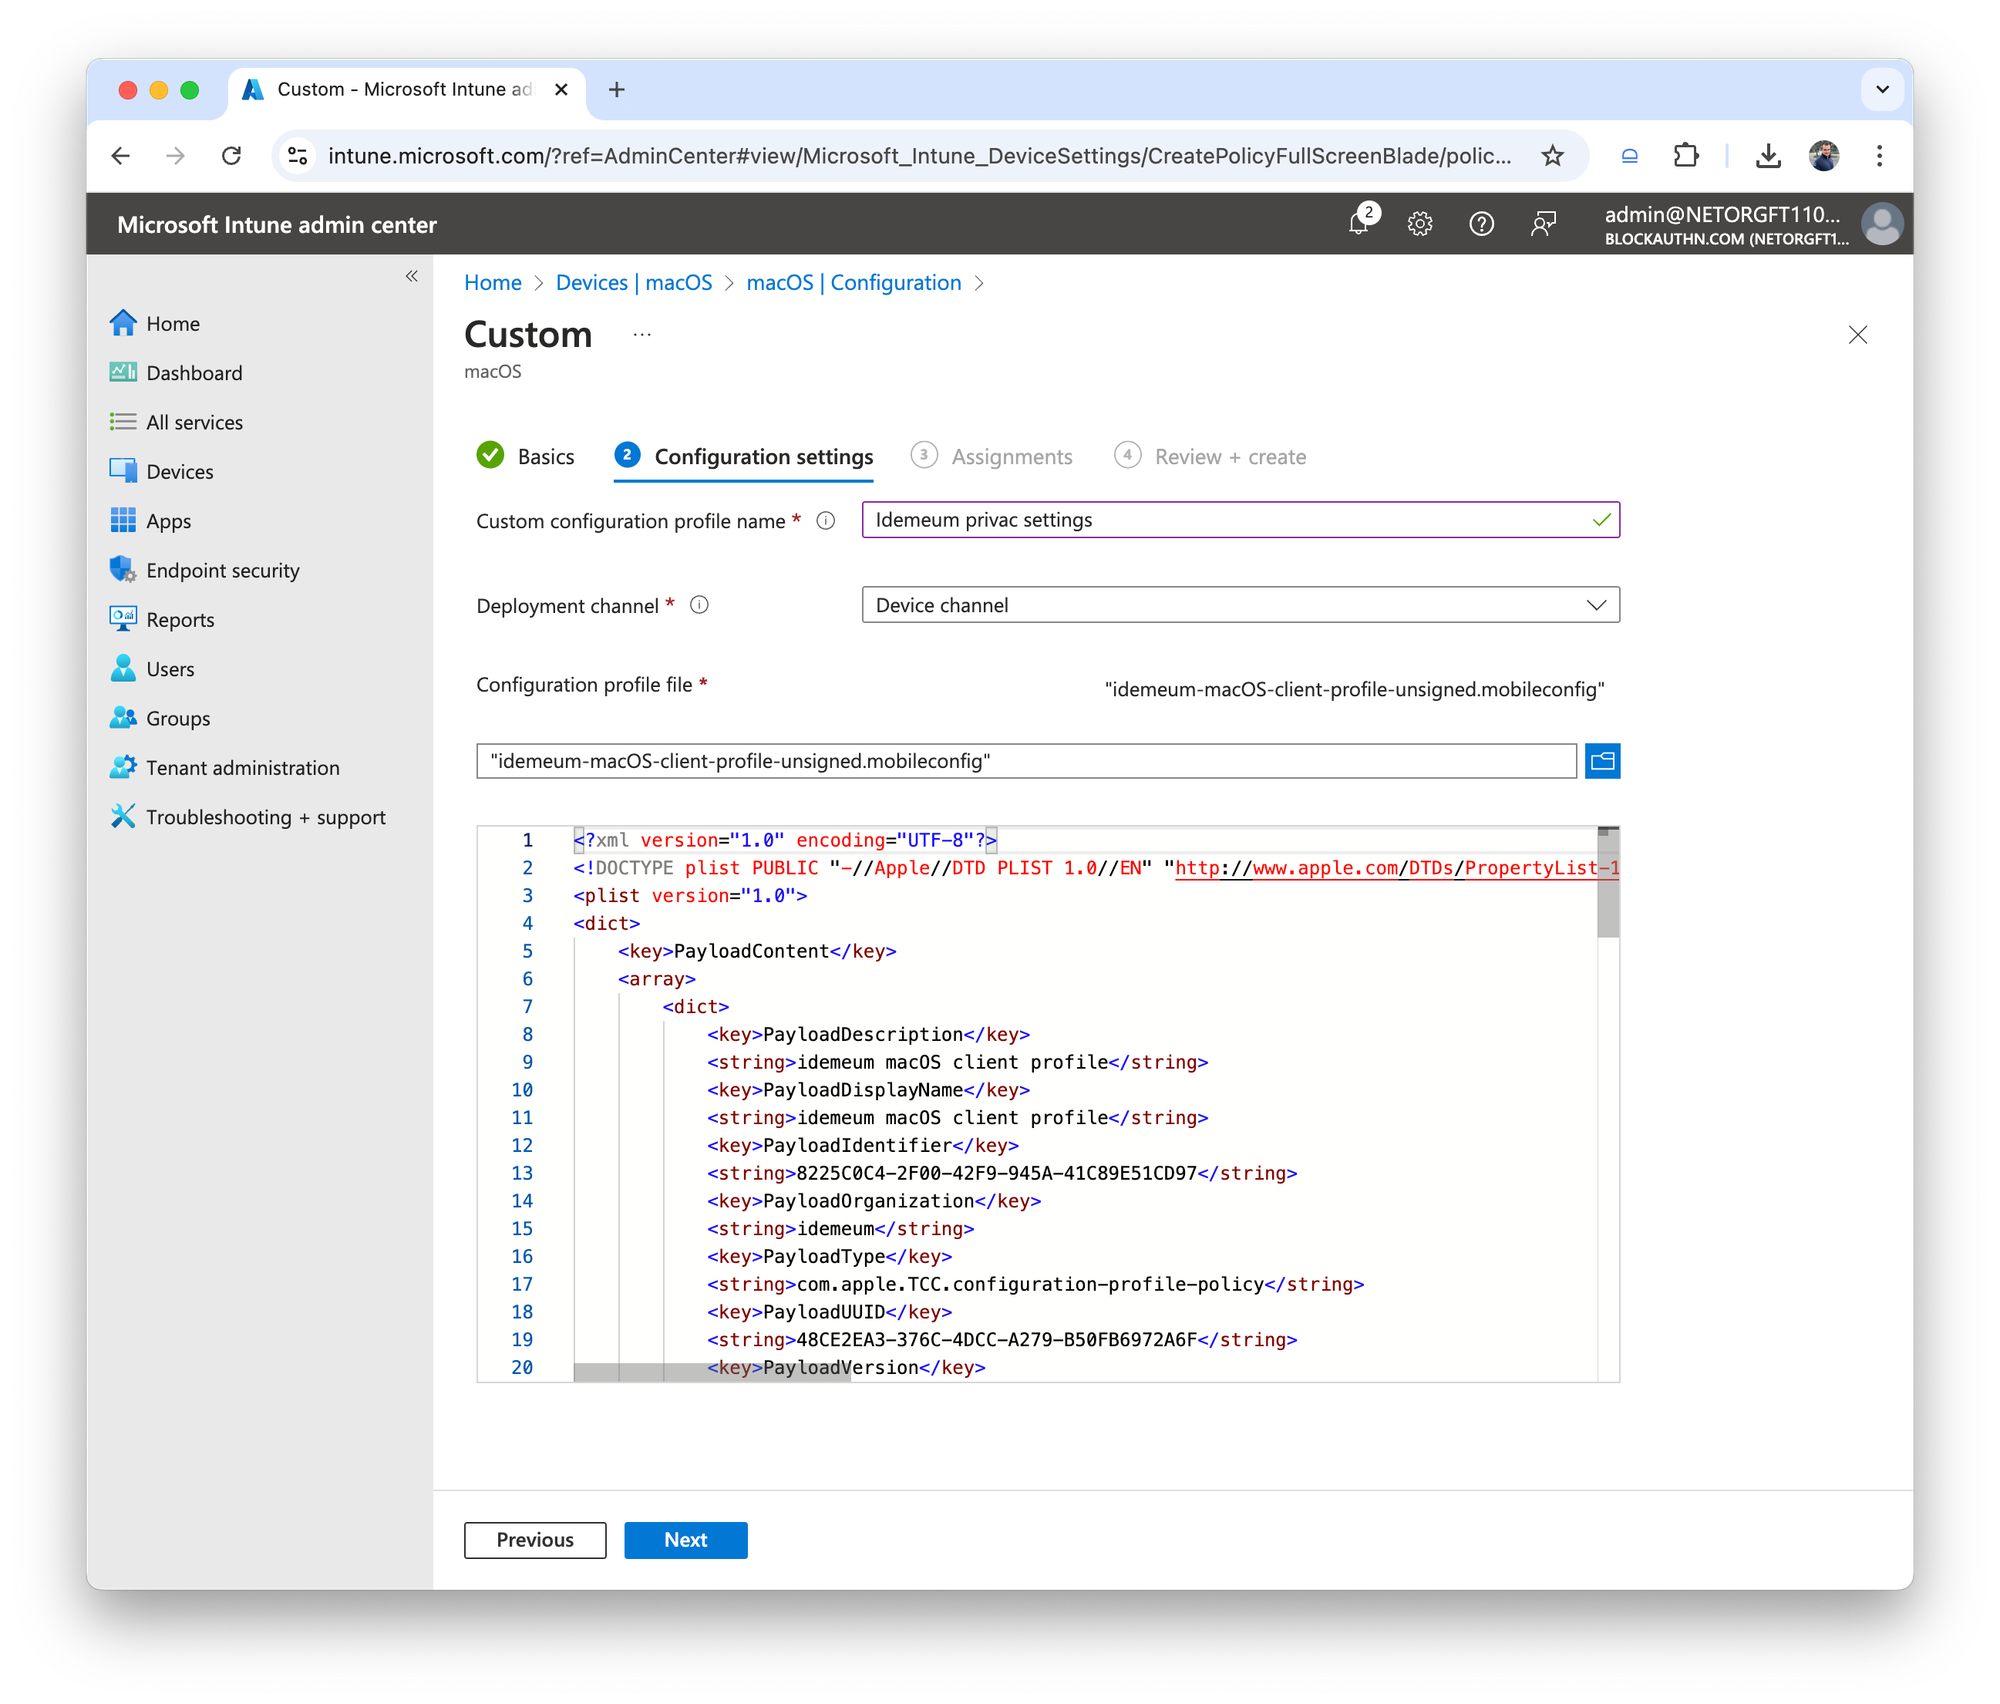
- Provide the name that will be displayed to users
- Choose
Device channeland upload the profile that you downloaded in the steps above
- Choose the groups of devices or users that you want to deploy this profile to
- Deploy the profile to target macOS workstations
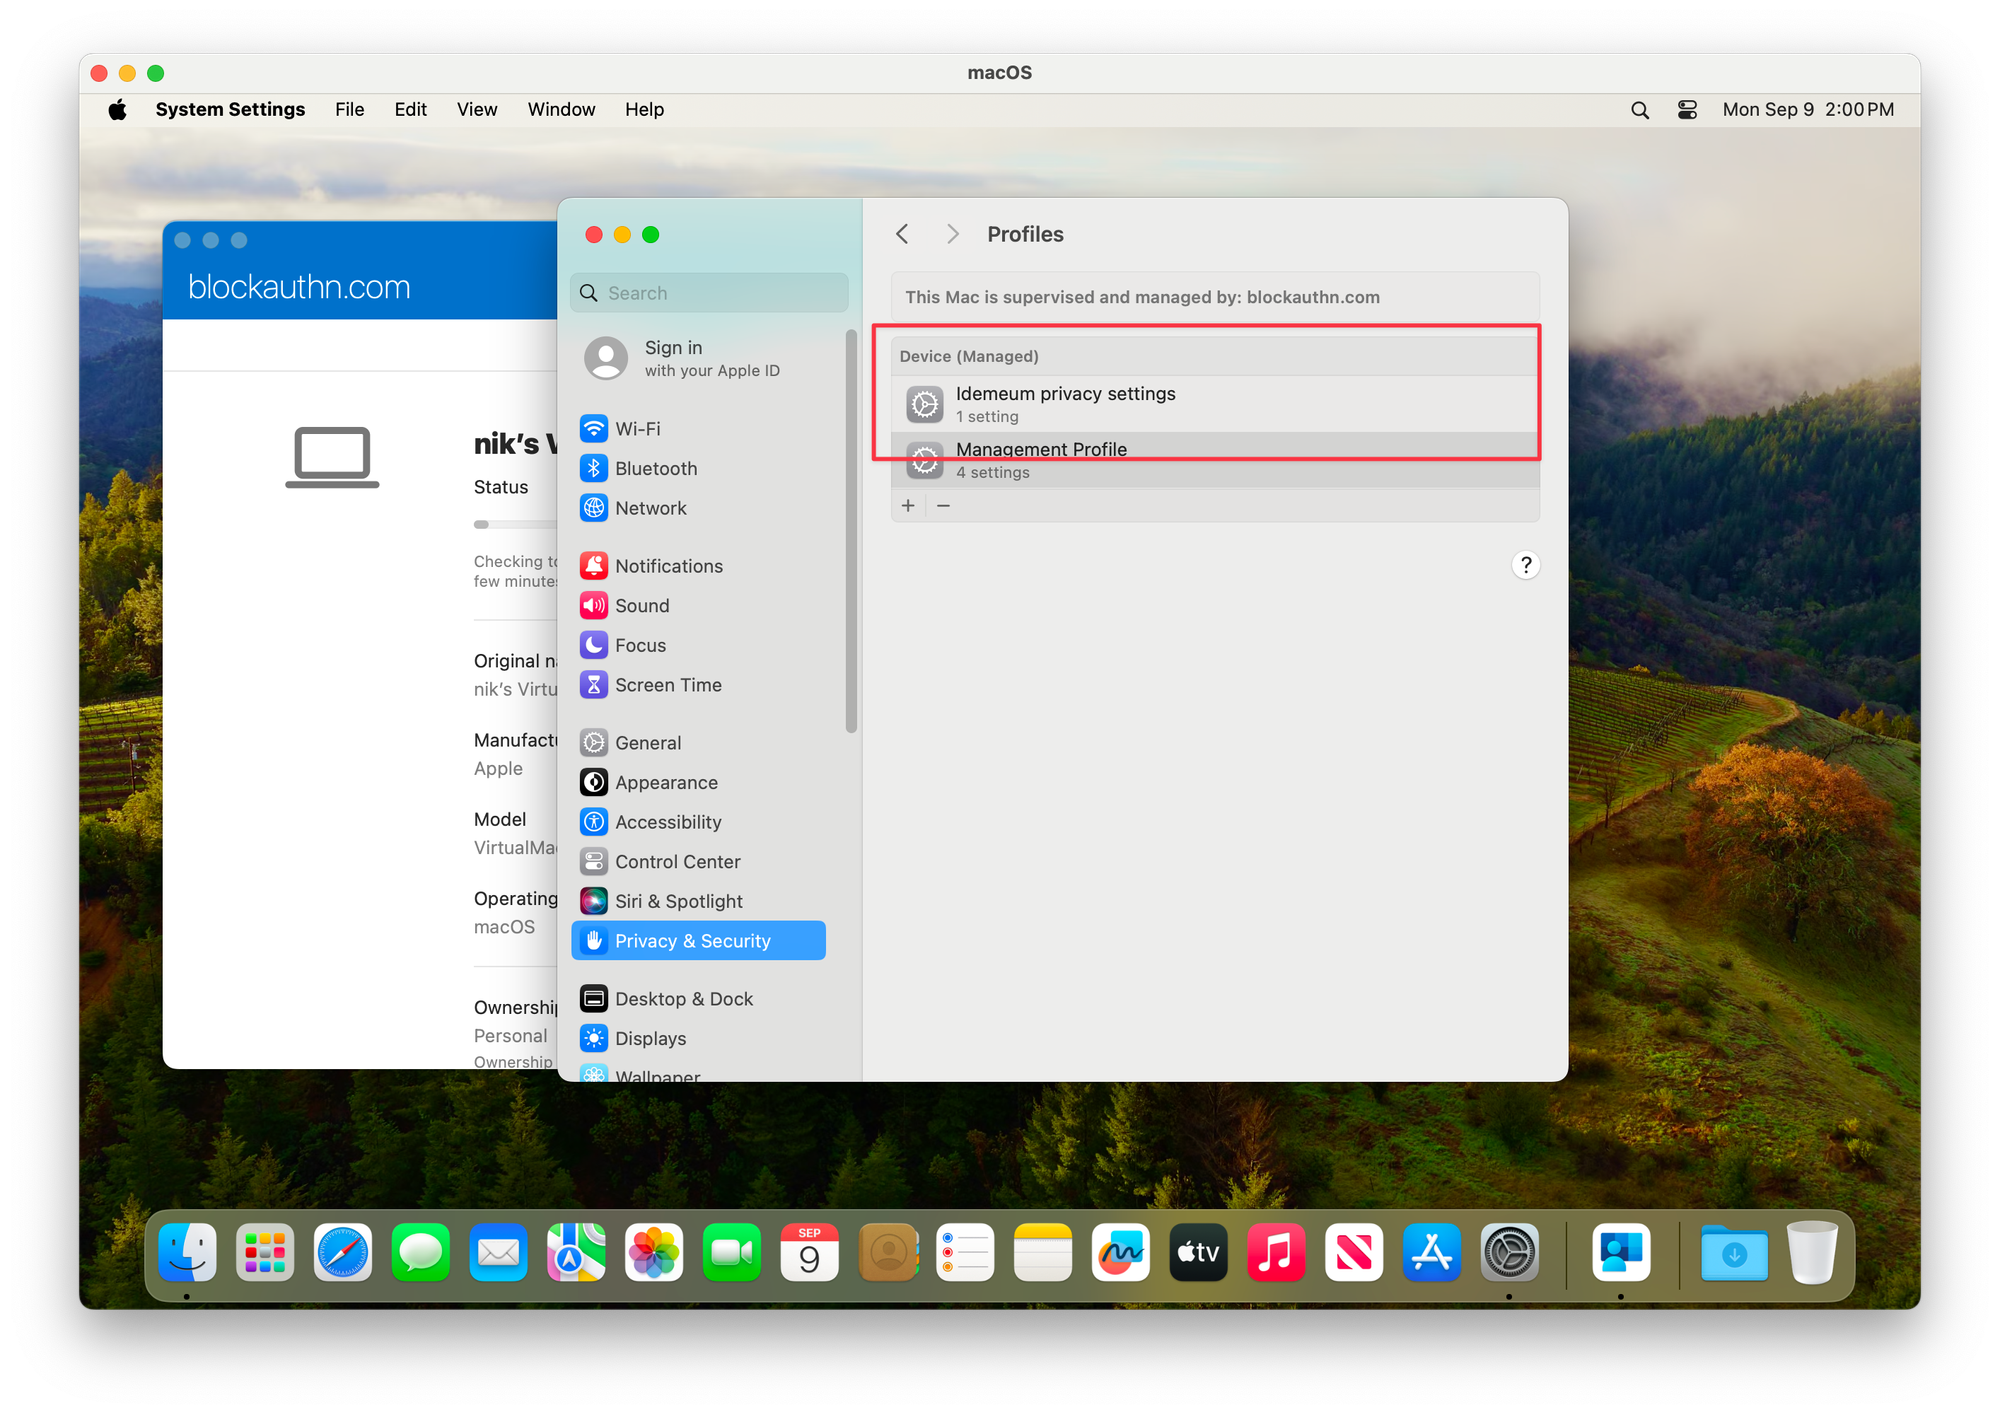
Deploy idemeum agent
Now we will push idemeum client to MacOS workstations. Let's first download the execution script that we will be deploying.
- Navigate to idemeum customer tenant admin portal
- Access
Devices→Installation→macOS - Click on
MDM deployment script
The script will download that we will be deploying with Intune.
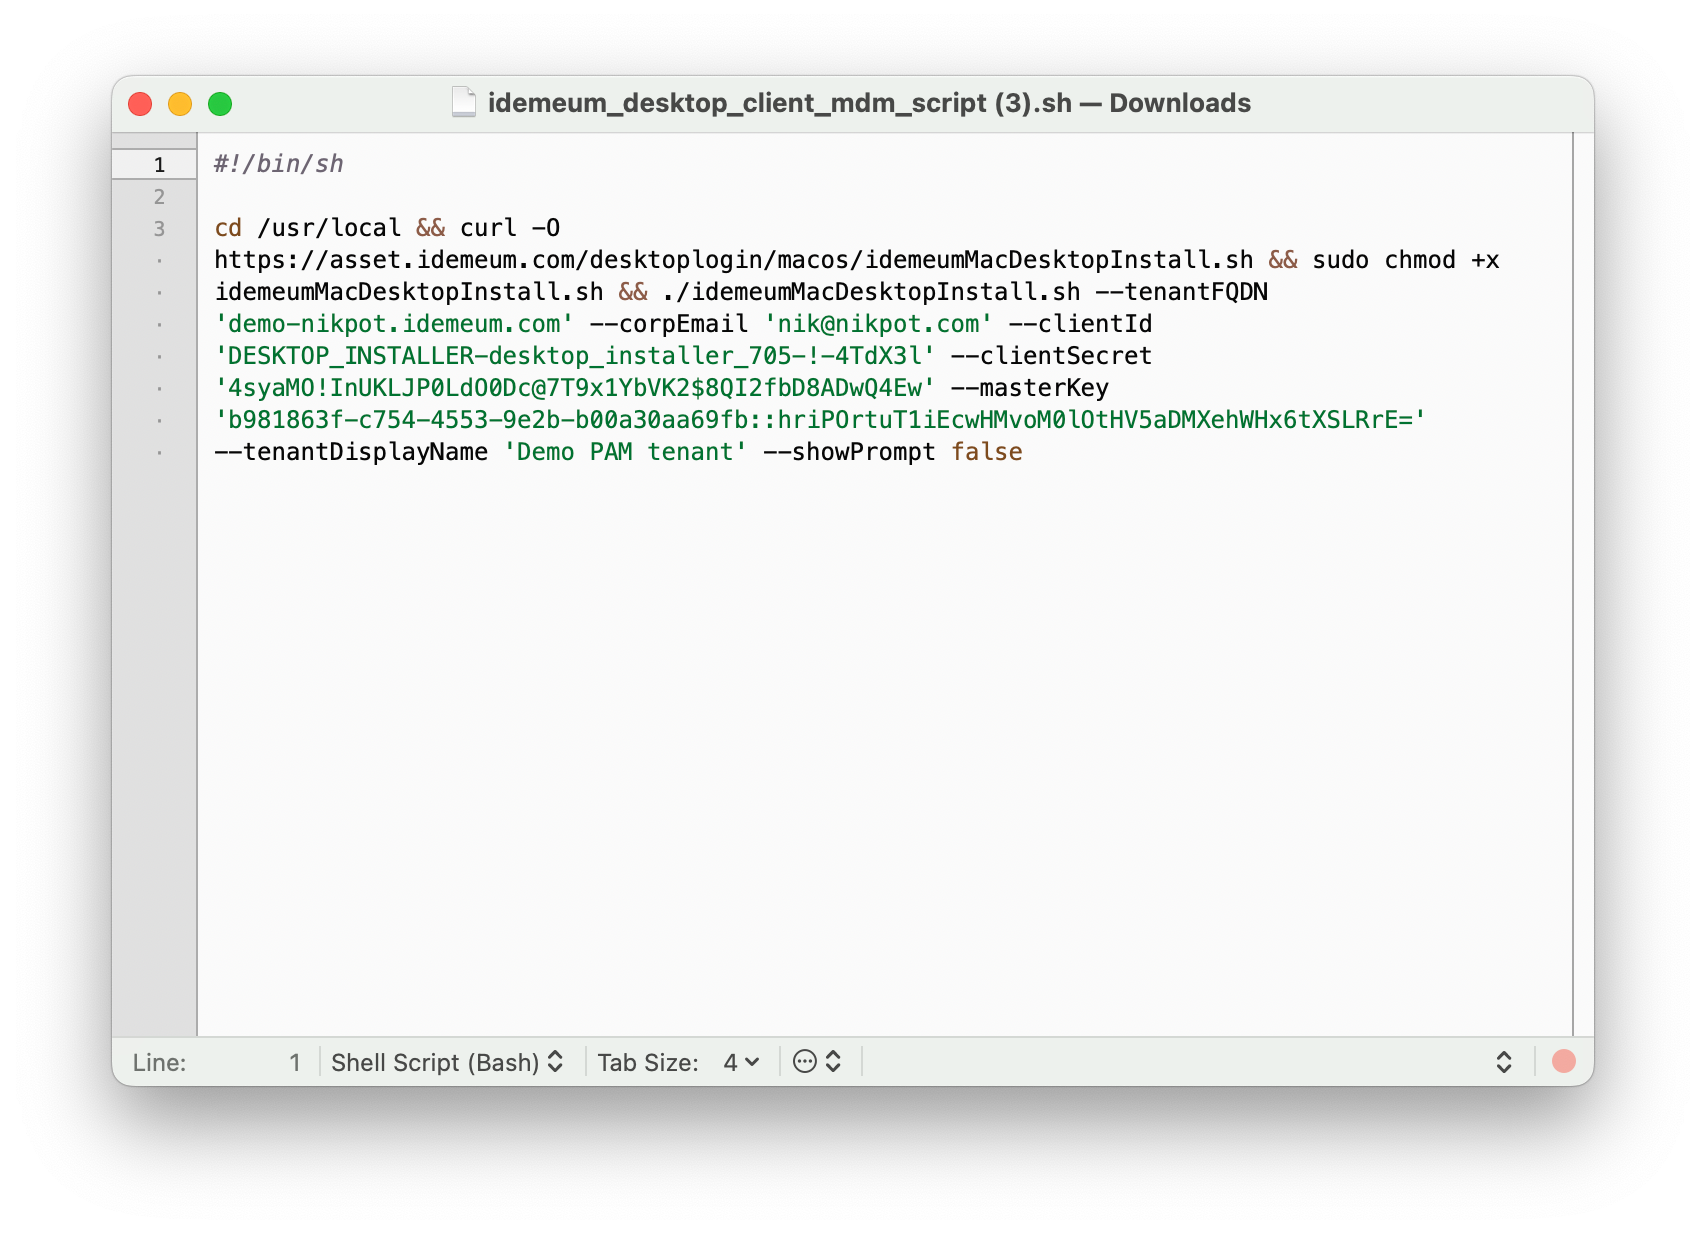
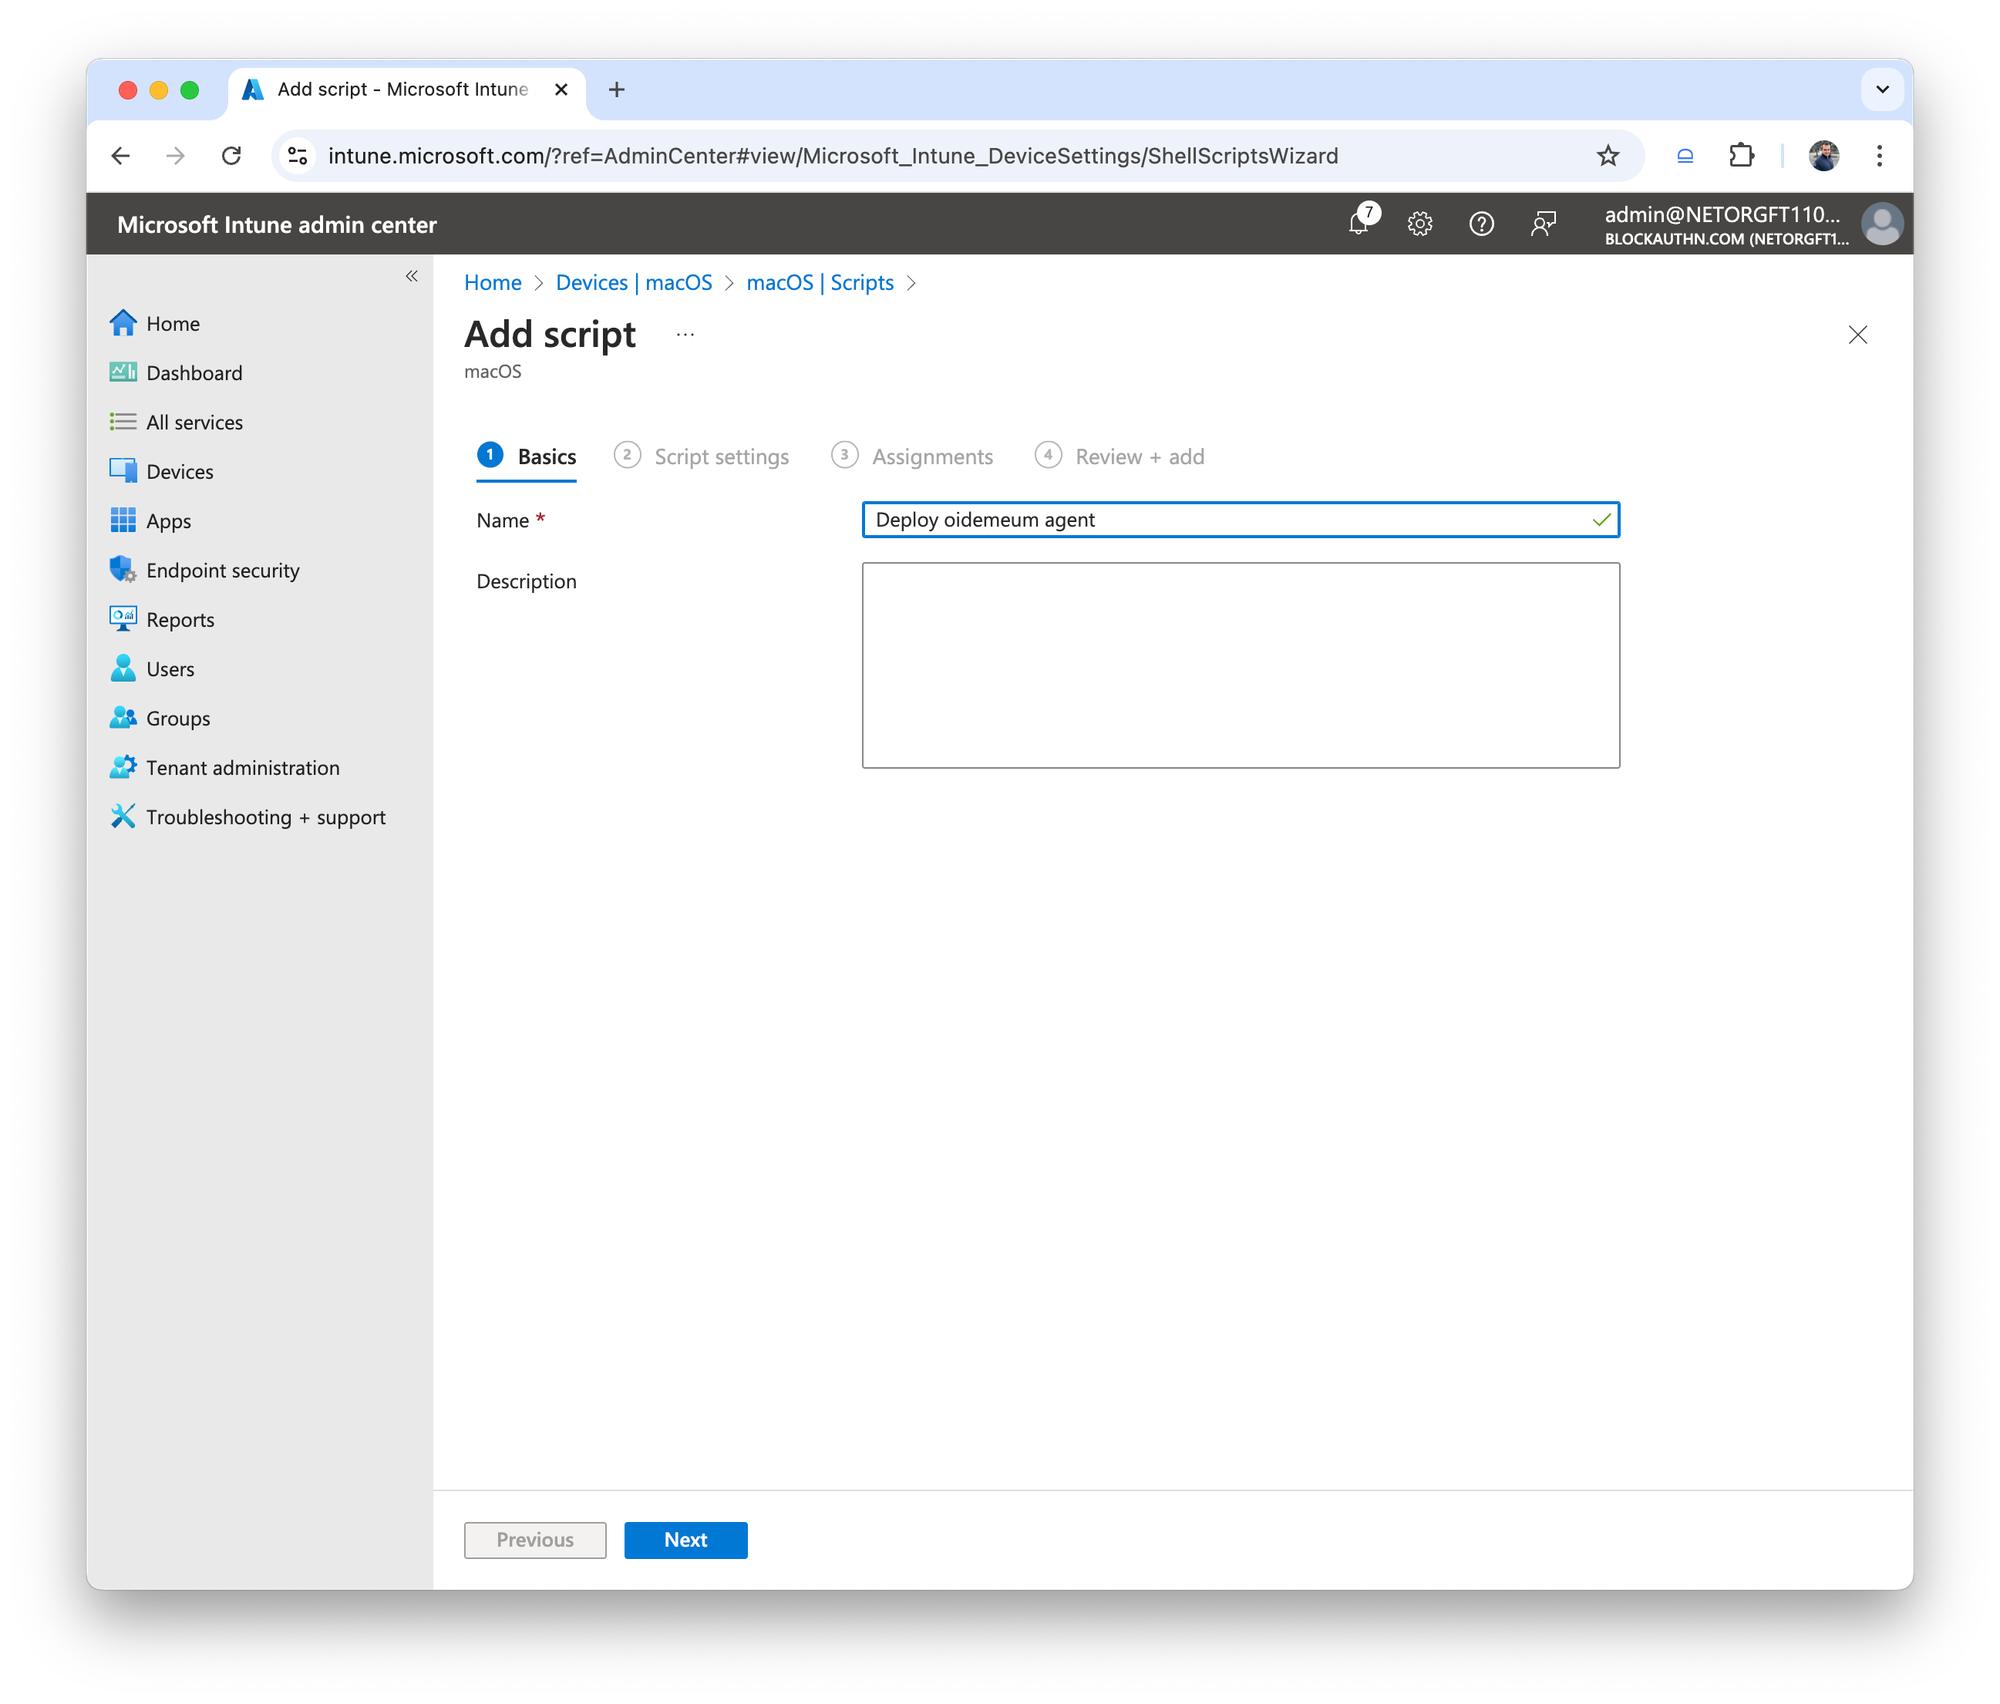
- In Intune navigate to
Devices→MacOS→Scripts - Create a new script and give it a name
- Upload the script that you created before
- For the
Run script as signed-in userchooseNoto make sure script runs asroot
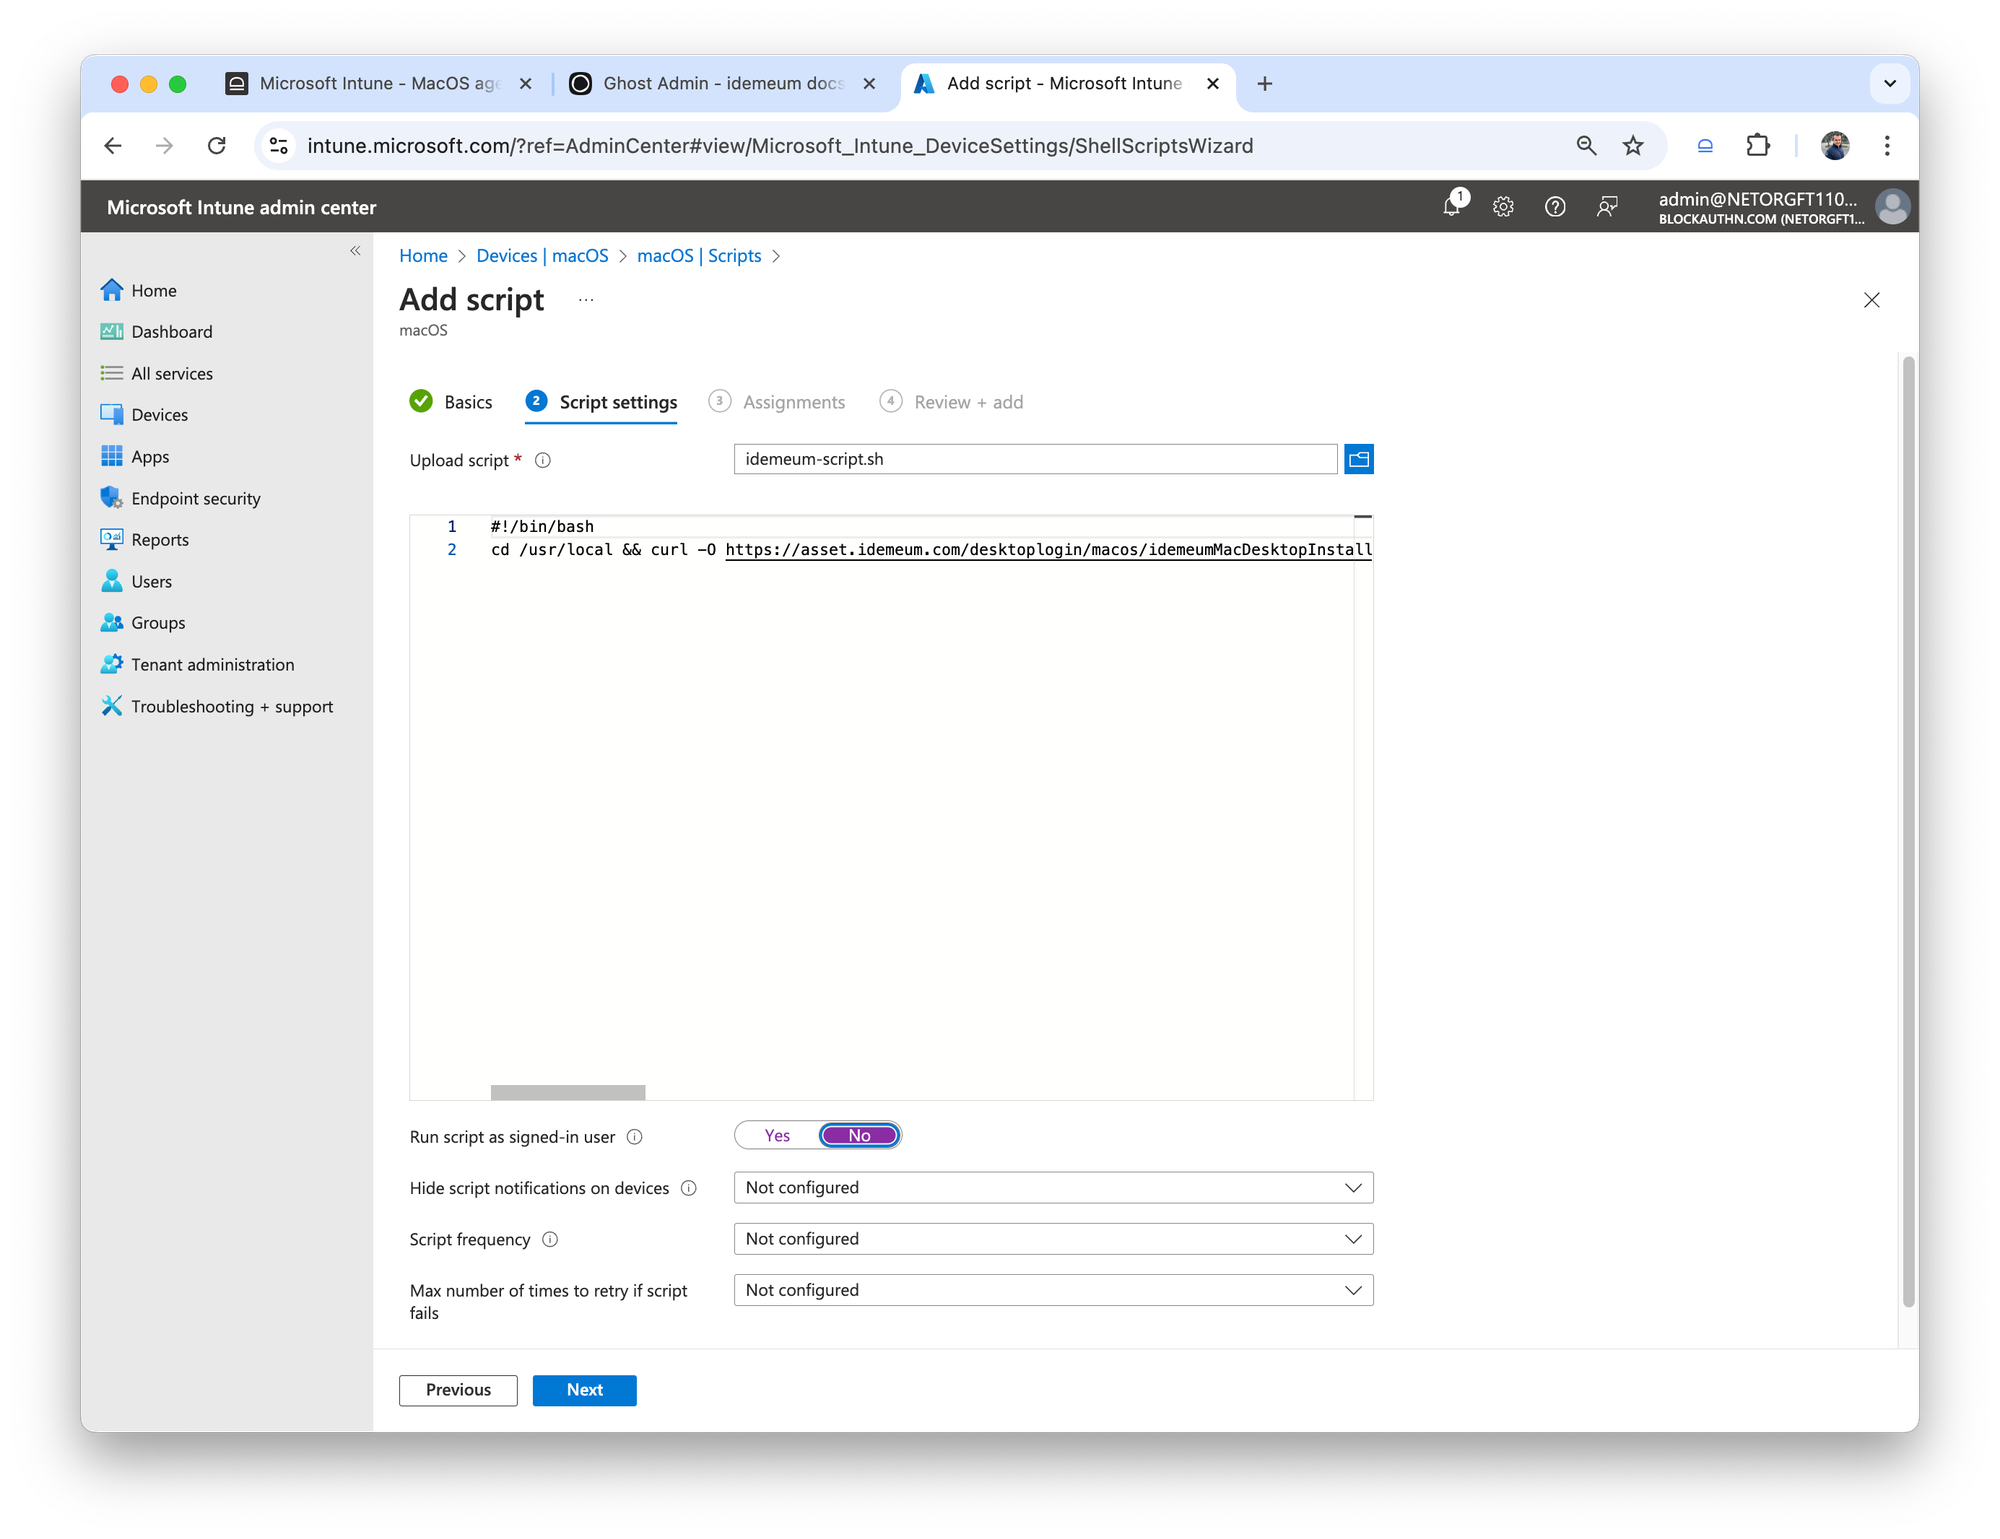
- Click next and choose the devices where you need to install idemeum
- Review the configuration and save the script
- Now idemeum client will be installed to a list of target devices