Configuration (EPM)
How to configure Endpoint Privilege Management (EPM) for your organization.
Enable EPM
EPM is enabled at the organization / child tenant level. Once you enable EPM you will be able to apply application control mode to your devices (rules or audit) so that you can manage application elevations.
- Navigate to your customer / organization admin portal
- Access
Settings→Elevationand enable elevation control
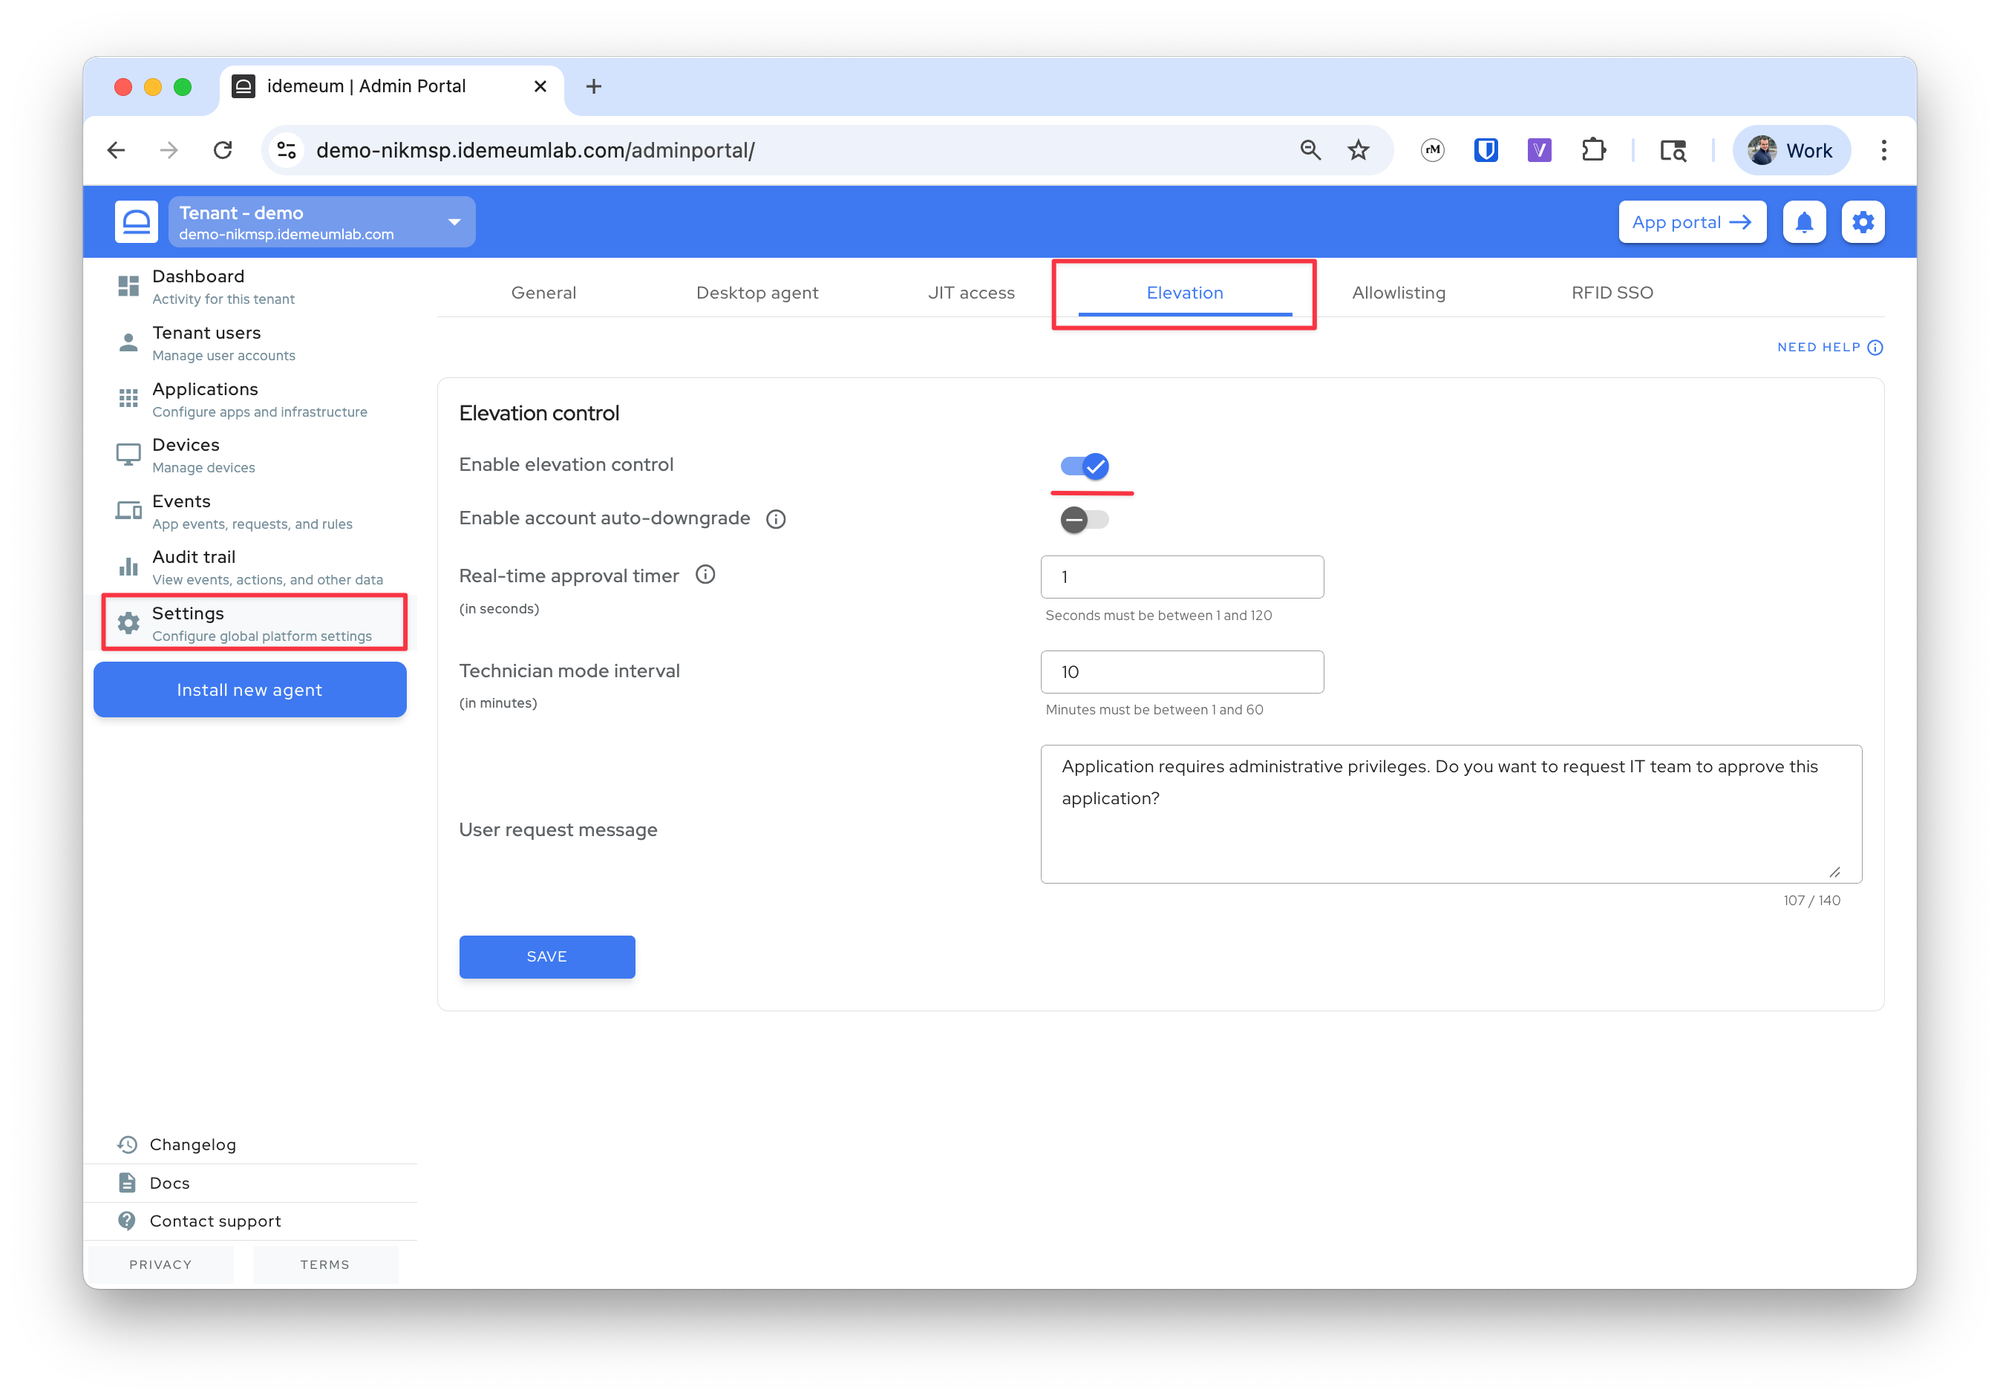
Additional settings
There are additional EPM configurations that you can specify, including branding, request timer, and more.
- Navigate to your customer / organization admin portal
- Access
Settings→Elevation
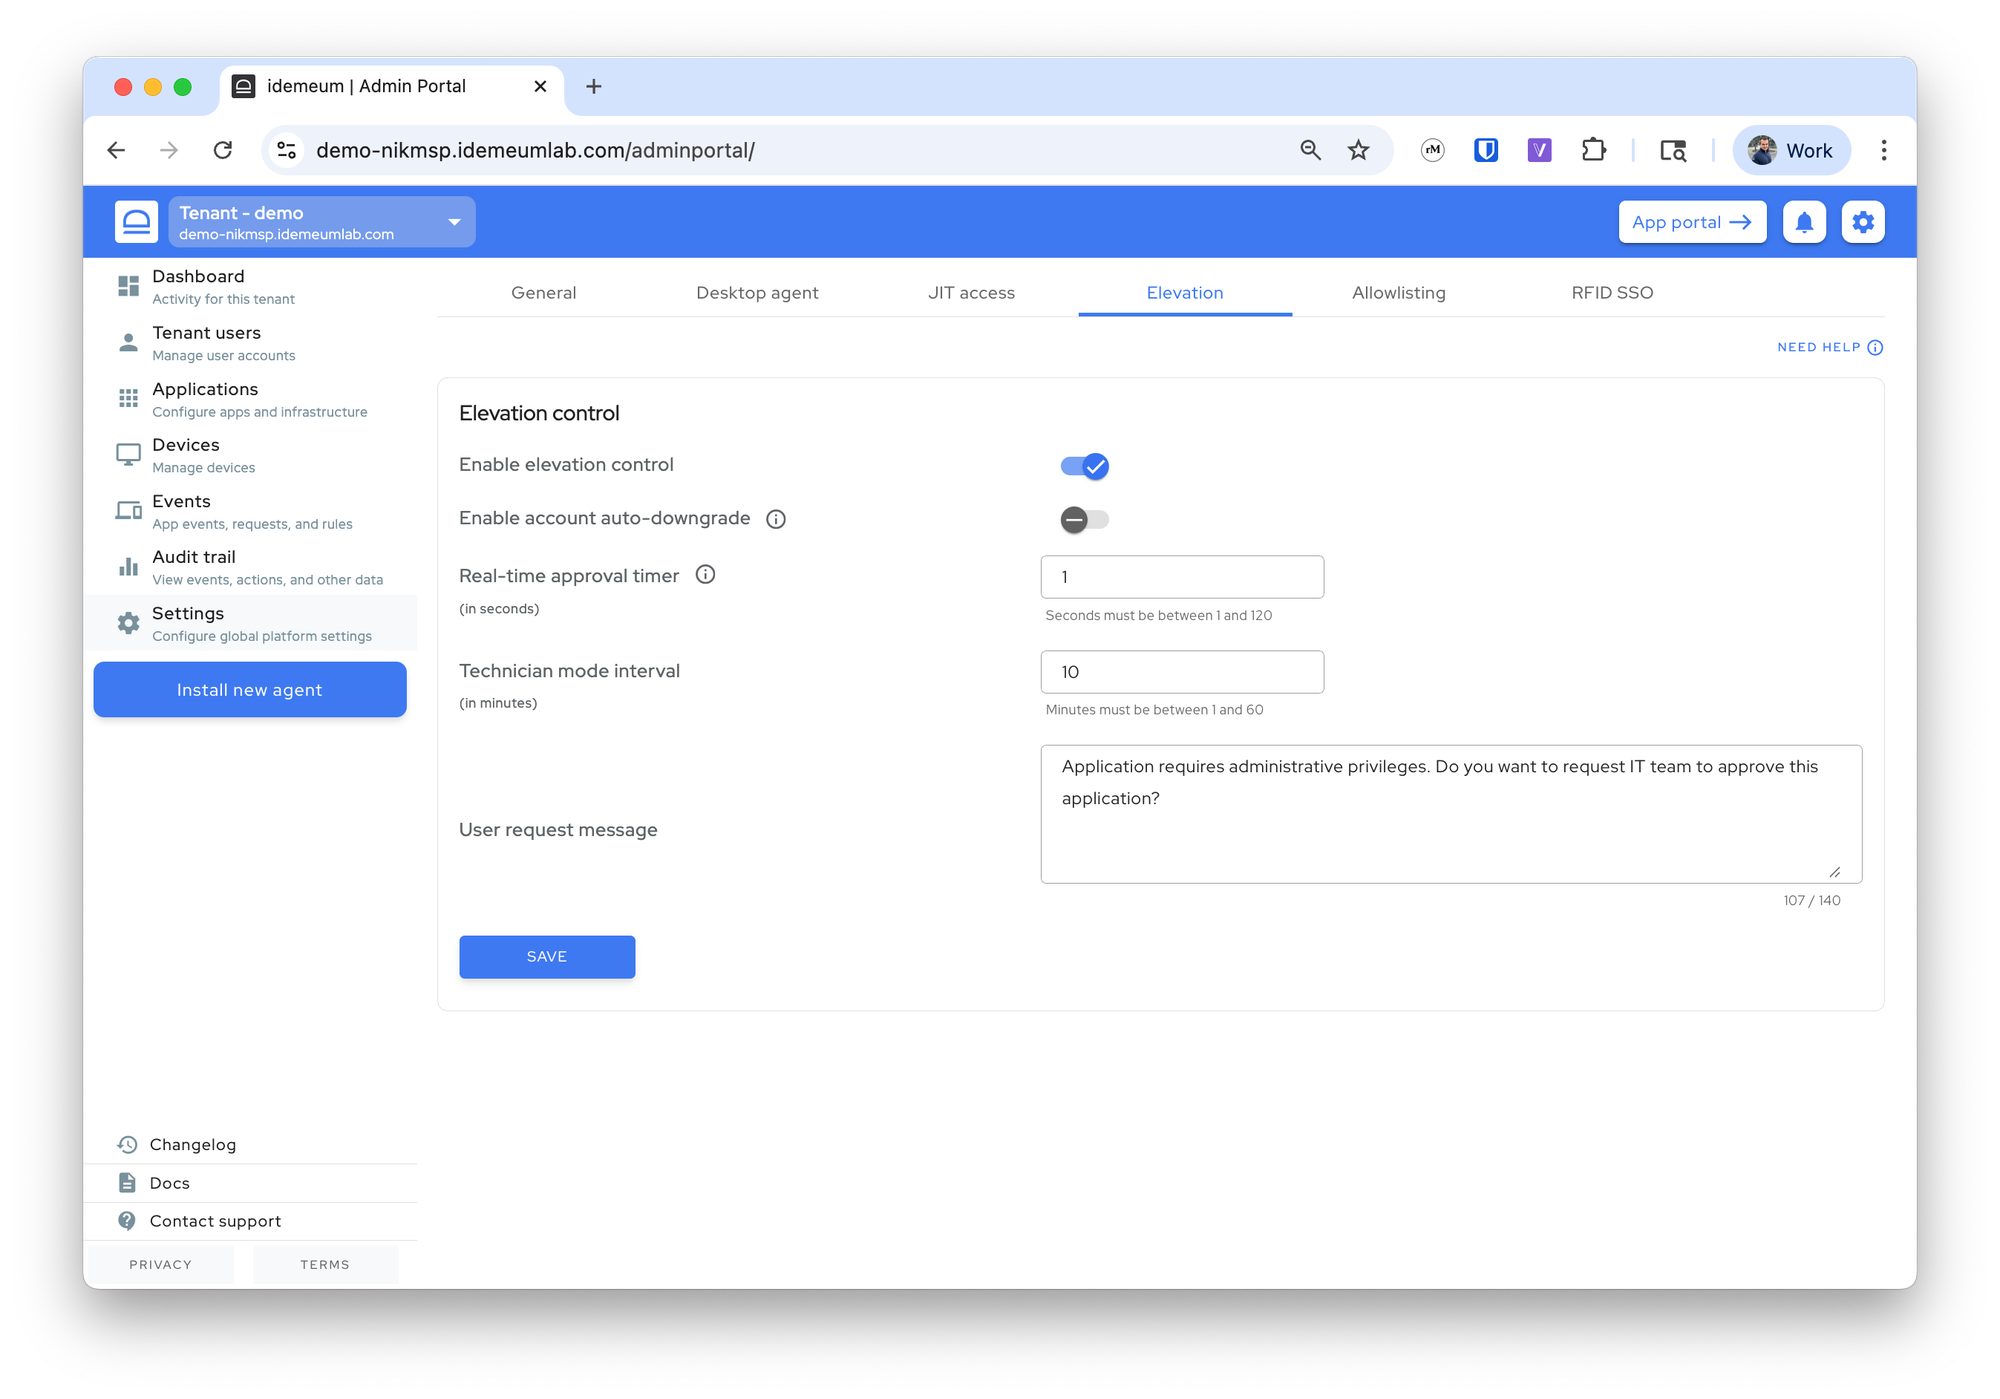
These are the setting you can change:
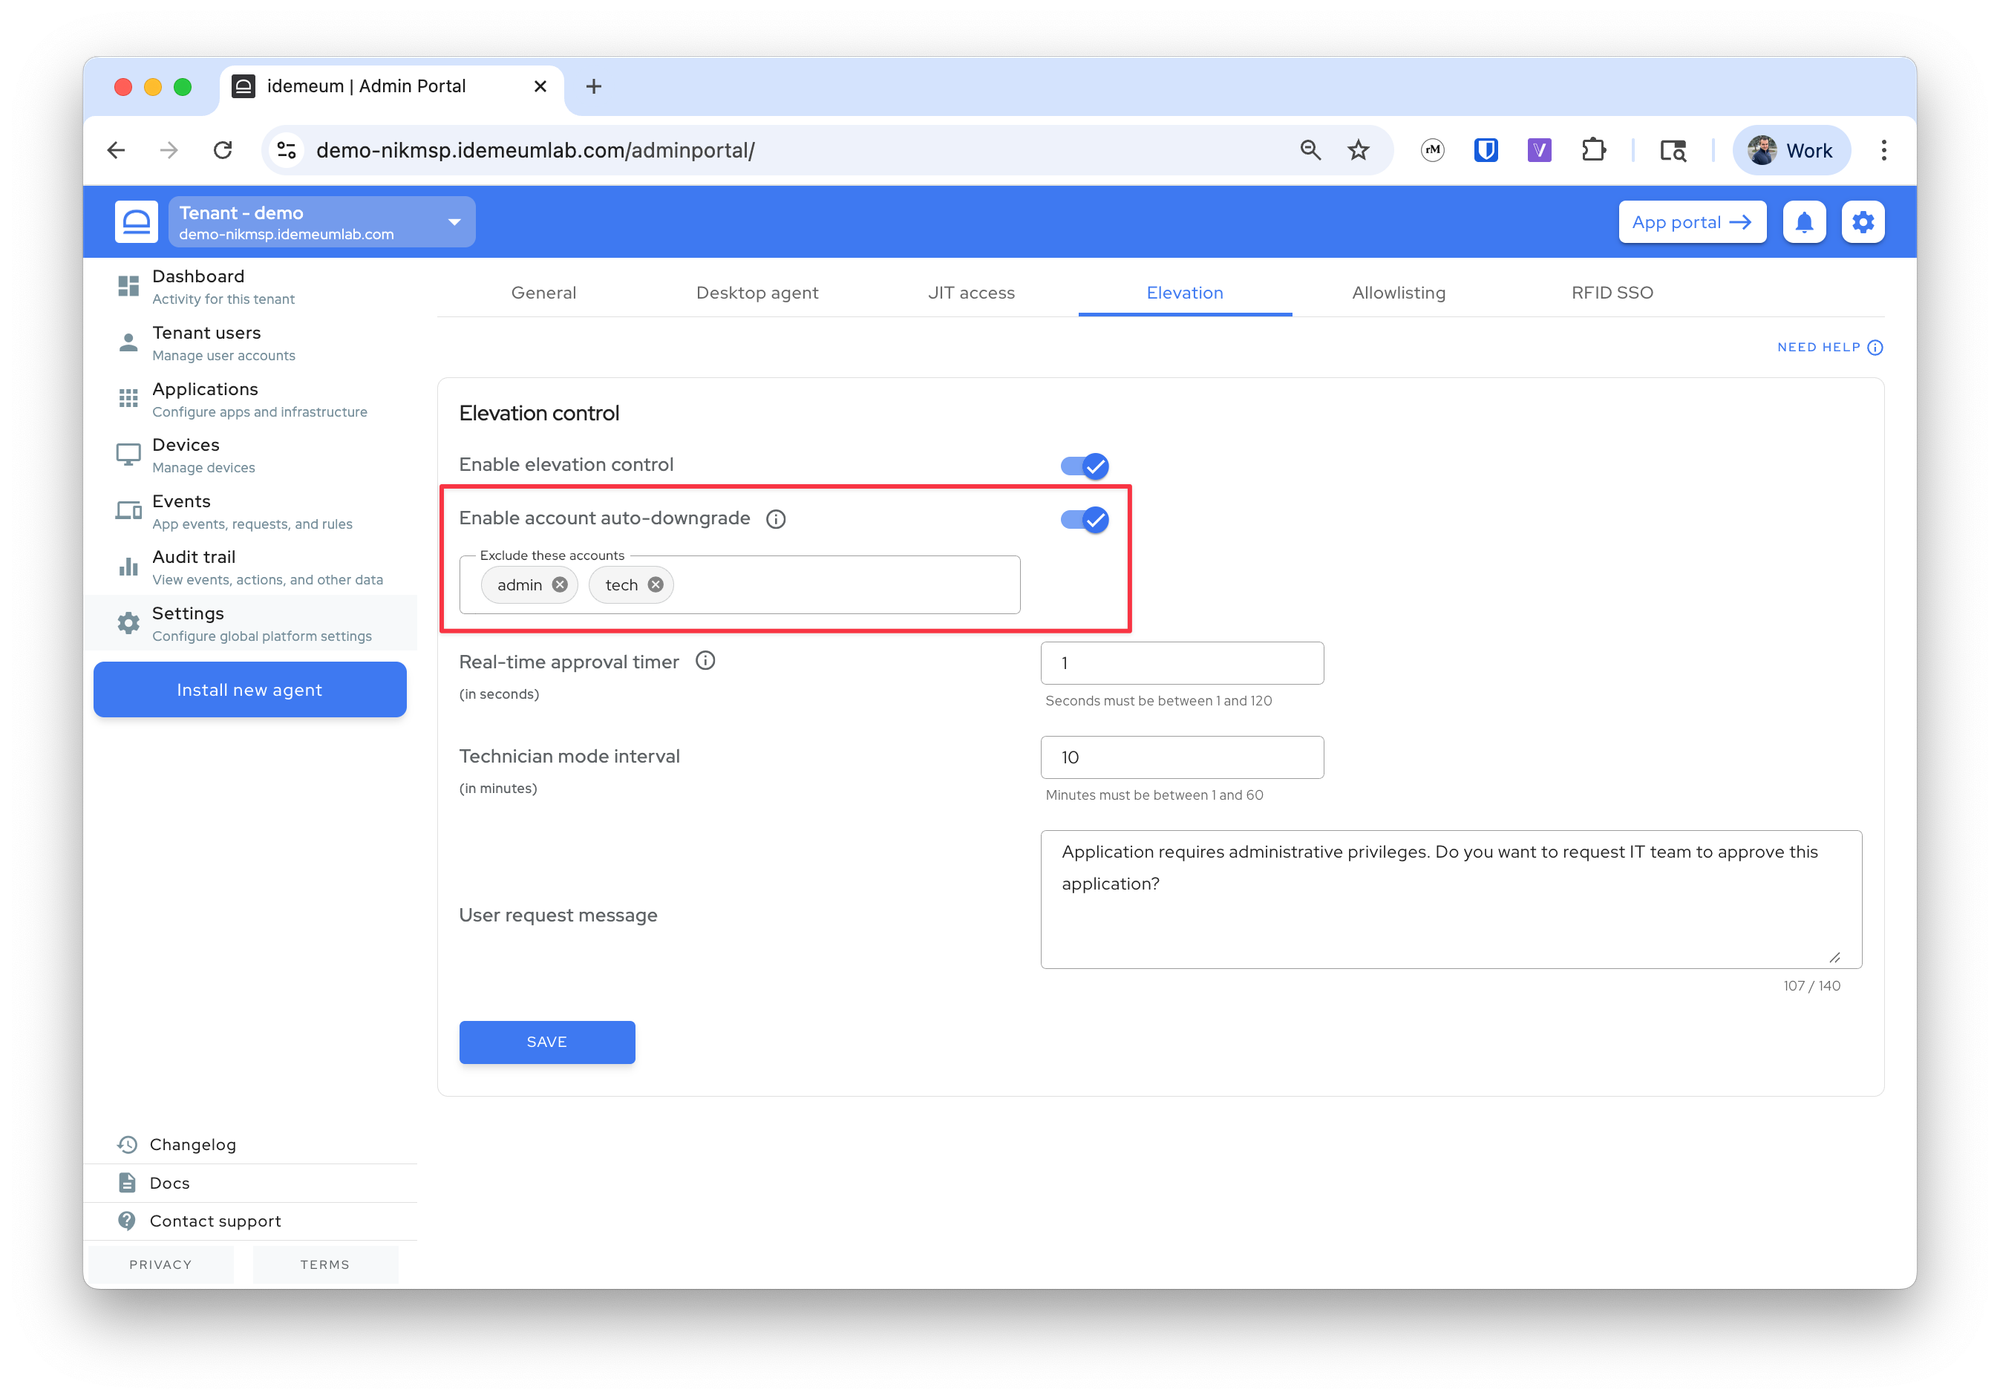
Enable account auto downgrade- idemeum will periodically check the local Administrators group and will downgrade any account that is present there. When you enable this feature you can specify an exclusion list of accounts that you do not want to be downgraded.
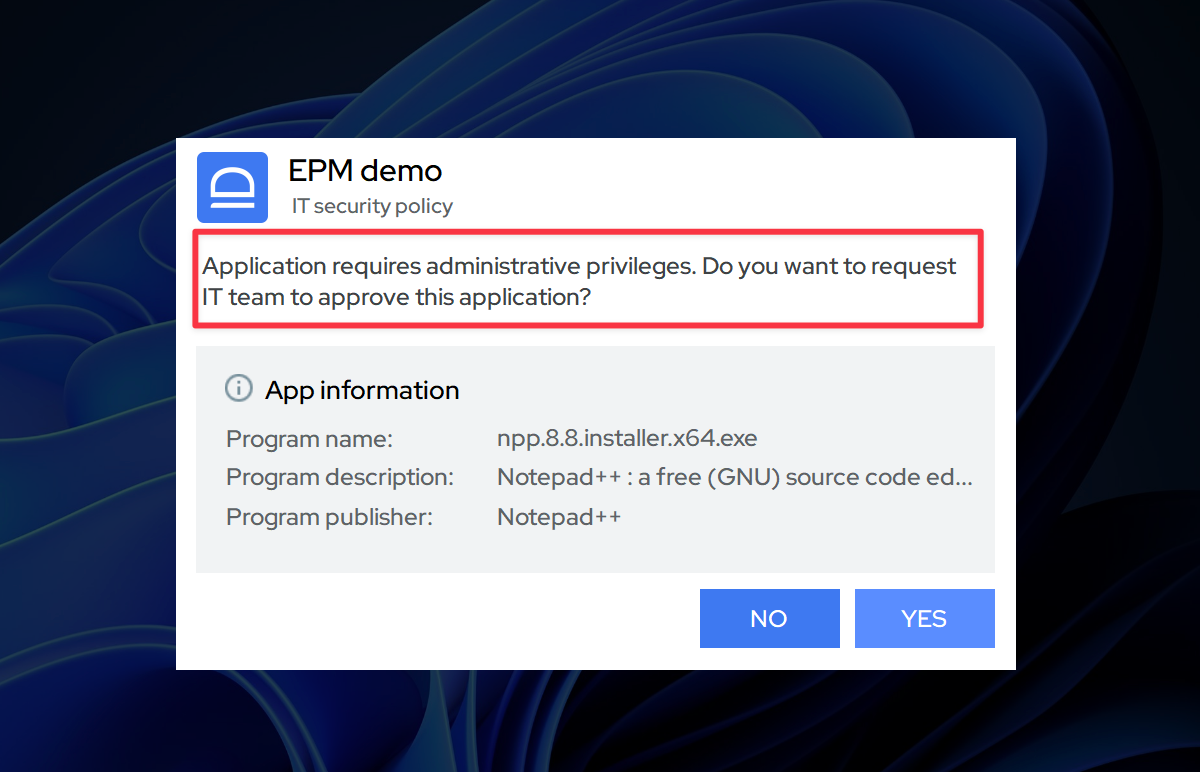
Real time approval timer- this is the timer that is presented to users when they request elevated actions. If you want to turn it off, specify the minimal value of 1 second.Technician mode interval- when you enter technician mode after authenticating with idemeum mobile app, there will be a timer that defines how long the session will last before switching back to user mode. Here you can configure this timer.User request message- the message that will be displayed to users when they are presented with elevation request dialog.
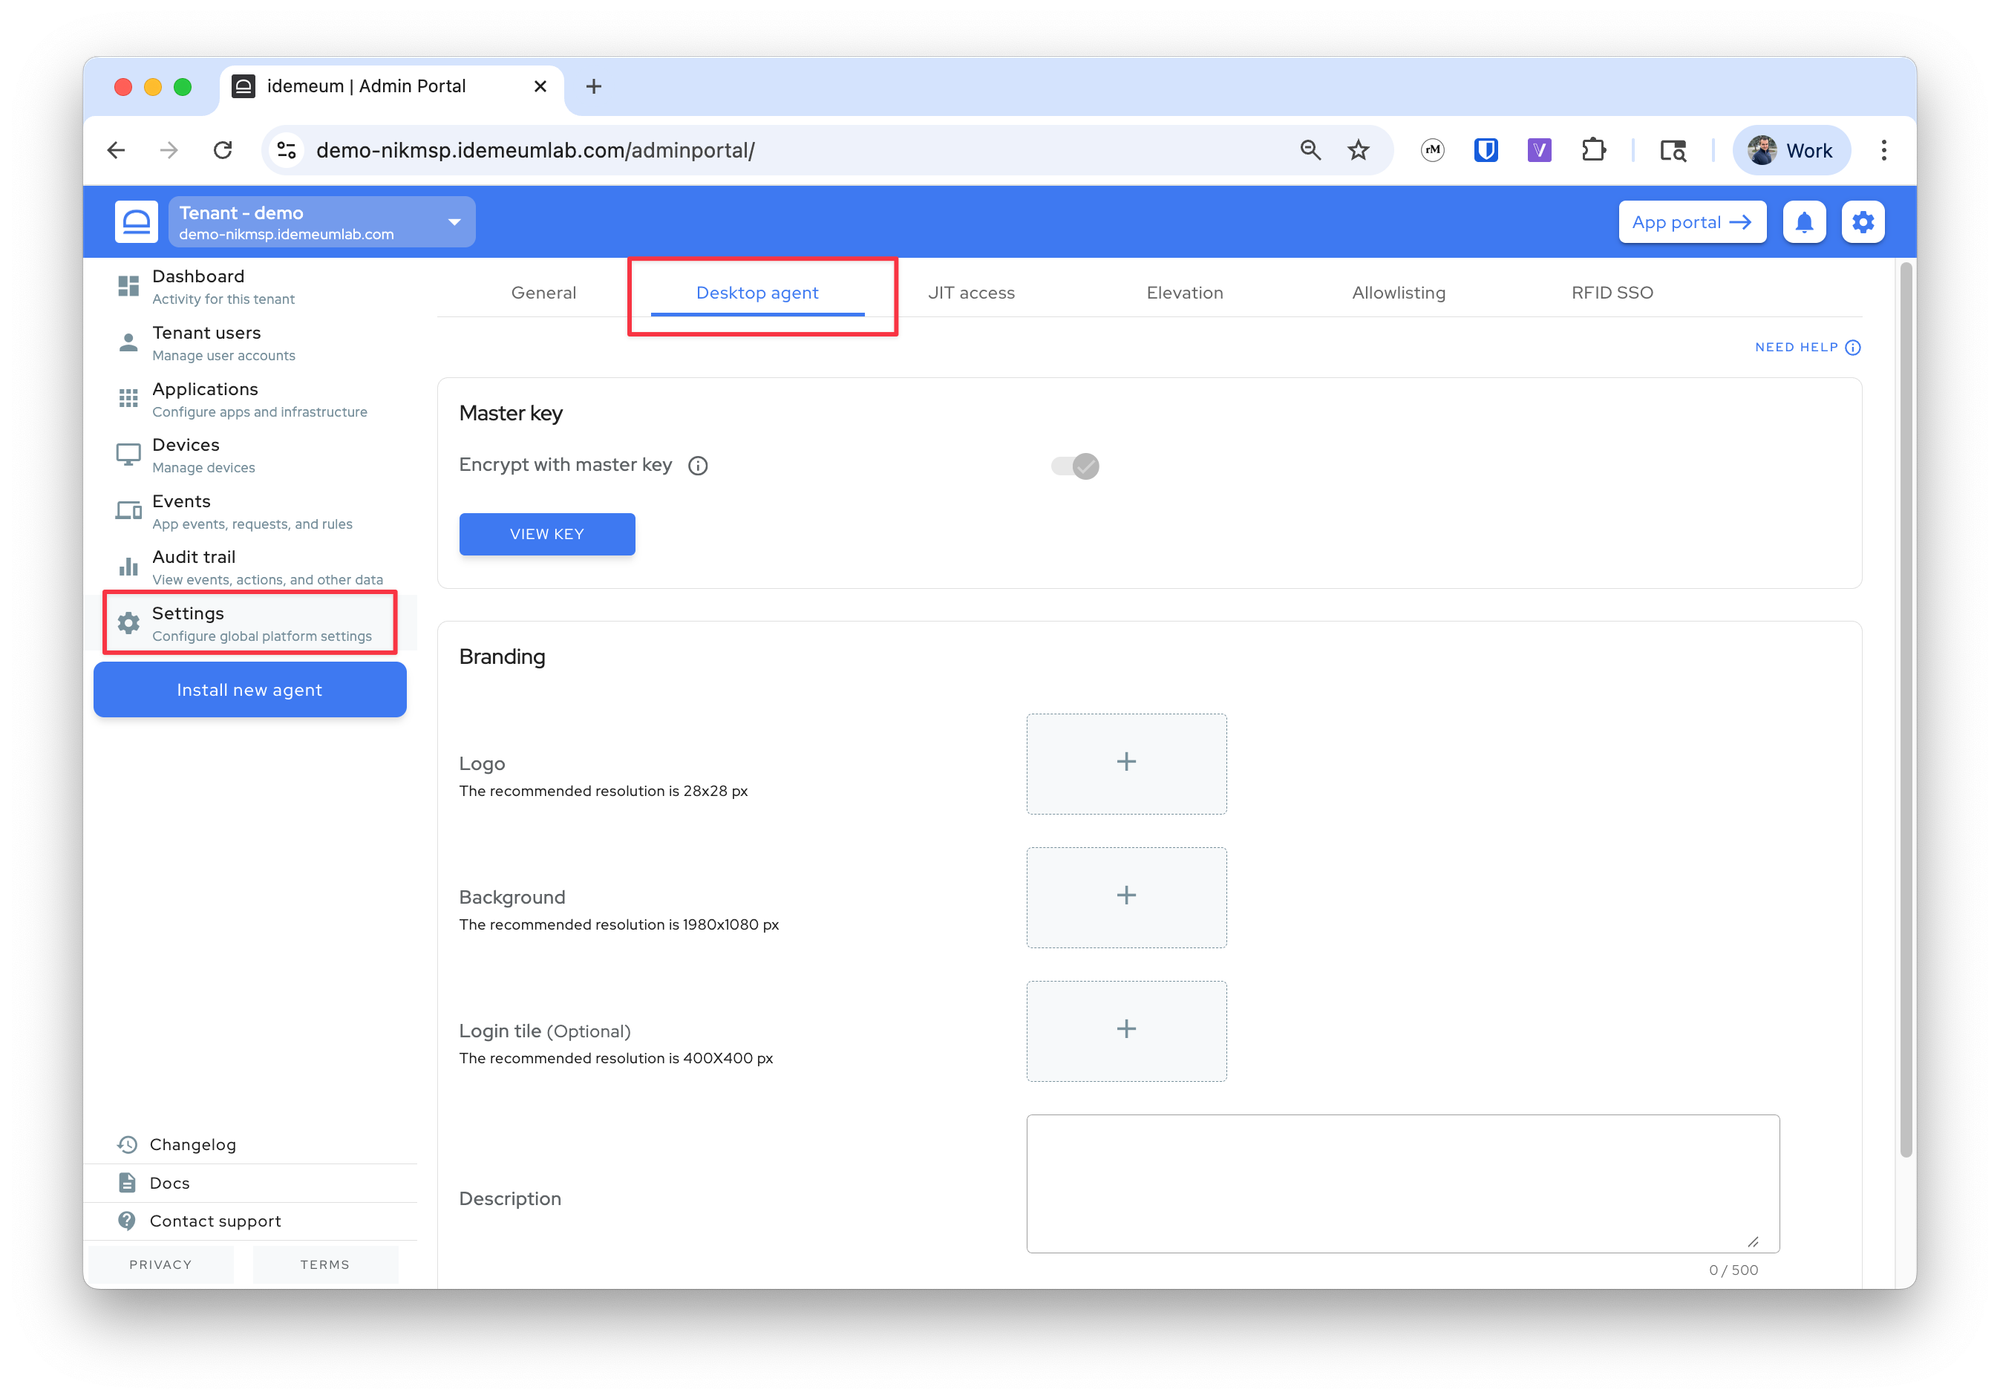
Branding
When the user request message is displayed to the user, you can also brand it with the logo of the company. For this to work you need to configure the desktop branding section.
- Navigate to
Settings→Desktop agent - Upload the assets in the branding section
❗
All three assets are required if you want to use branding - logo, background, and text message that will be displayed on the login screen.