User management

Group management

Combine users into groups with direct assignments or attribute mapping

Overview

Idemeum allows for granular access control by using user groups. Groups can be used to control access to applications, JIT accounts, and LAPS credentials.

There are several ways to use user groups:

  1. Direct user assignment - with this option you create a user record, and once the user is onboarded into idemeum, you can directly assign user to a group.
  2. Attribute group mapping - you can leverage idemeum cloud directory attributes to assign users to groups automatically. For example, I can create a directory attribute team, then when I create a user record for Alex, I can use team attribute and assign a value of engineering. Then I can create a group that will automatically group all users with the engineering attribute value.

Direct user assignment

💡
User needs to be onboarded into idemeum before the direct group assignment can be done.
  • Access your MSP admin portal
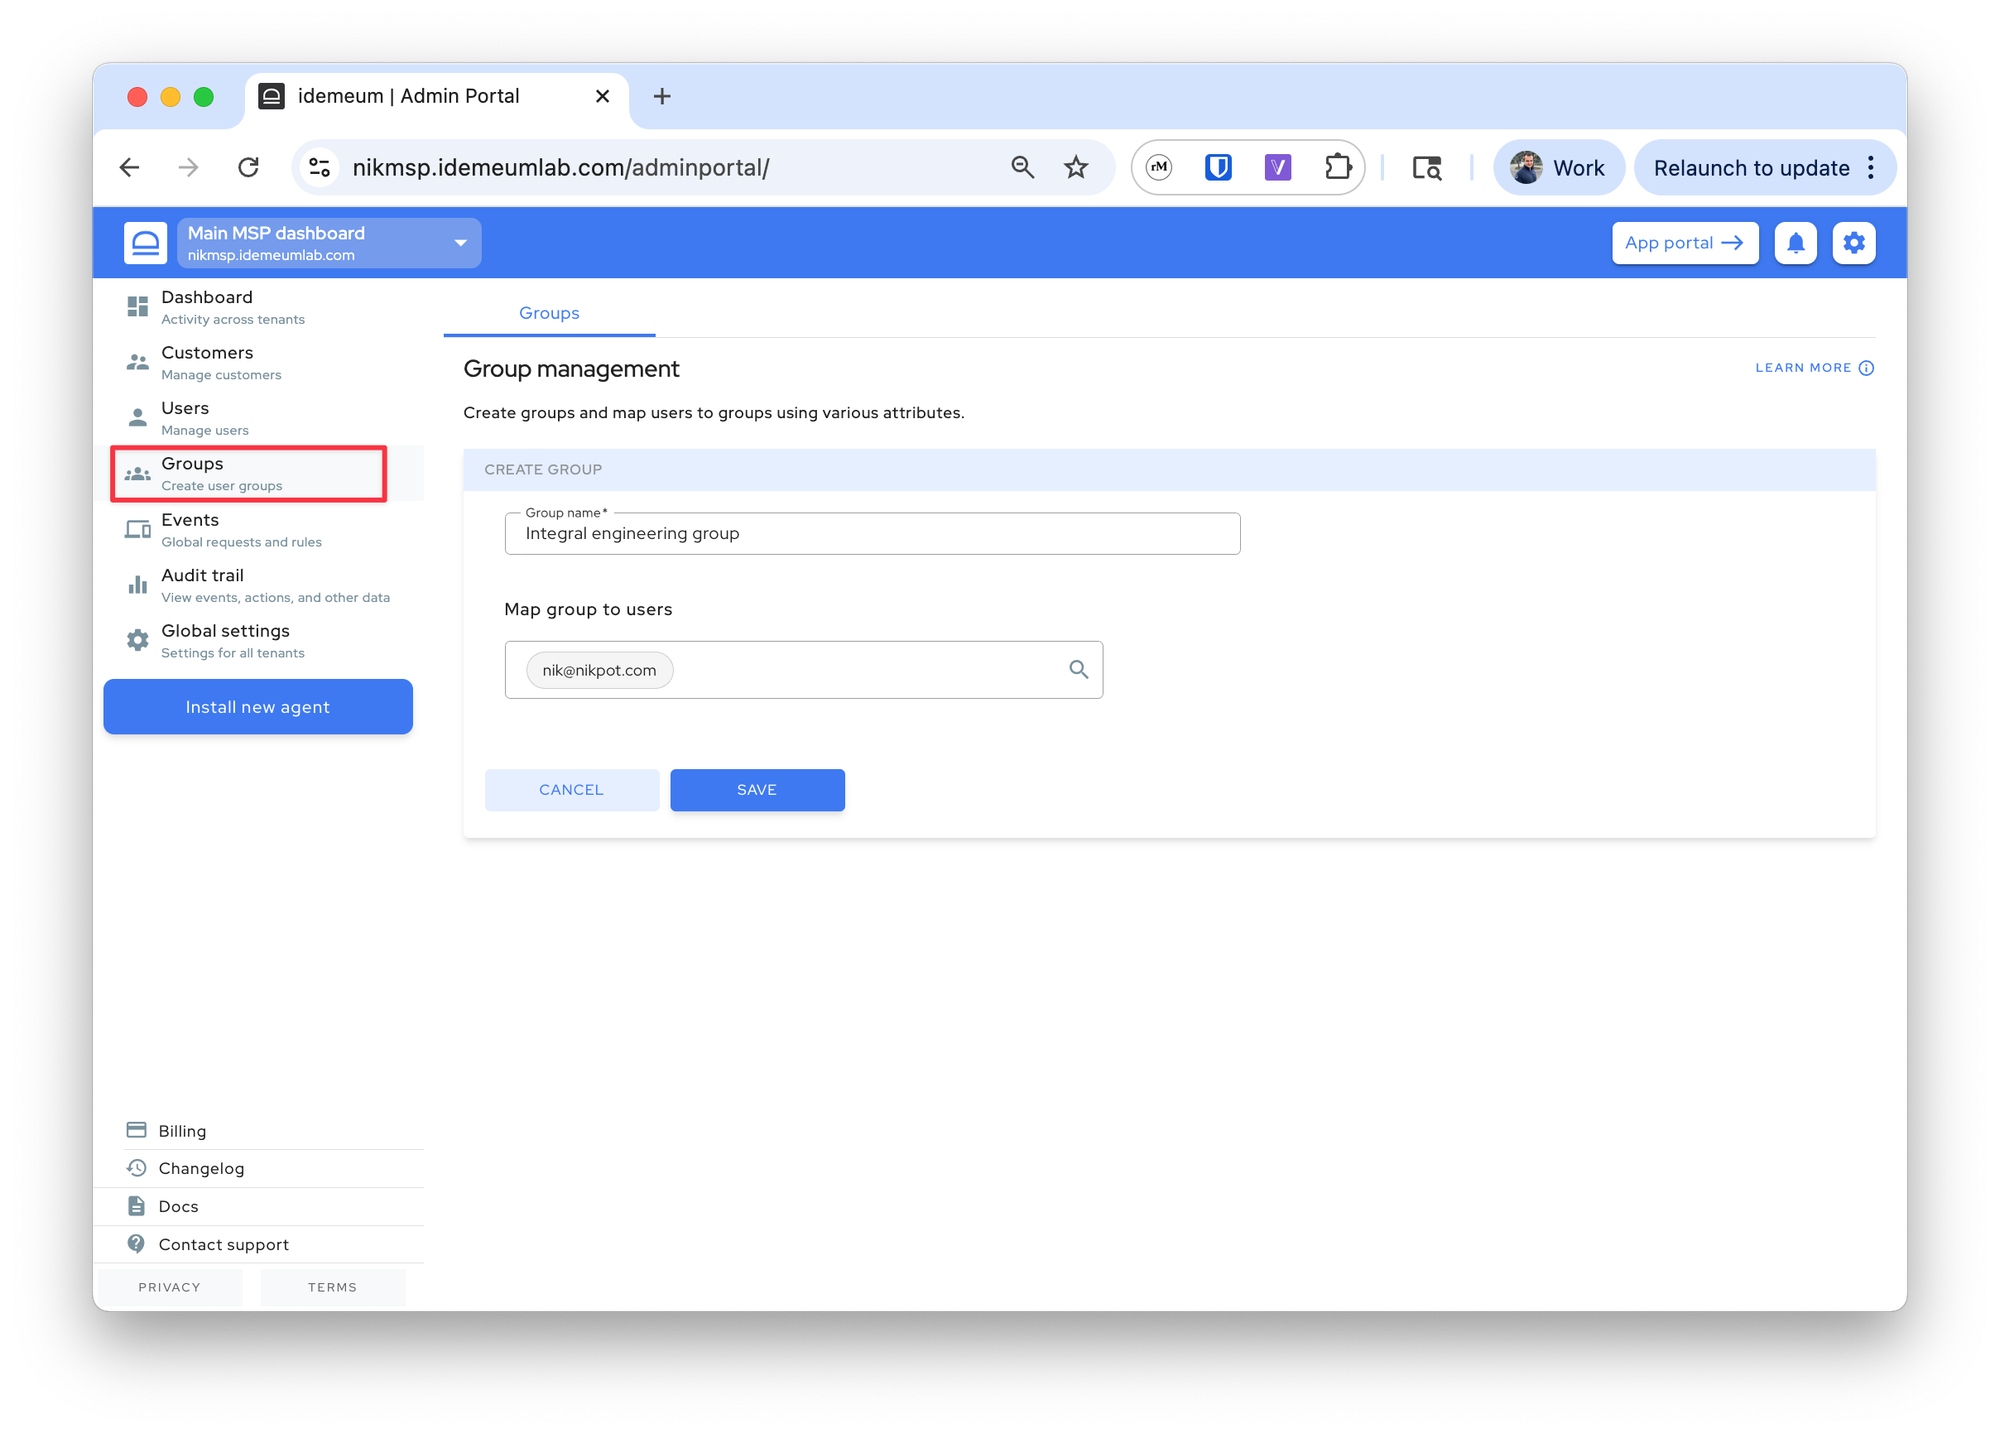
  • Navigate to Groups menu and click Add group
  • Specify the following:
    • Provide the Group name
    • In the mapping section choose User from the dropdown
    • Then search for onboarded users who will be part of this group. You can select as many user as you need.
    • If you want this group to propagate to all customer tenants check the box Inherit group in customer. This way you can use this group for technician access control is all customer tenants (i.e. you can use this group to enforce LAPS access control).
  • Save the configuration

Attribute group mapping

💡
Attribute group mapping method only works when idemeum cloud directory is used.

First let's create an attribute that will be used for group mapping:

  • Navigate to your MSP tenant admin portal
  • Access UsersUser source and expand Advanced settings for idemeum local directory
  • Create a custom directory attribute, for example in the image below we create the attribute Technician_level

Now we will assign Technician_level attribute values to our user records:

  • Now navigate to UsersUser management
  • Choose the technician record and click Edit
  • Specify the value for Technician_level attribute. For example, for the record below, we specified level_1 for attribute value

Now we will create a group to combine all level_1 technicians into a single group:

  • Access Groups and then choose Add group
  • Create group with the following:
    • Give group a name
    • For the mapping dropdown choose the attribute that we created Technician_level
    • For the value enter the value that you will use for grouping. In our case that is the value that we assigned to the user record in the previous step - level_1
    • If you want this group to propagate to all customer tenant check the box Inherit group in customer. This way you can use this group for technician access control is all customer tenants.
  • Save the configuration