Quick-start (RFID SSO)
Configure RFID Single Sign-On for your Windows workstations.
Prerequisites
Before setting up idemeum, make sure you obtain the desktop reader that can read your RFID cards. We support most readers from rfIDEAS, or any reader that can emulate keystrokes. If you need help choosing the reader, please contact our support team.

Sign up for idemeum
Create child tenant
You need to create a child tenant / organization, so that you can register devices to this organization, configure RFID SSO and other products.
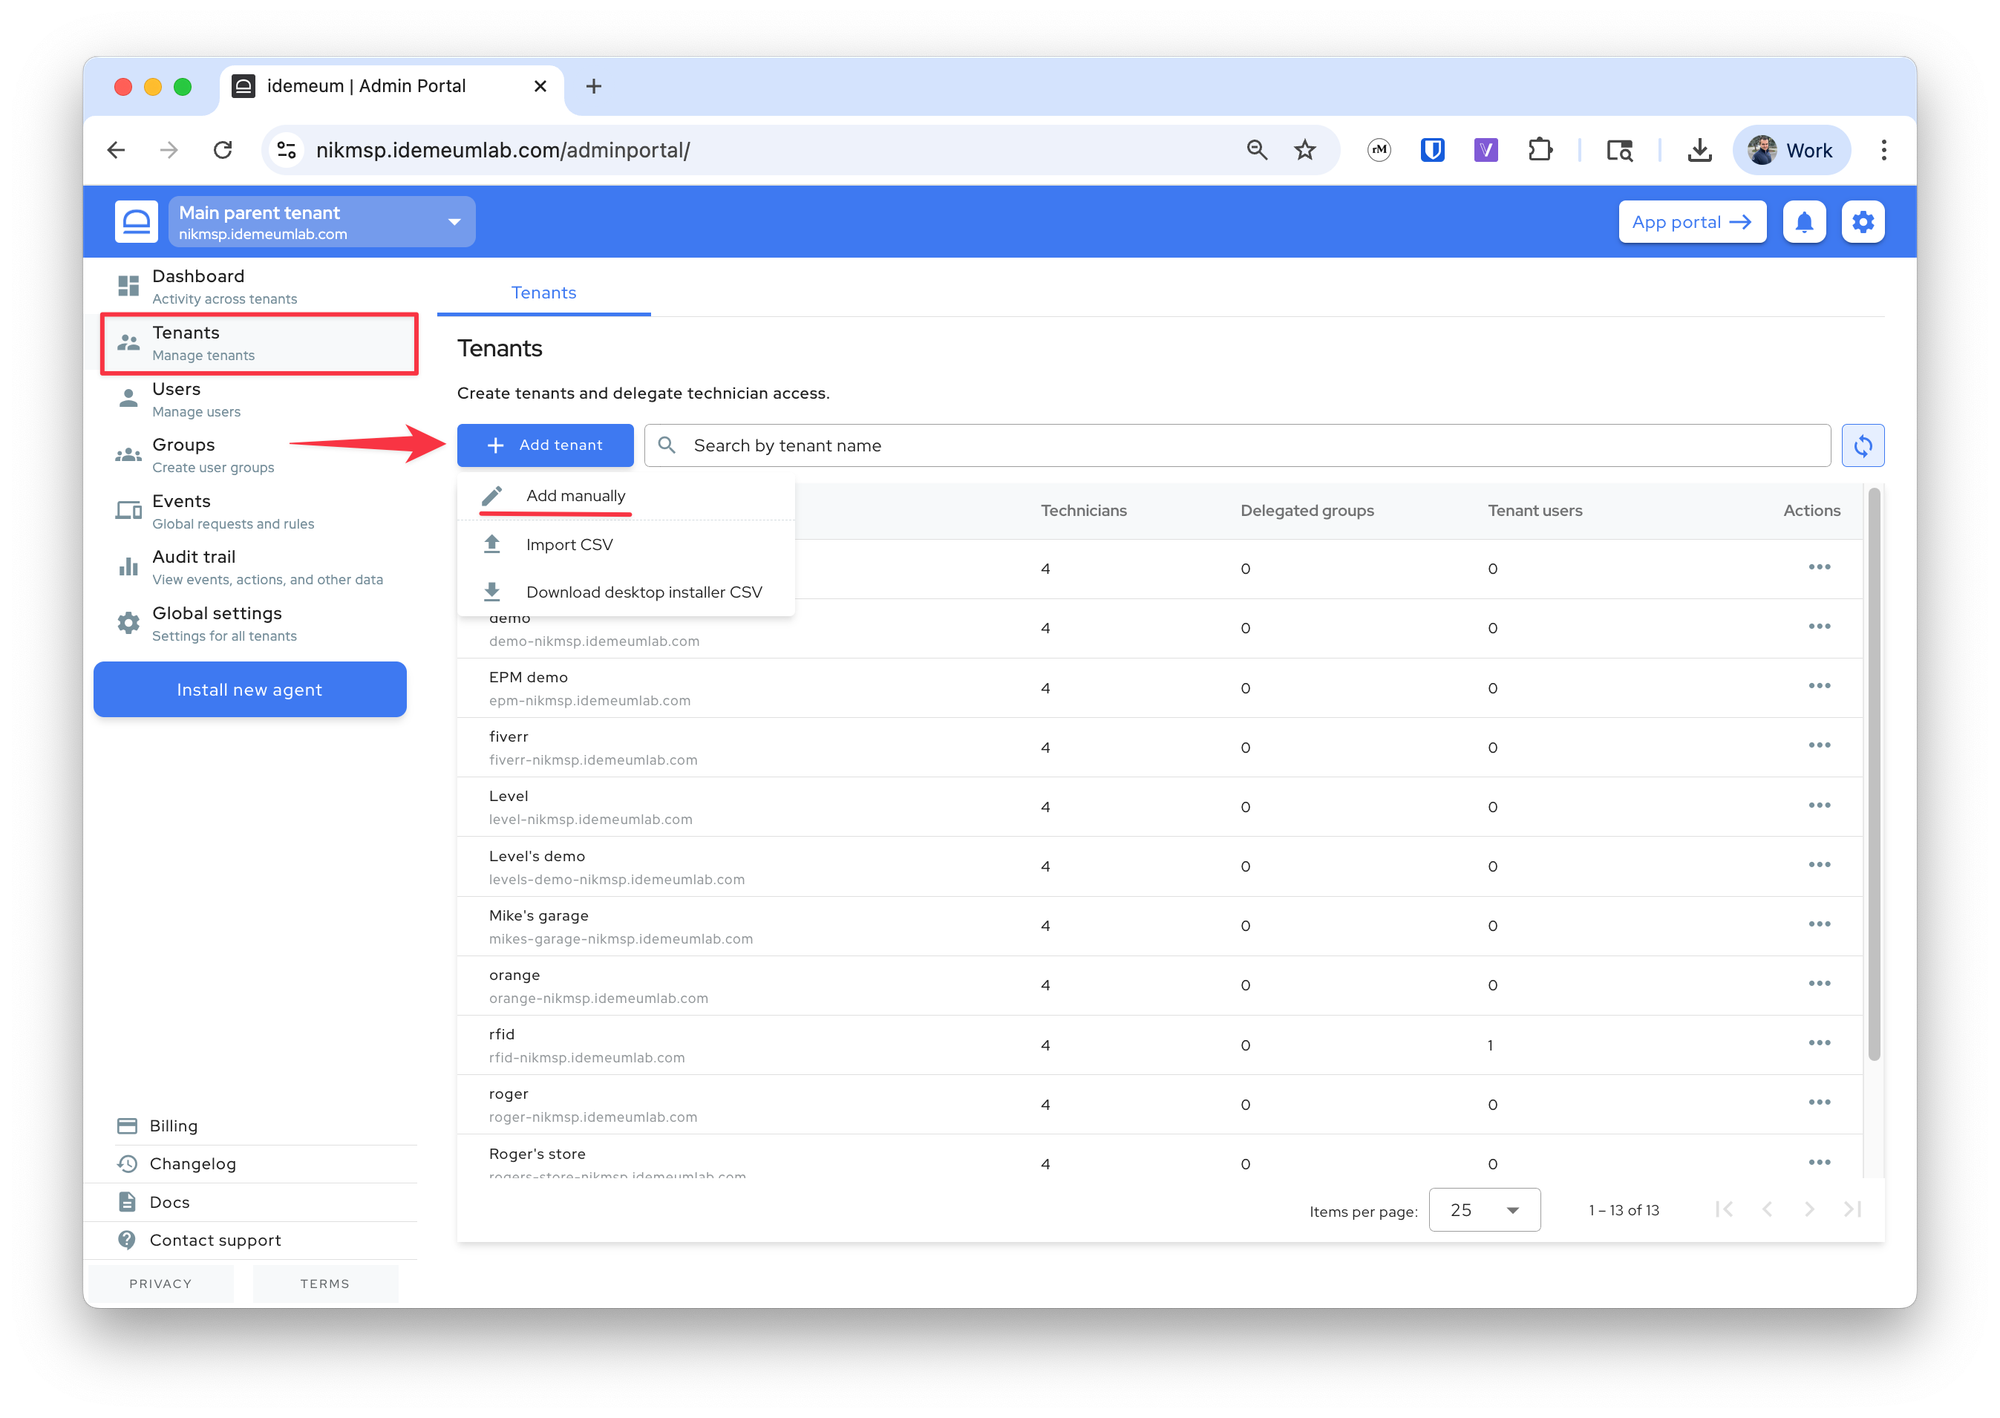
- Access the admin portal of your parent idemeum tenant
- Navigate to
Tenantsand then chooseAdd tenant→Manually
- Provide the tenant
name(will be used in the URL) and the friendlydisplay name
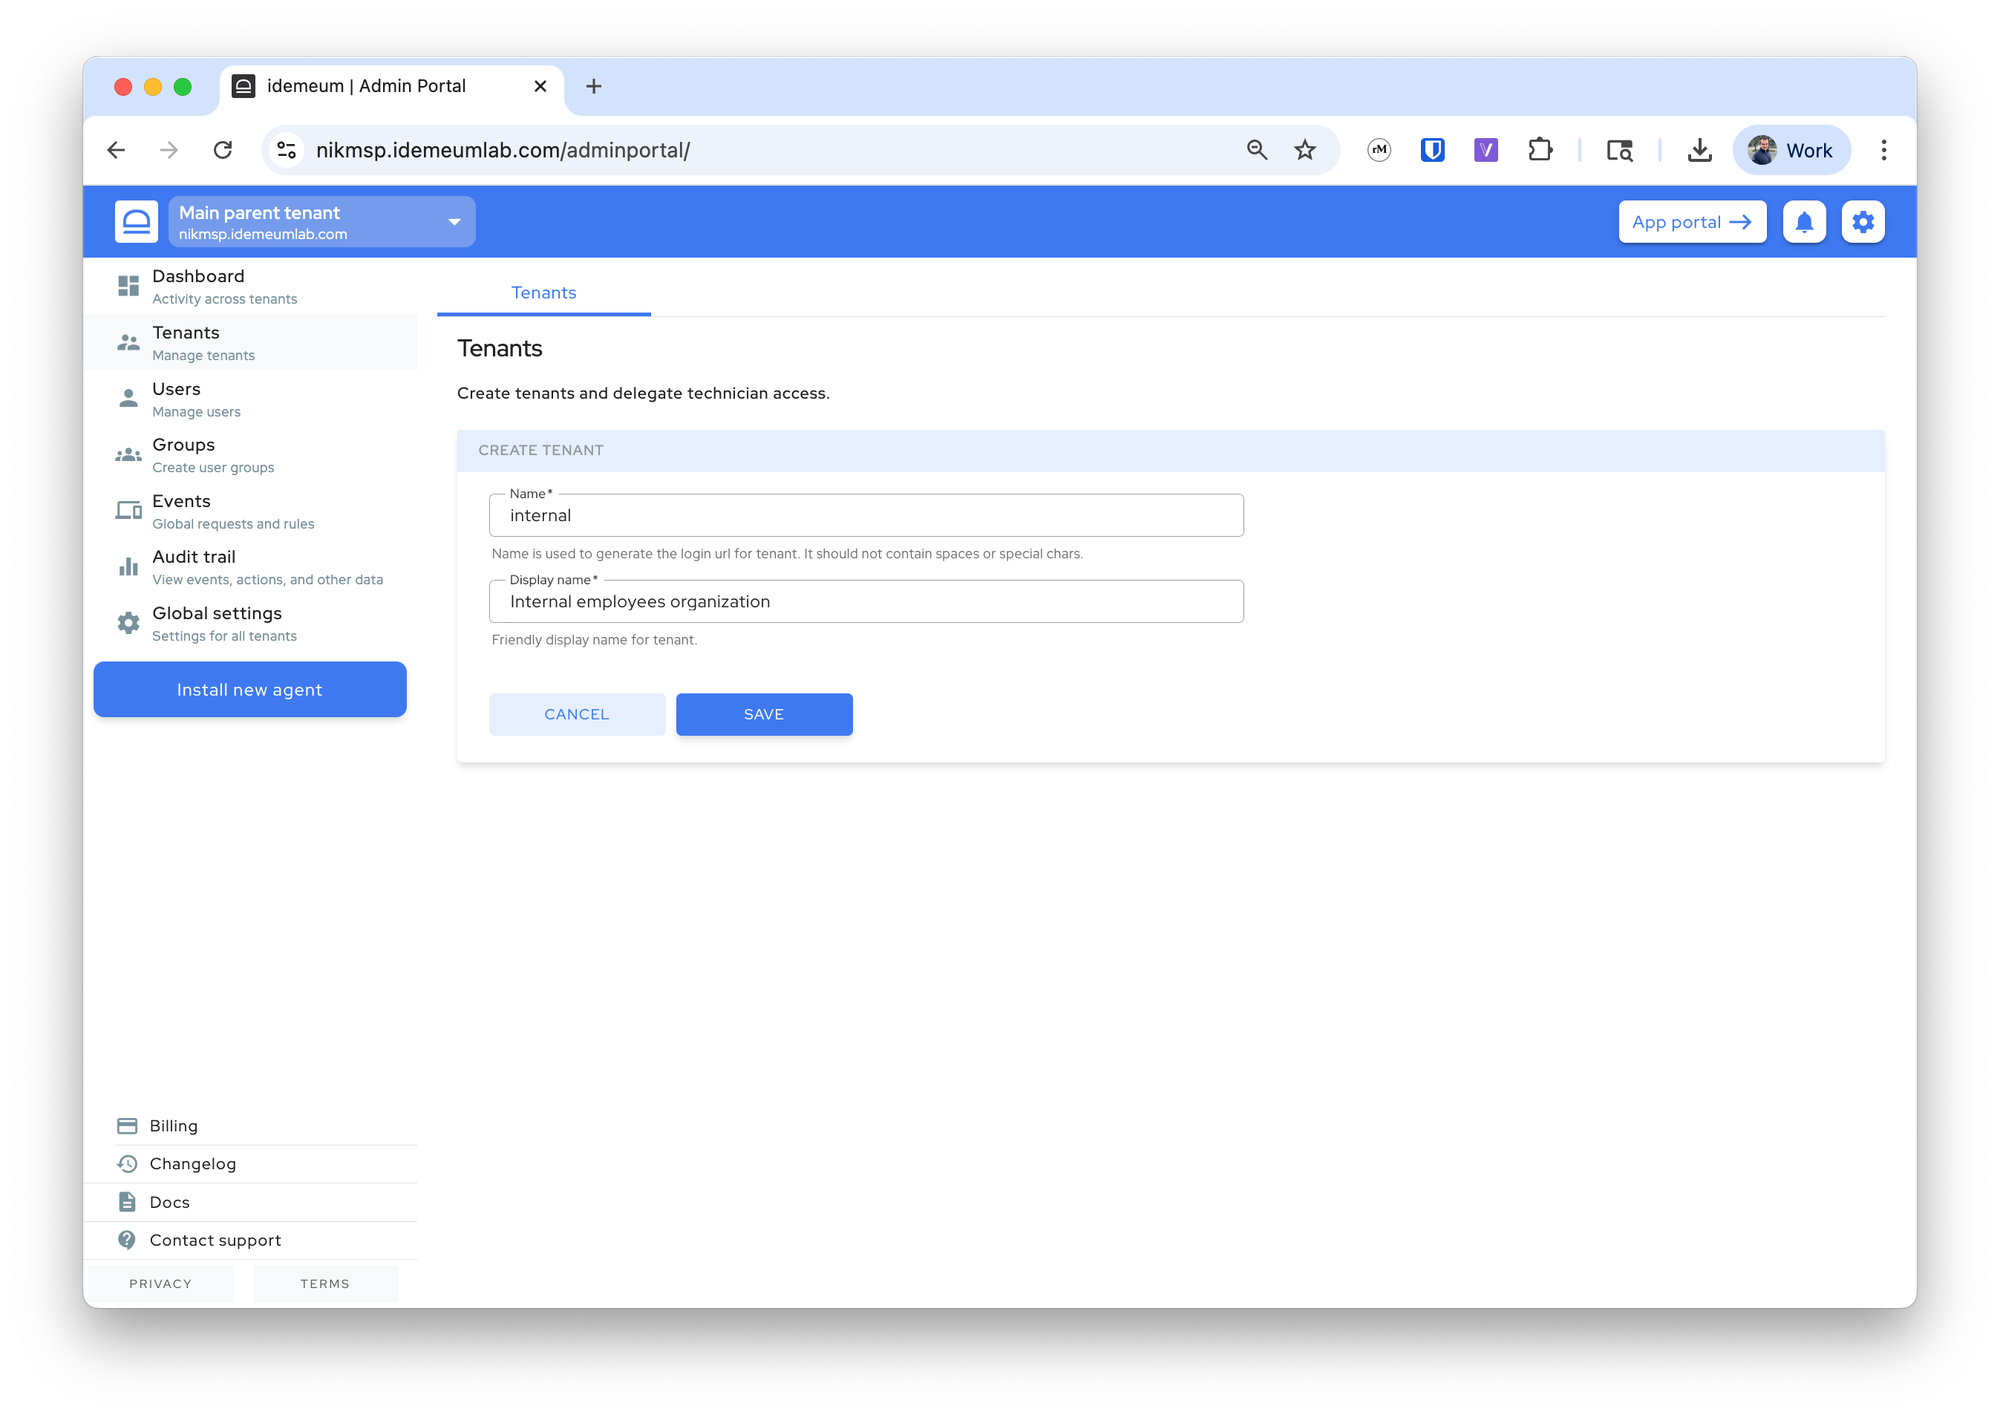
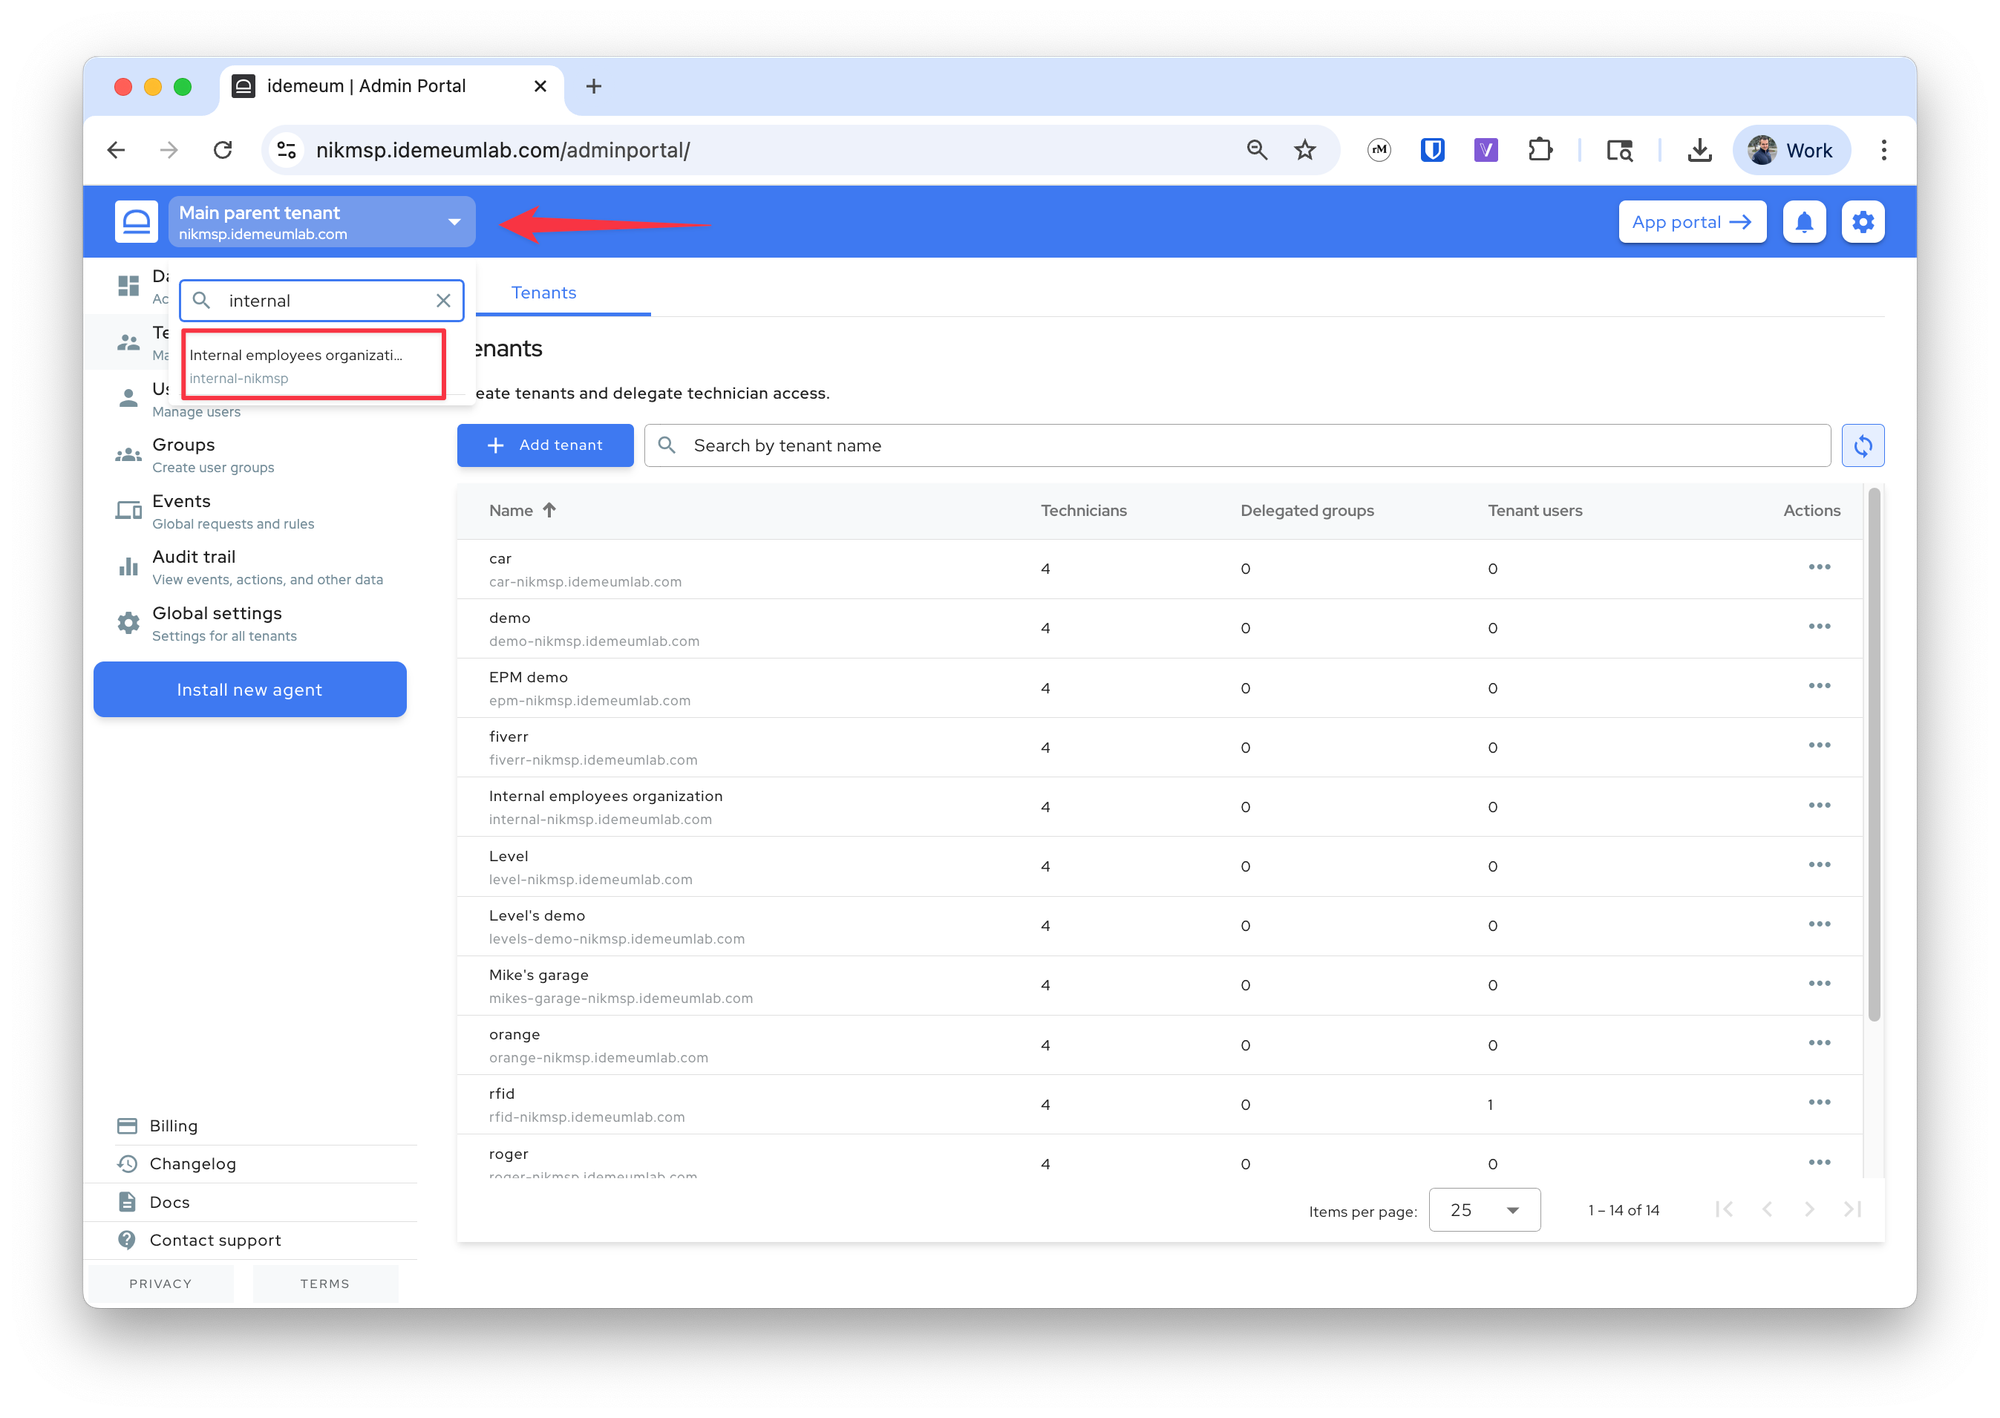
- Click at the top left to switch to the newly created tenant admin portal
Enable RFID Single Sign-On
- Navigate to the admin portal of your organization
- Access
Settings→RFID SSO - Enable the product first
- Depending on your workstation (domain or Entra joined) choose the appropriate configuration for user enrollment
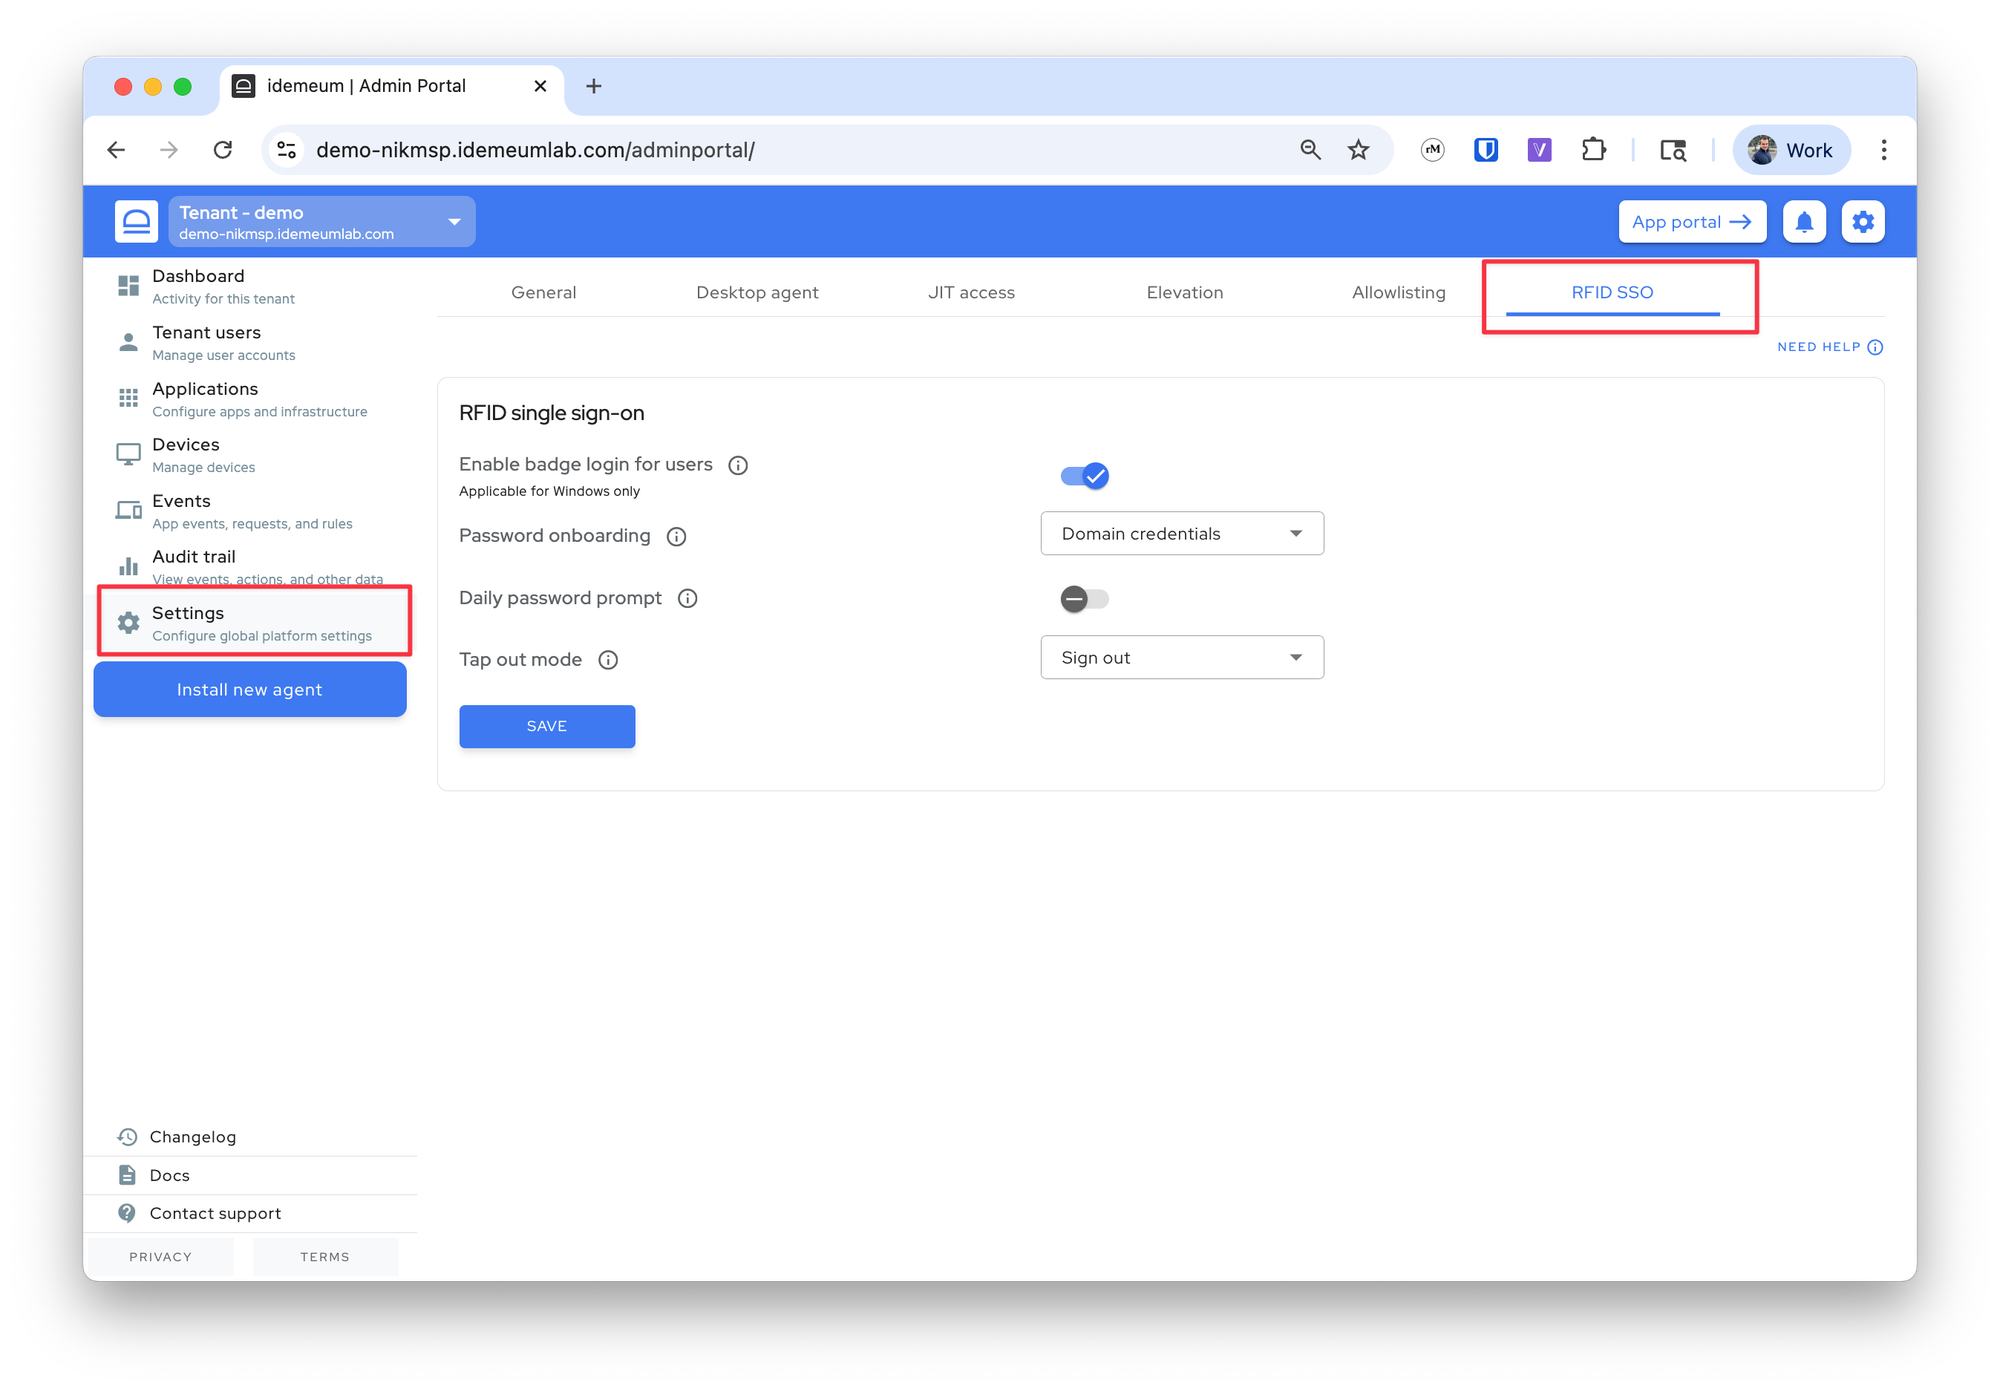
- Save the configuration
Deploy idemeum agent
You can now deploy idemeum agent to your workstation.
- Plug in the reader to the workstation
- Click
Install new agentand then grab the agent installation command. Execute on the workstation underAdministratoraccount (i.e. run PowerShell as admin)

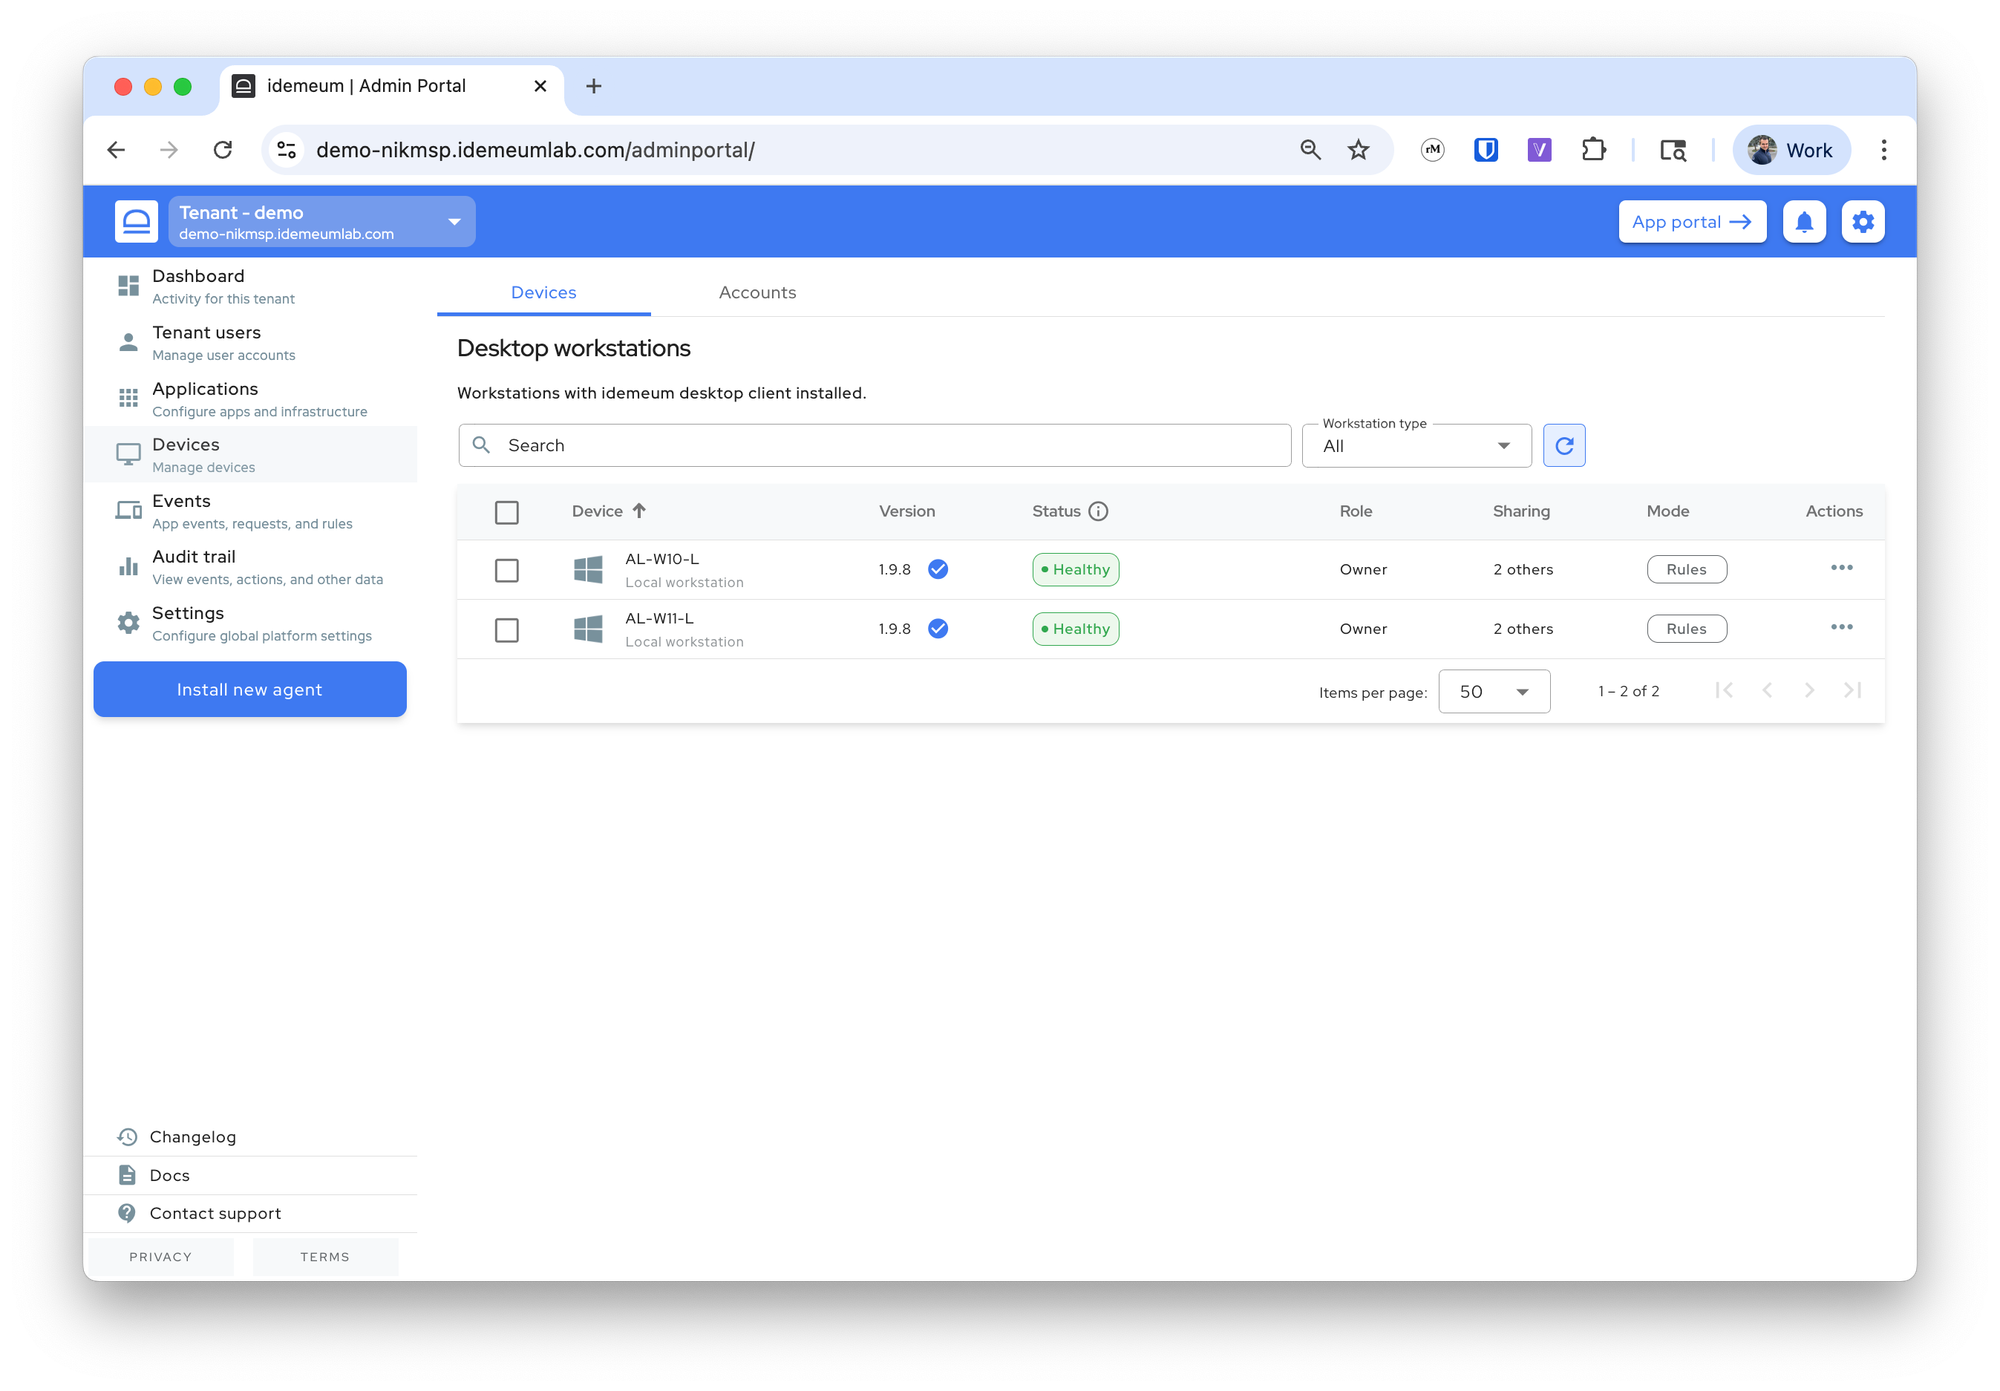
- One the agent is successfully installed, it will show up in the admin portal
Devicessection
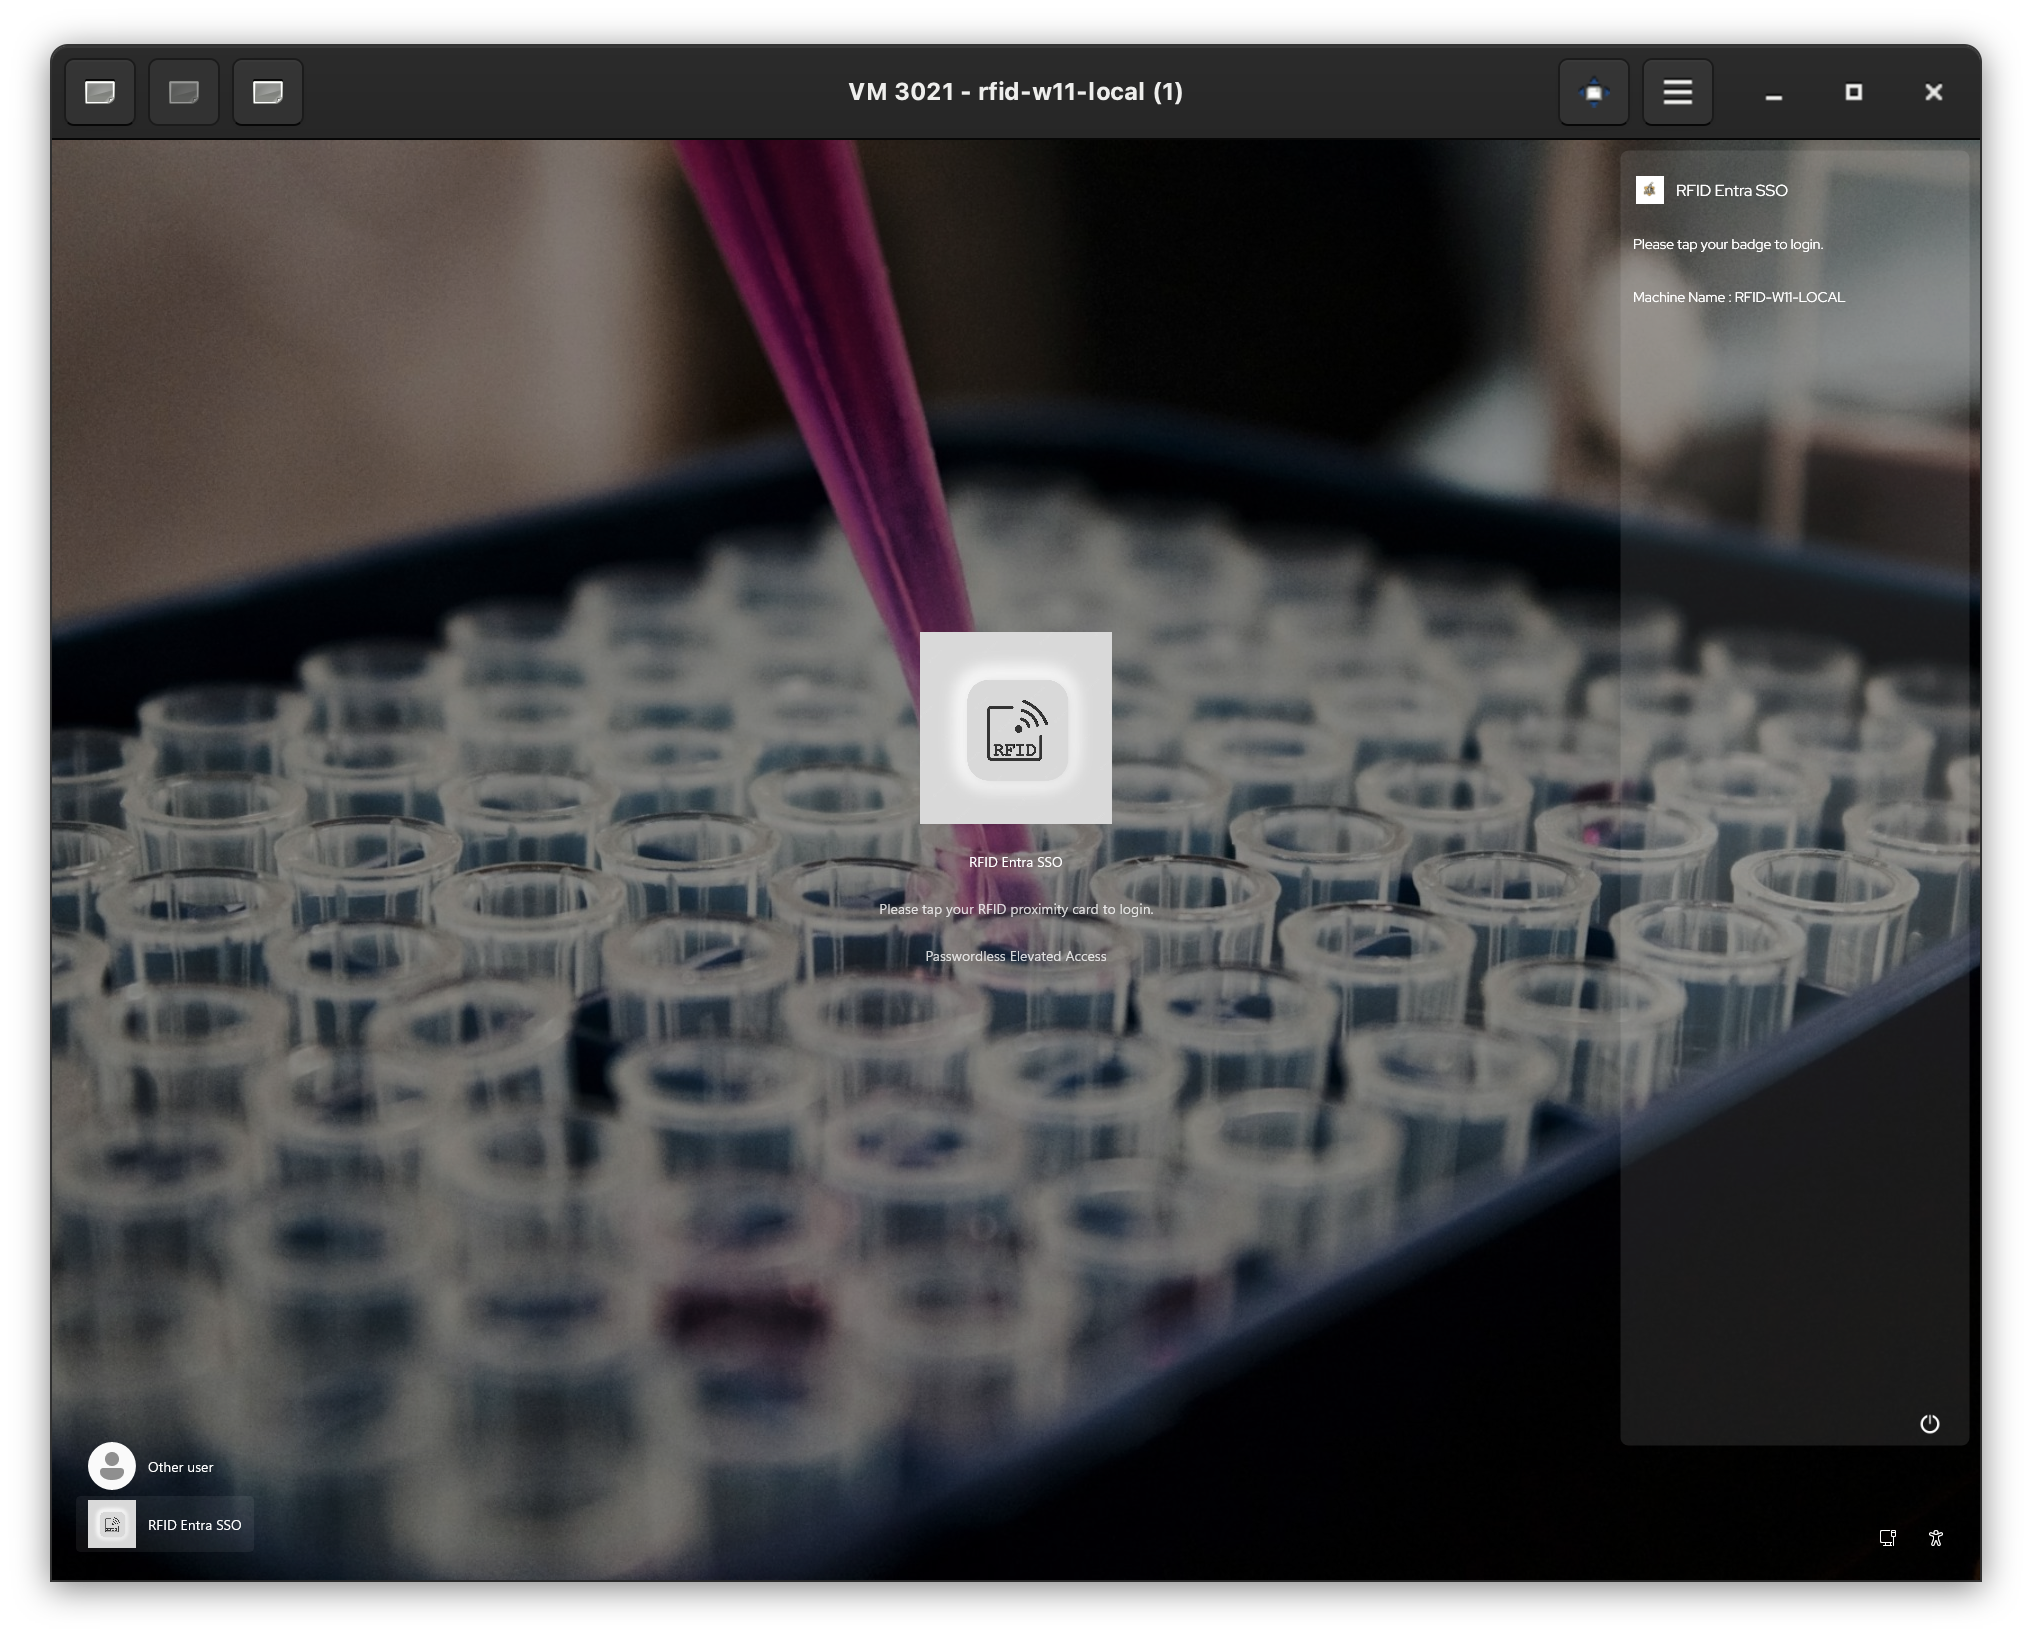
Login with RFID badge
Now you should be able to login with your RFID badge. One the agent installation is complete, navigate to the login screen and tap the badge. You will be prompted to enter your Entra or domain credentials to enroll. Once you do, you will be logged in. After that you will be able to tap in and tap out without password.