Quick-start - RFID Single Sign-On for Entra ID joined computers
In this guide we will set up idemeum RFID Single Sign-On for Entra-joined Windows workstations.
Create your MSP tenant
First and foremost sign up for idemeum cloud tenant and make sure you orient yourself with the basic set up, such as adding technicians, creating customer tenants for your MSP, setting up branding and more.
We have created a basic guide to introduce you to an MSP tenant.

Create customer tenant
- Login to your MSP tenant admin dashboard
- Access
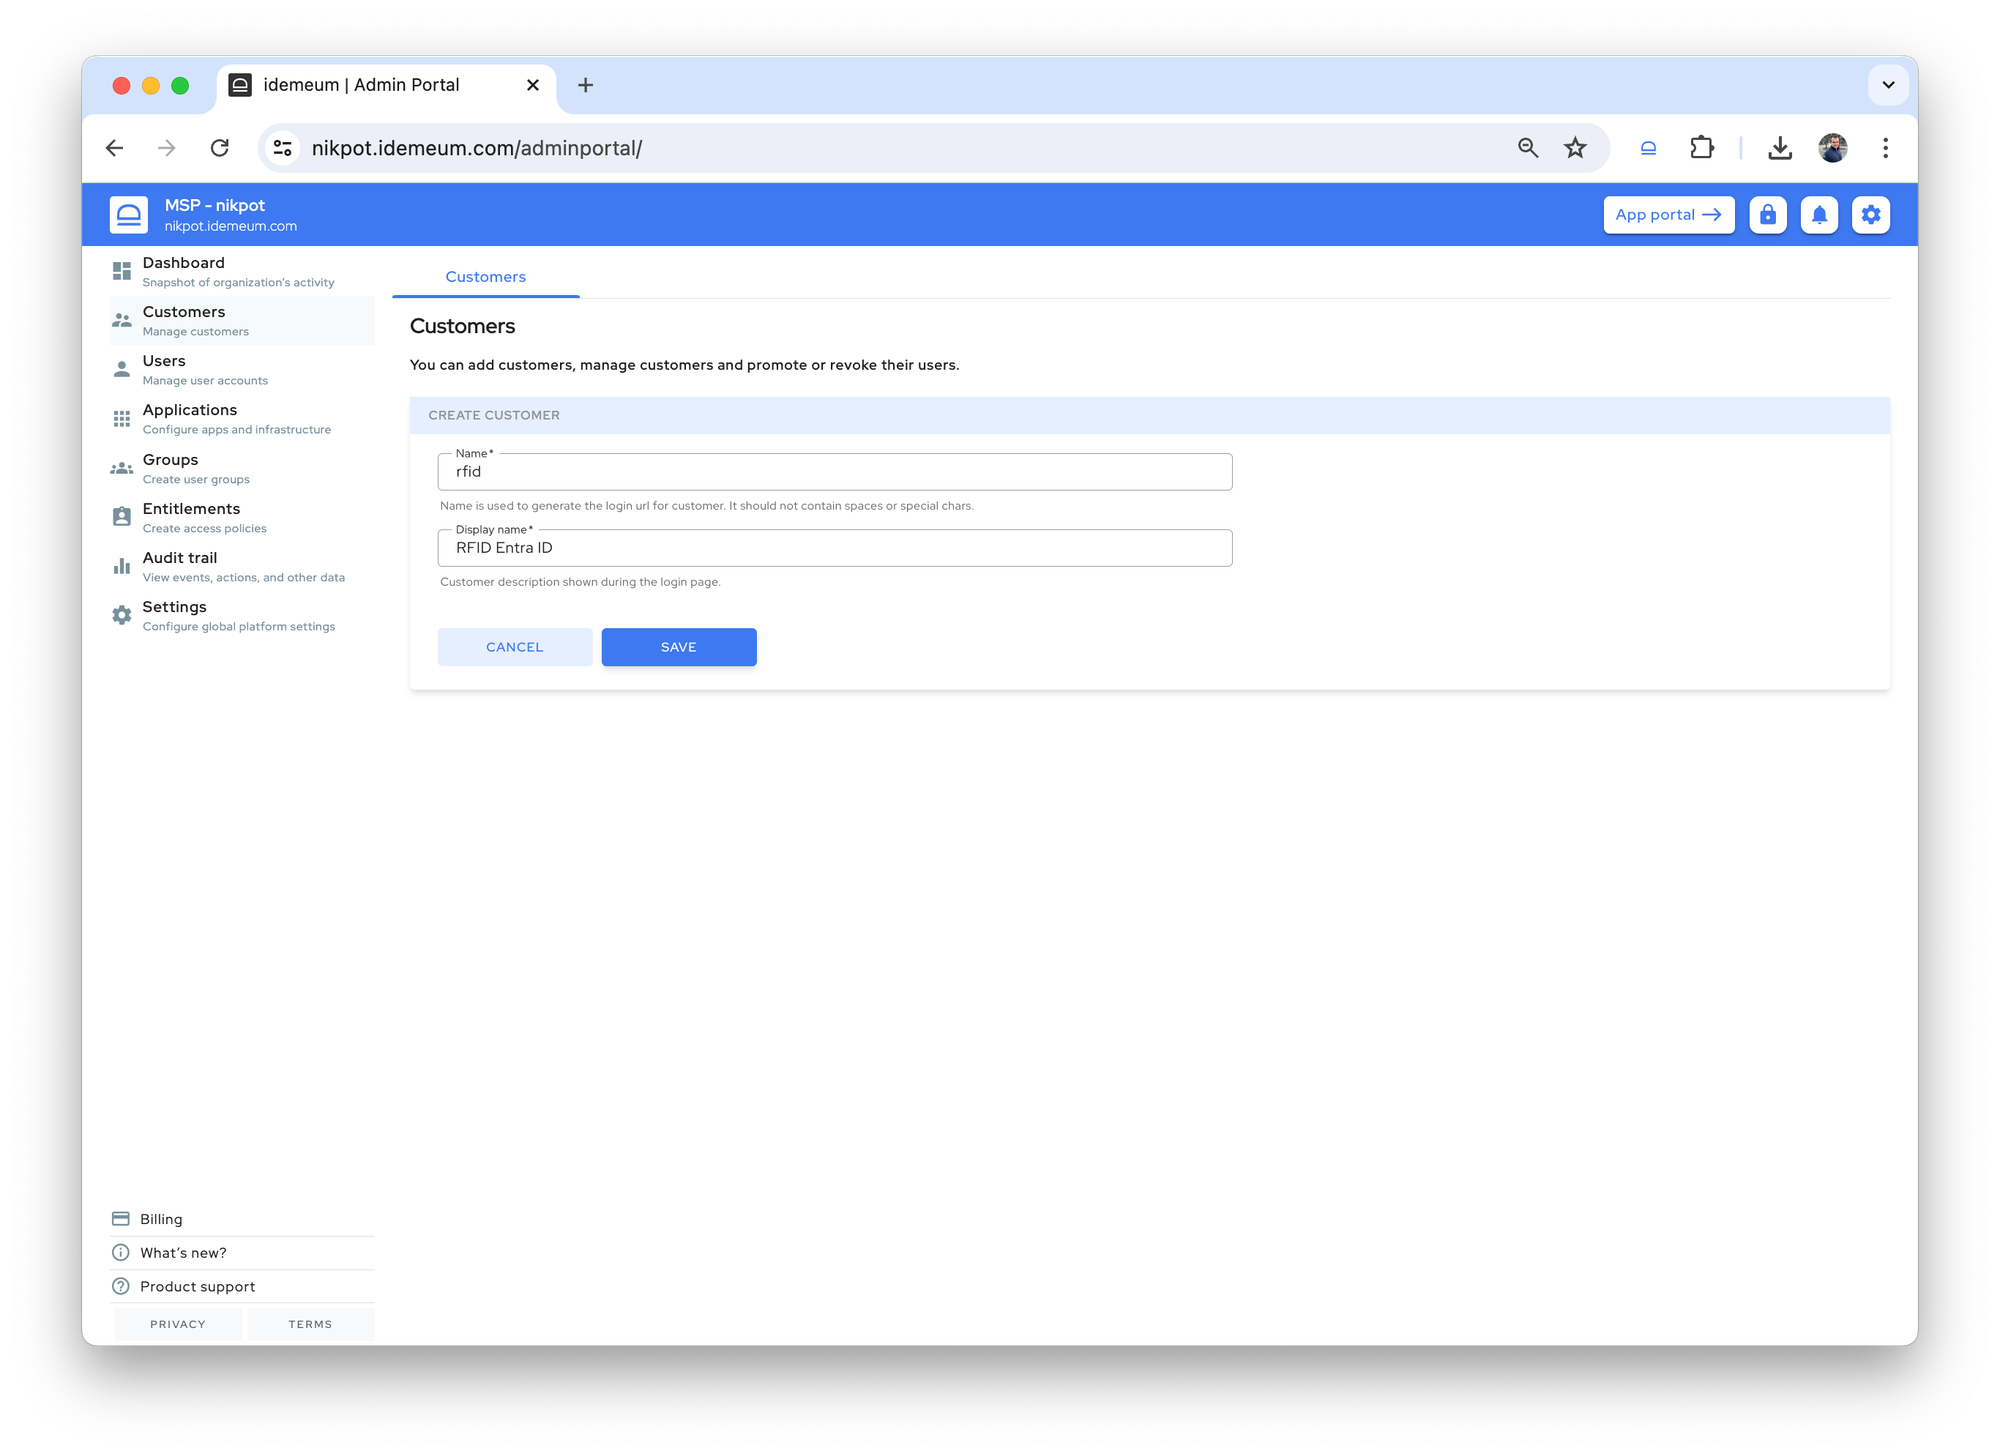
Customers→Add customer→Add manually - Specify the subdomain and description for a customer tenant

- Now login to this customer tenant admin dashboard
Configure customer tenant
Enable login with RFID for users
- Access
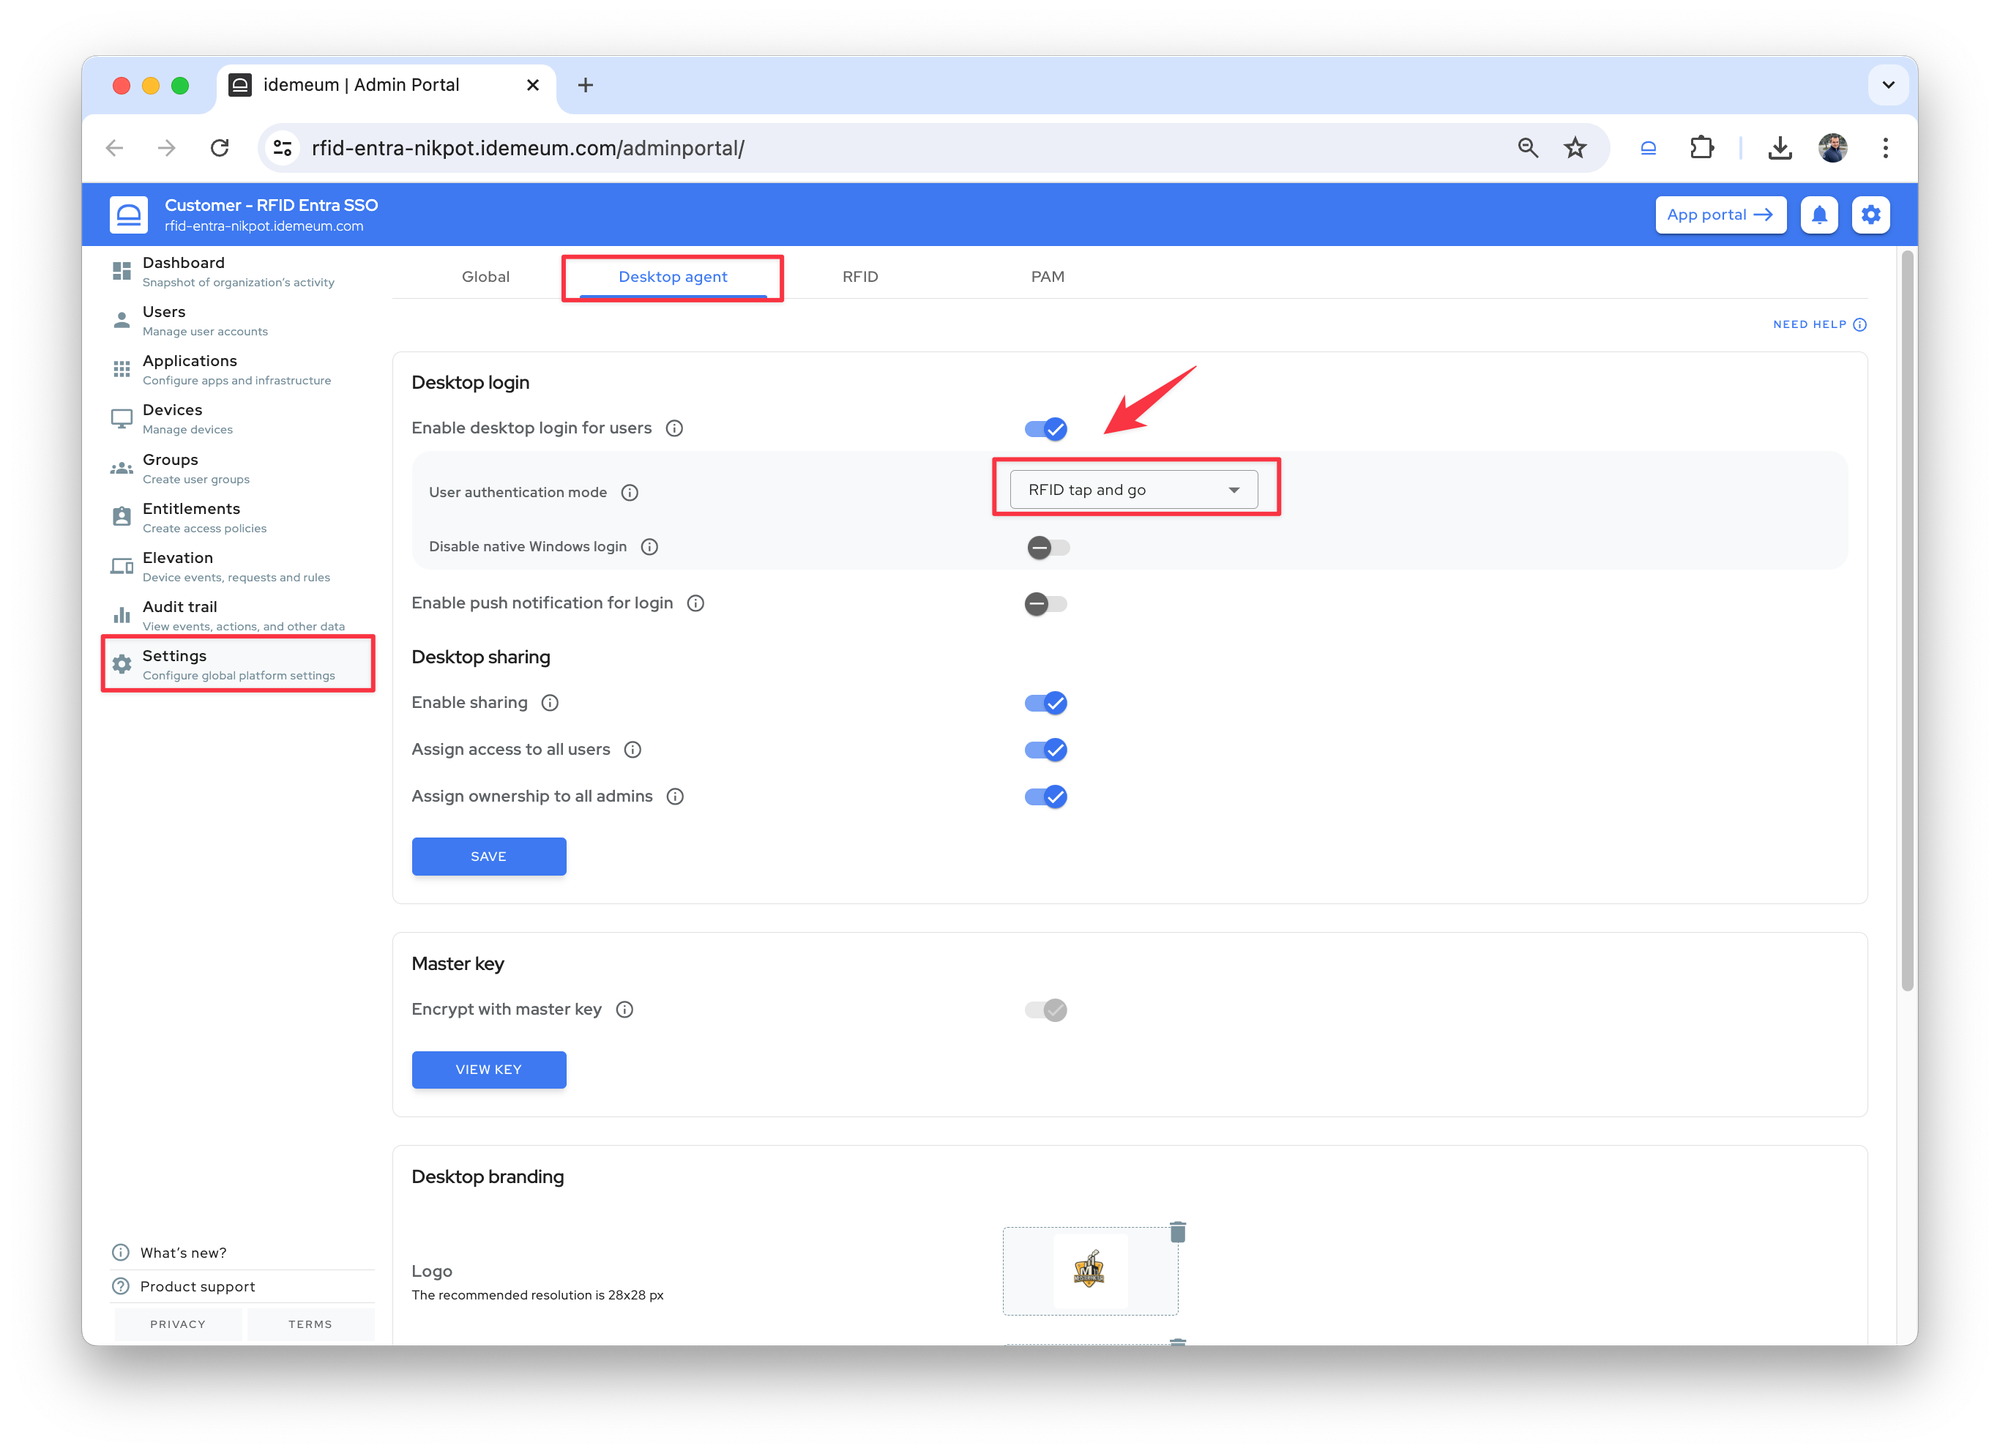
Settings→Desktop agent - Toggle the
Enable desktop login for users - From the dropdown choose
RFID tap and go Savethe configuration

Enable onboarding with Entra ID password
- Access
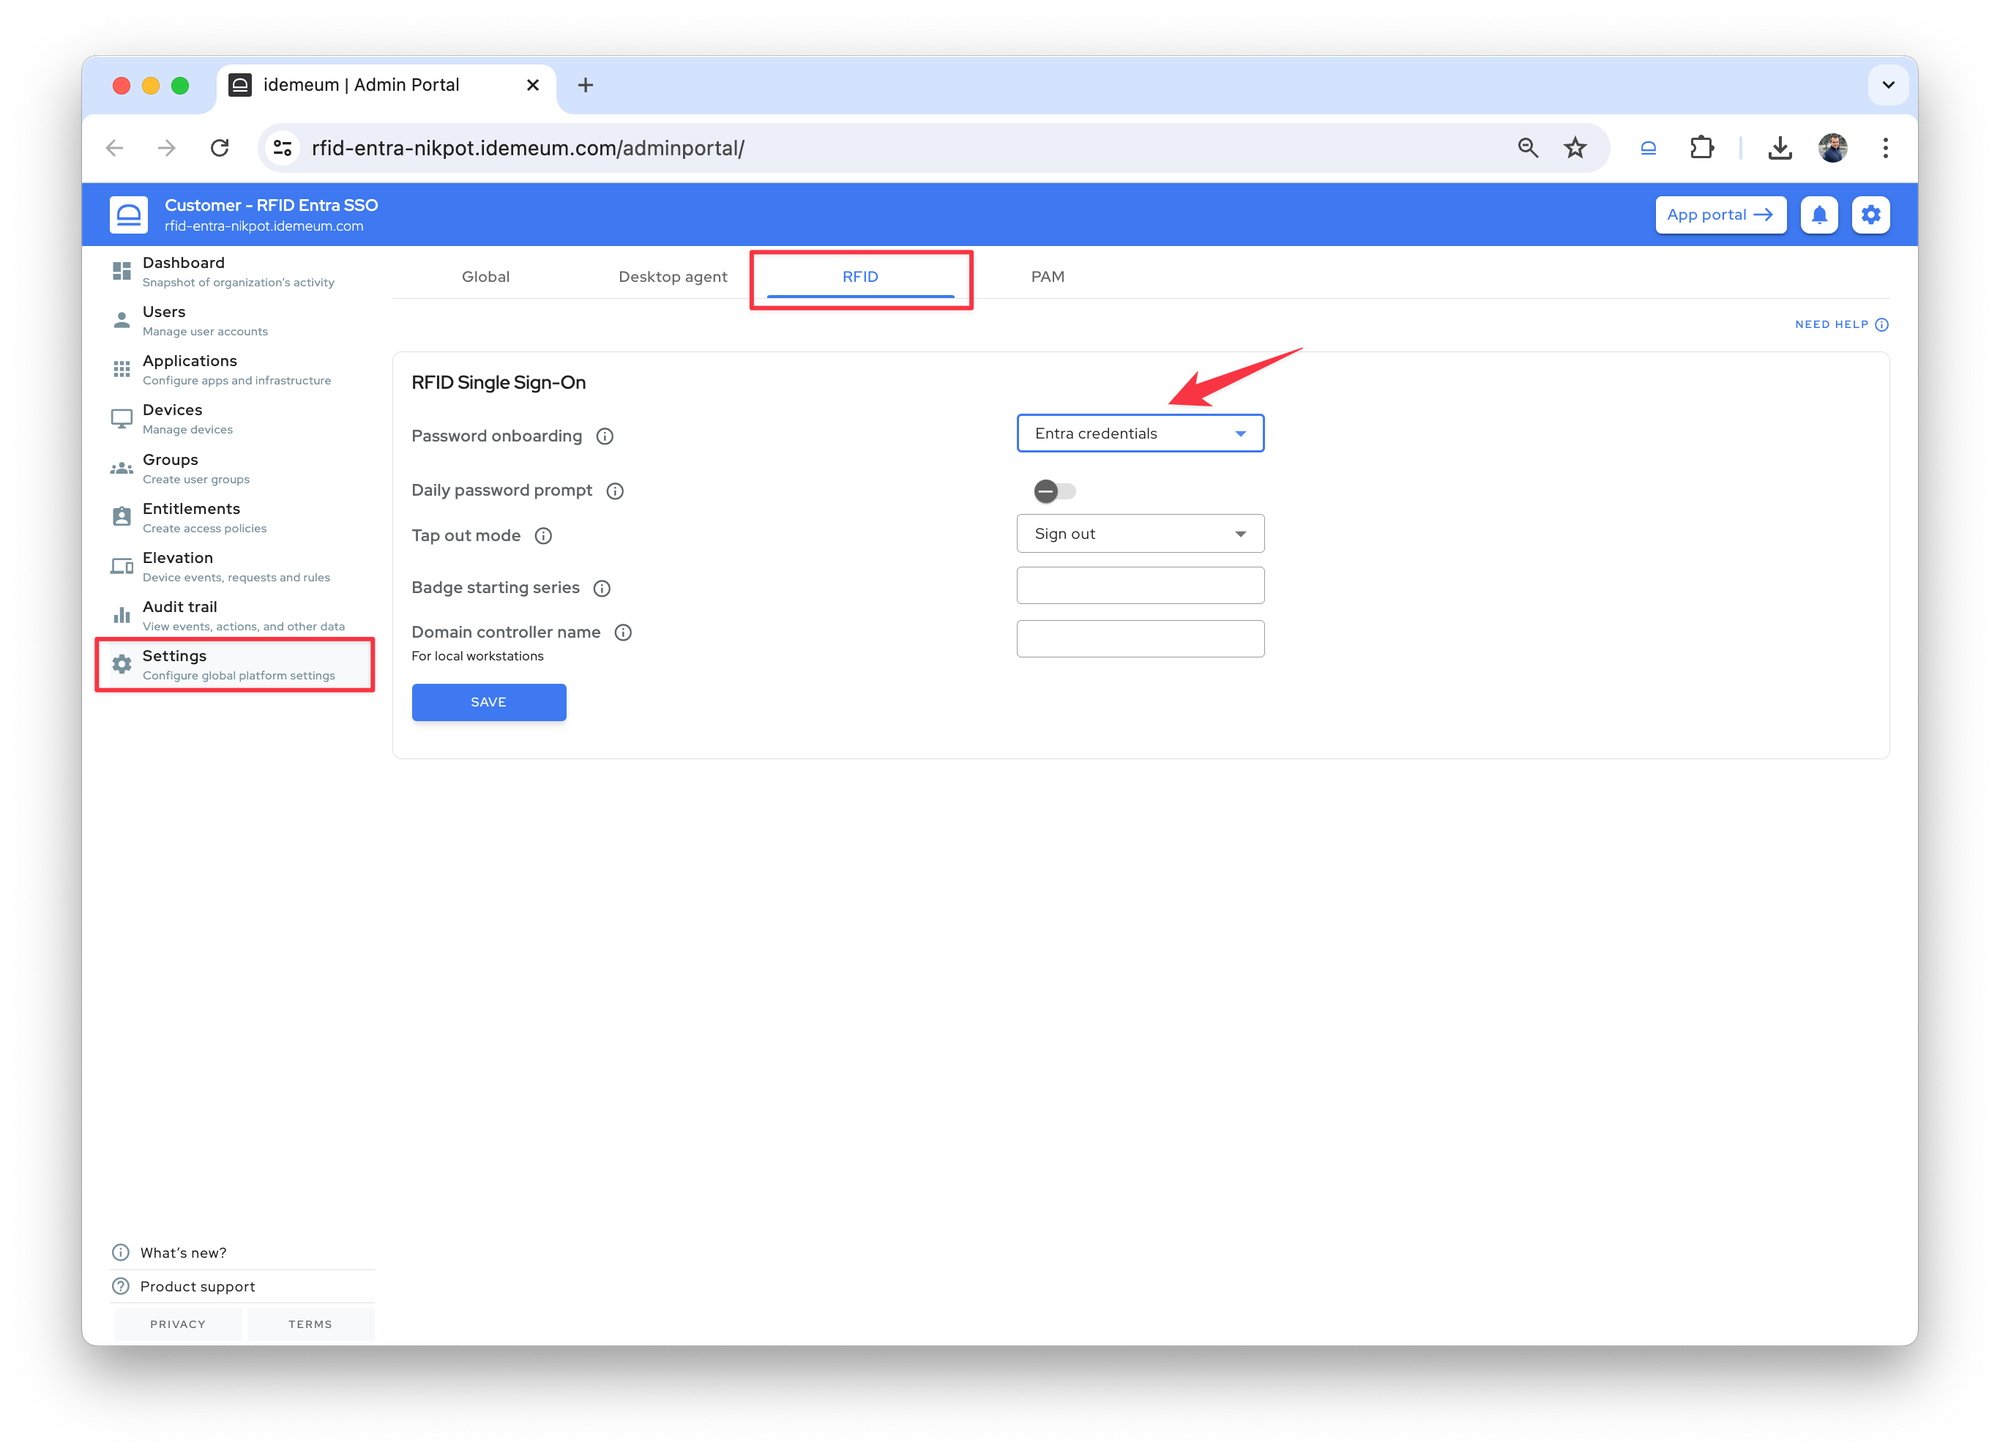
Settings→RFID - For the
Password onboardingdropdown chooseEntra credentials Savethe configuration

Setup desktop branding
You can upload the branding assets such as logo, background, and text to change the look of the desktop login screen. More about branding set up below.

Install desktop agent
You can now install idemeum desktop agent to Windows workstations. You can use a variety of tools to deploy to a fleet of workstations. The guide below shows you how to leverage a PowerShell command to silently install idemeum desktop agent.

Test RFID SSO login
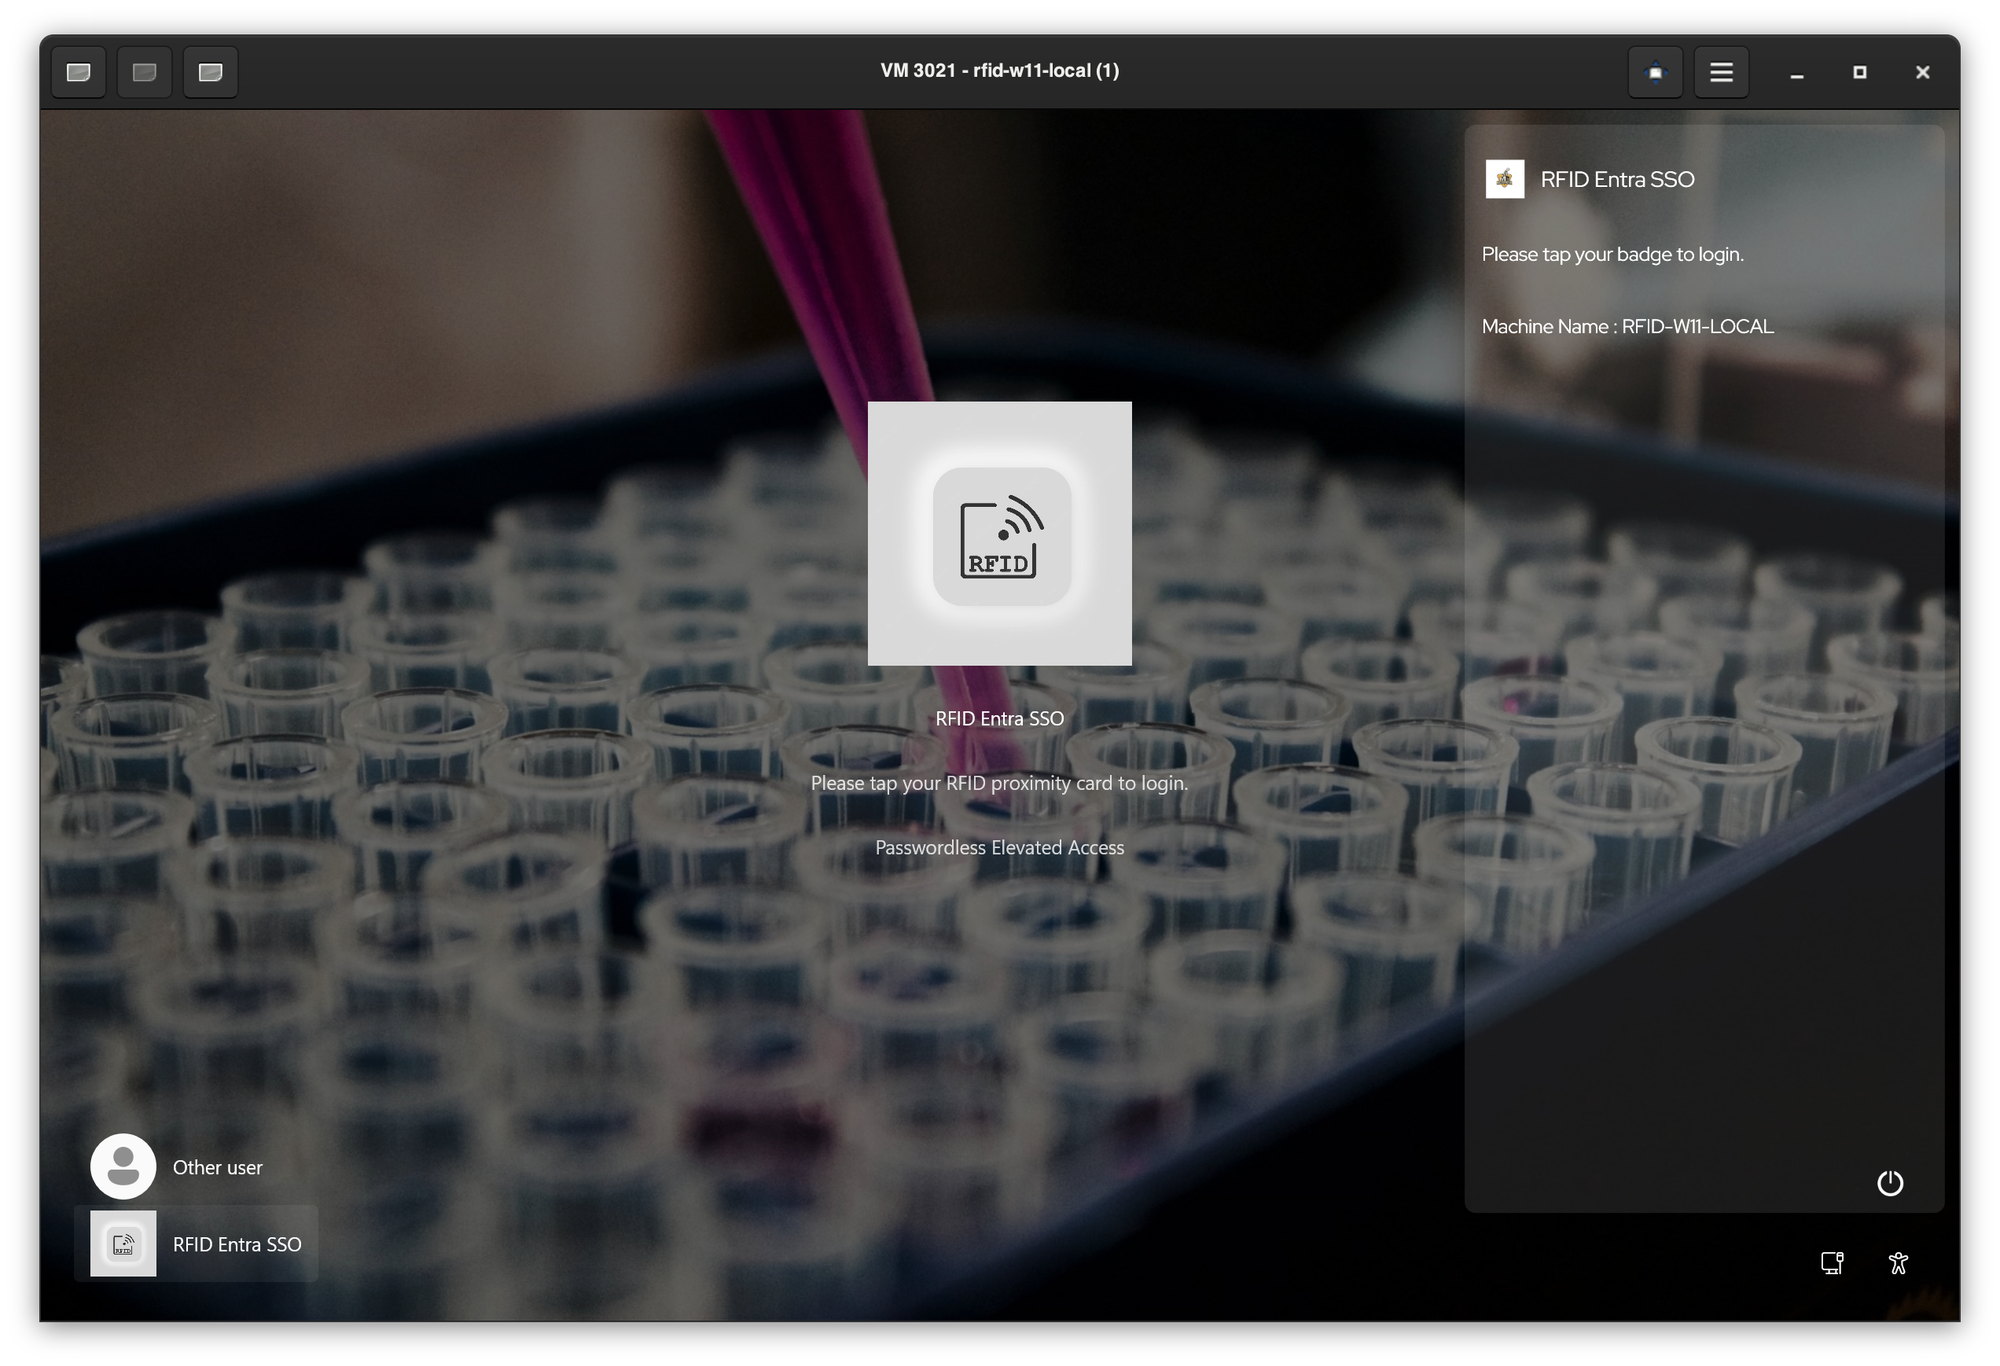
You can now connect the RFID reader to a workstation and test passwordless login flow. Tap the badge, you will be prompted for Entra credentials to enroll, and once credentials are provider you will be logged in. Now you can access any shared workstation with an RFID badge tap.

