Quick-start - JIT computer accounts
In this guide you will set up Just-in-time (JIT) admin accounts for Windows and MacOS. Technicians will be able to login into any customer workstation by scanning a QR-code and approving with biometrics.
1. Prepare your MSP tenant
First and foremost sign up for idemeum cloud tenant and make sure you orient yourself with basic set up, such as adding technicians, creating customer tenants for your MSP, setting up branding and more. We have created a basic MSP tenant set up guide.

2. Configure your customer tenant
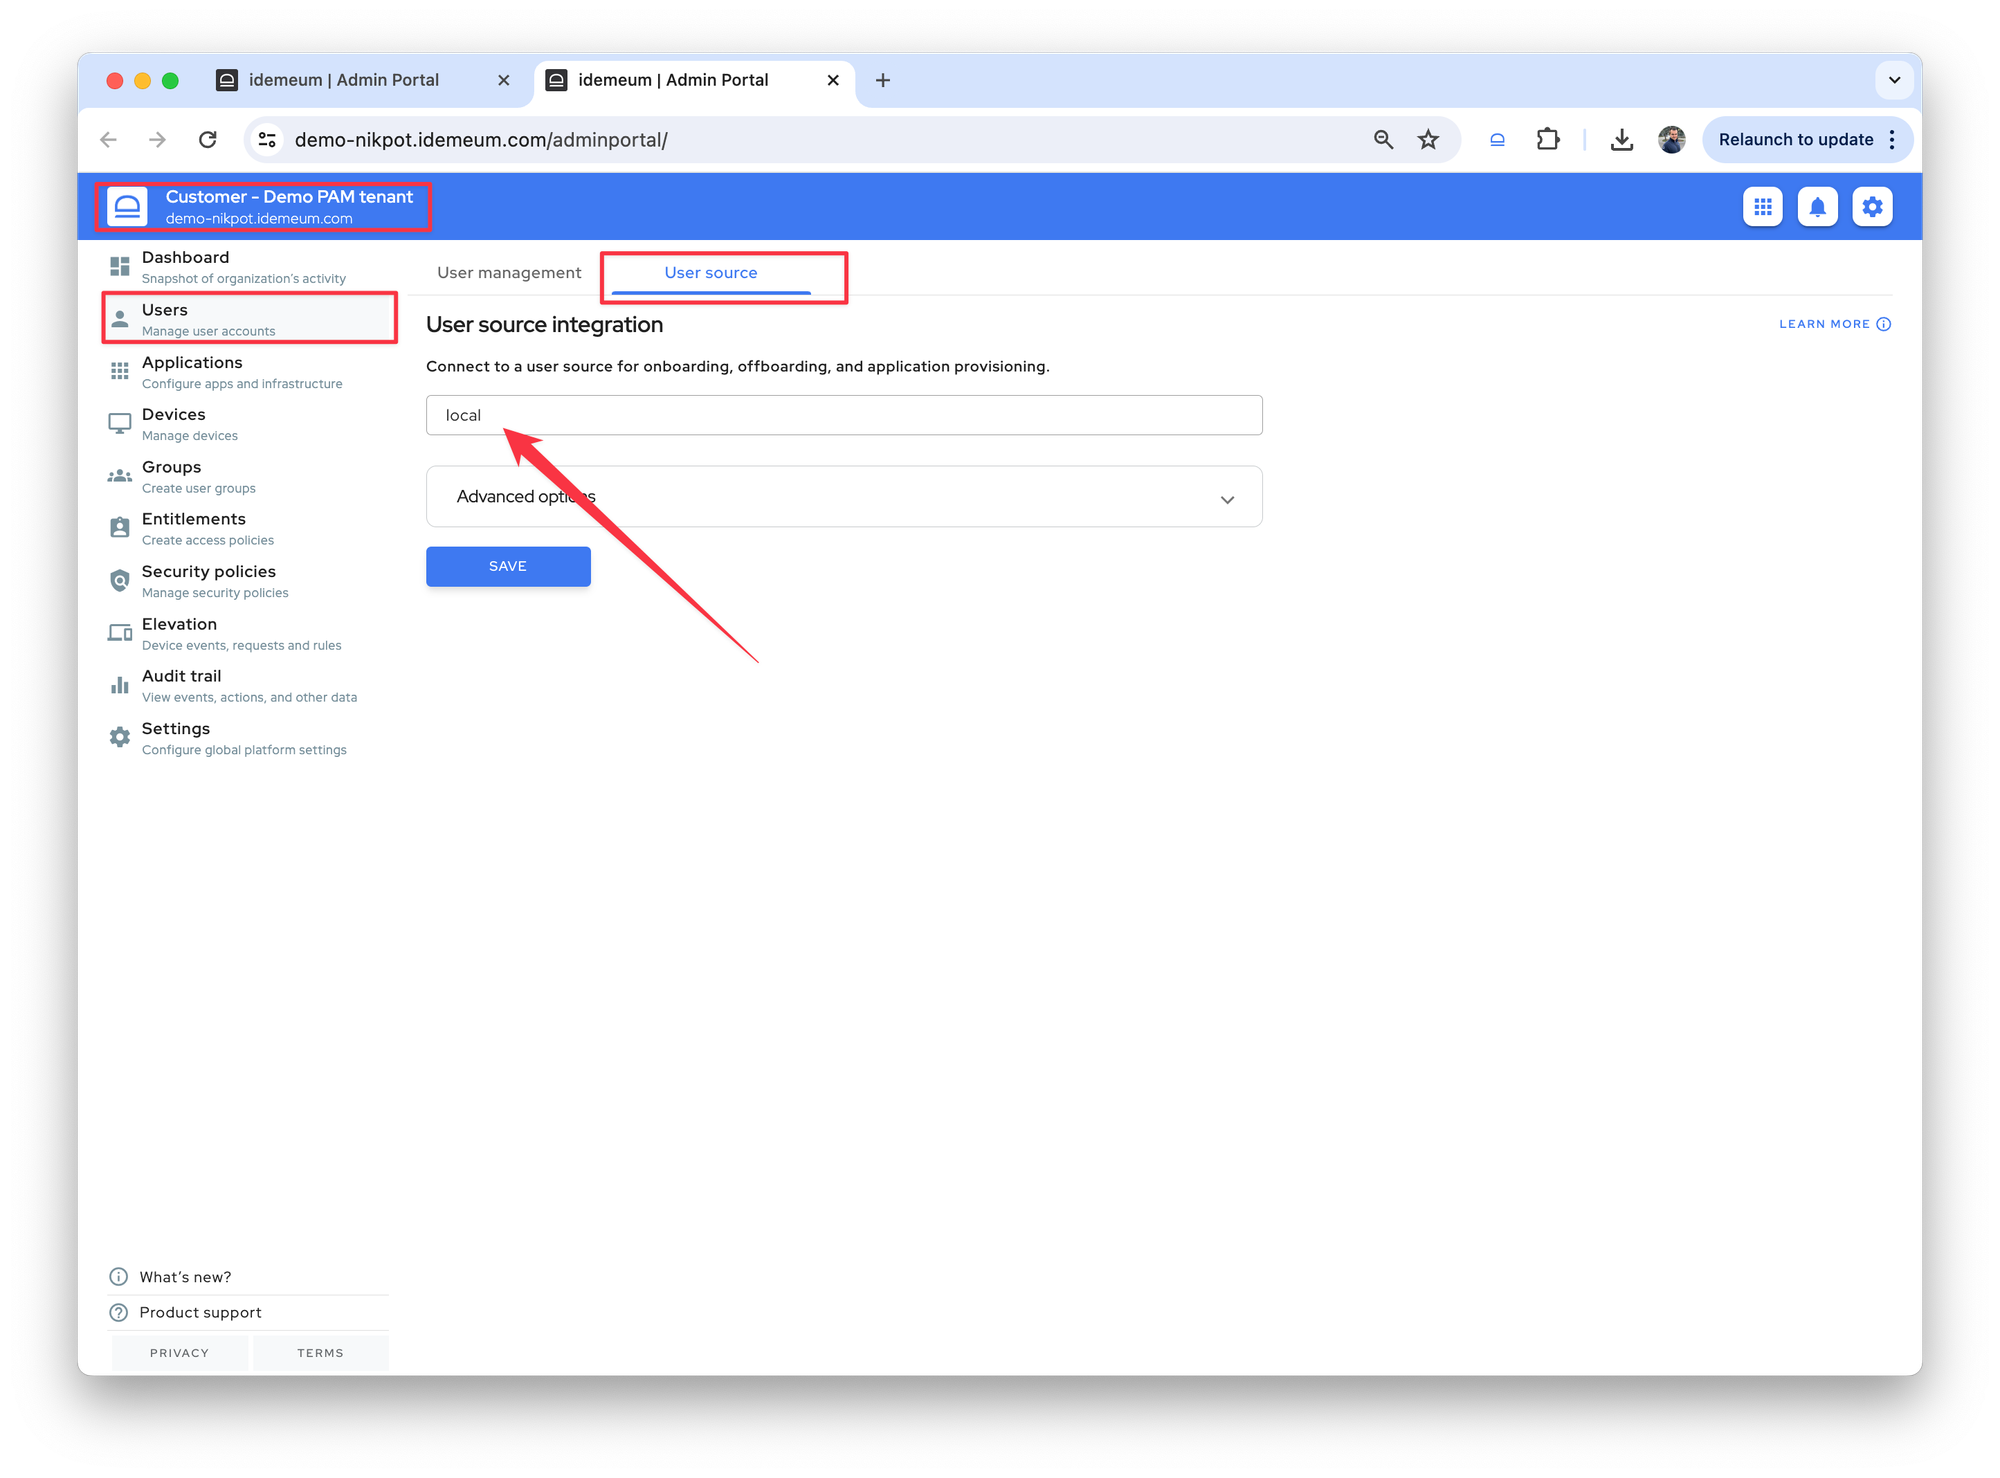
Enable local directory for customer tenant
- Navigate to
Users→User source - Choose
Localfrom the dropdown andSavethe configuration

Choose technician login mode
By default idemeum will automatically create named / individual admin account for each technician. If you want to change this behavior and use shared accounts, you can follow the guide below, otherwise proceed to the next step.

Enable domain JIT accounts (optional)
By default idemeum utilizes local admin accounts everywhere.
If you scan a QR-code on local Windows or domain-joined Windows computer - local admin account is used. However, idemeum supports domain accounts also. When scanning a QR-code on domain-joined computer, idemeum can automatically create domain account for each technician.
Follow the steps below to enable JIT domain admin accounts.

3. Install idemeum desktop application
Now you can install idemeum desktop application to a customer workstation.
Follow the steps below to install idemeum desktop client with command line.

4. Test technician login
Once the desktop client is installed, it creates a credential provider that will allow technicians to access the workstation with a mobile device. You can simply scan a QR-code as a technician and access customer workstation without passwords. More details on different ways to access customer workstations below.

Questions?
If you have any questions please join our Discord chat, and we will help.
